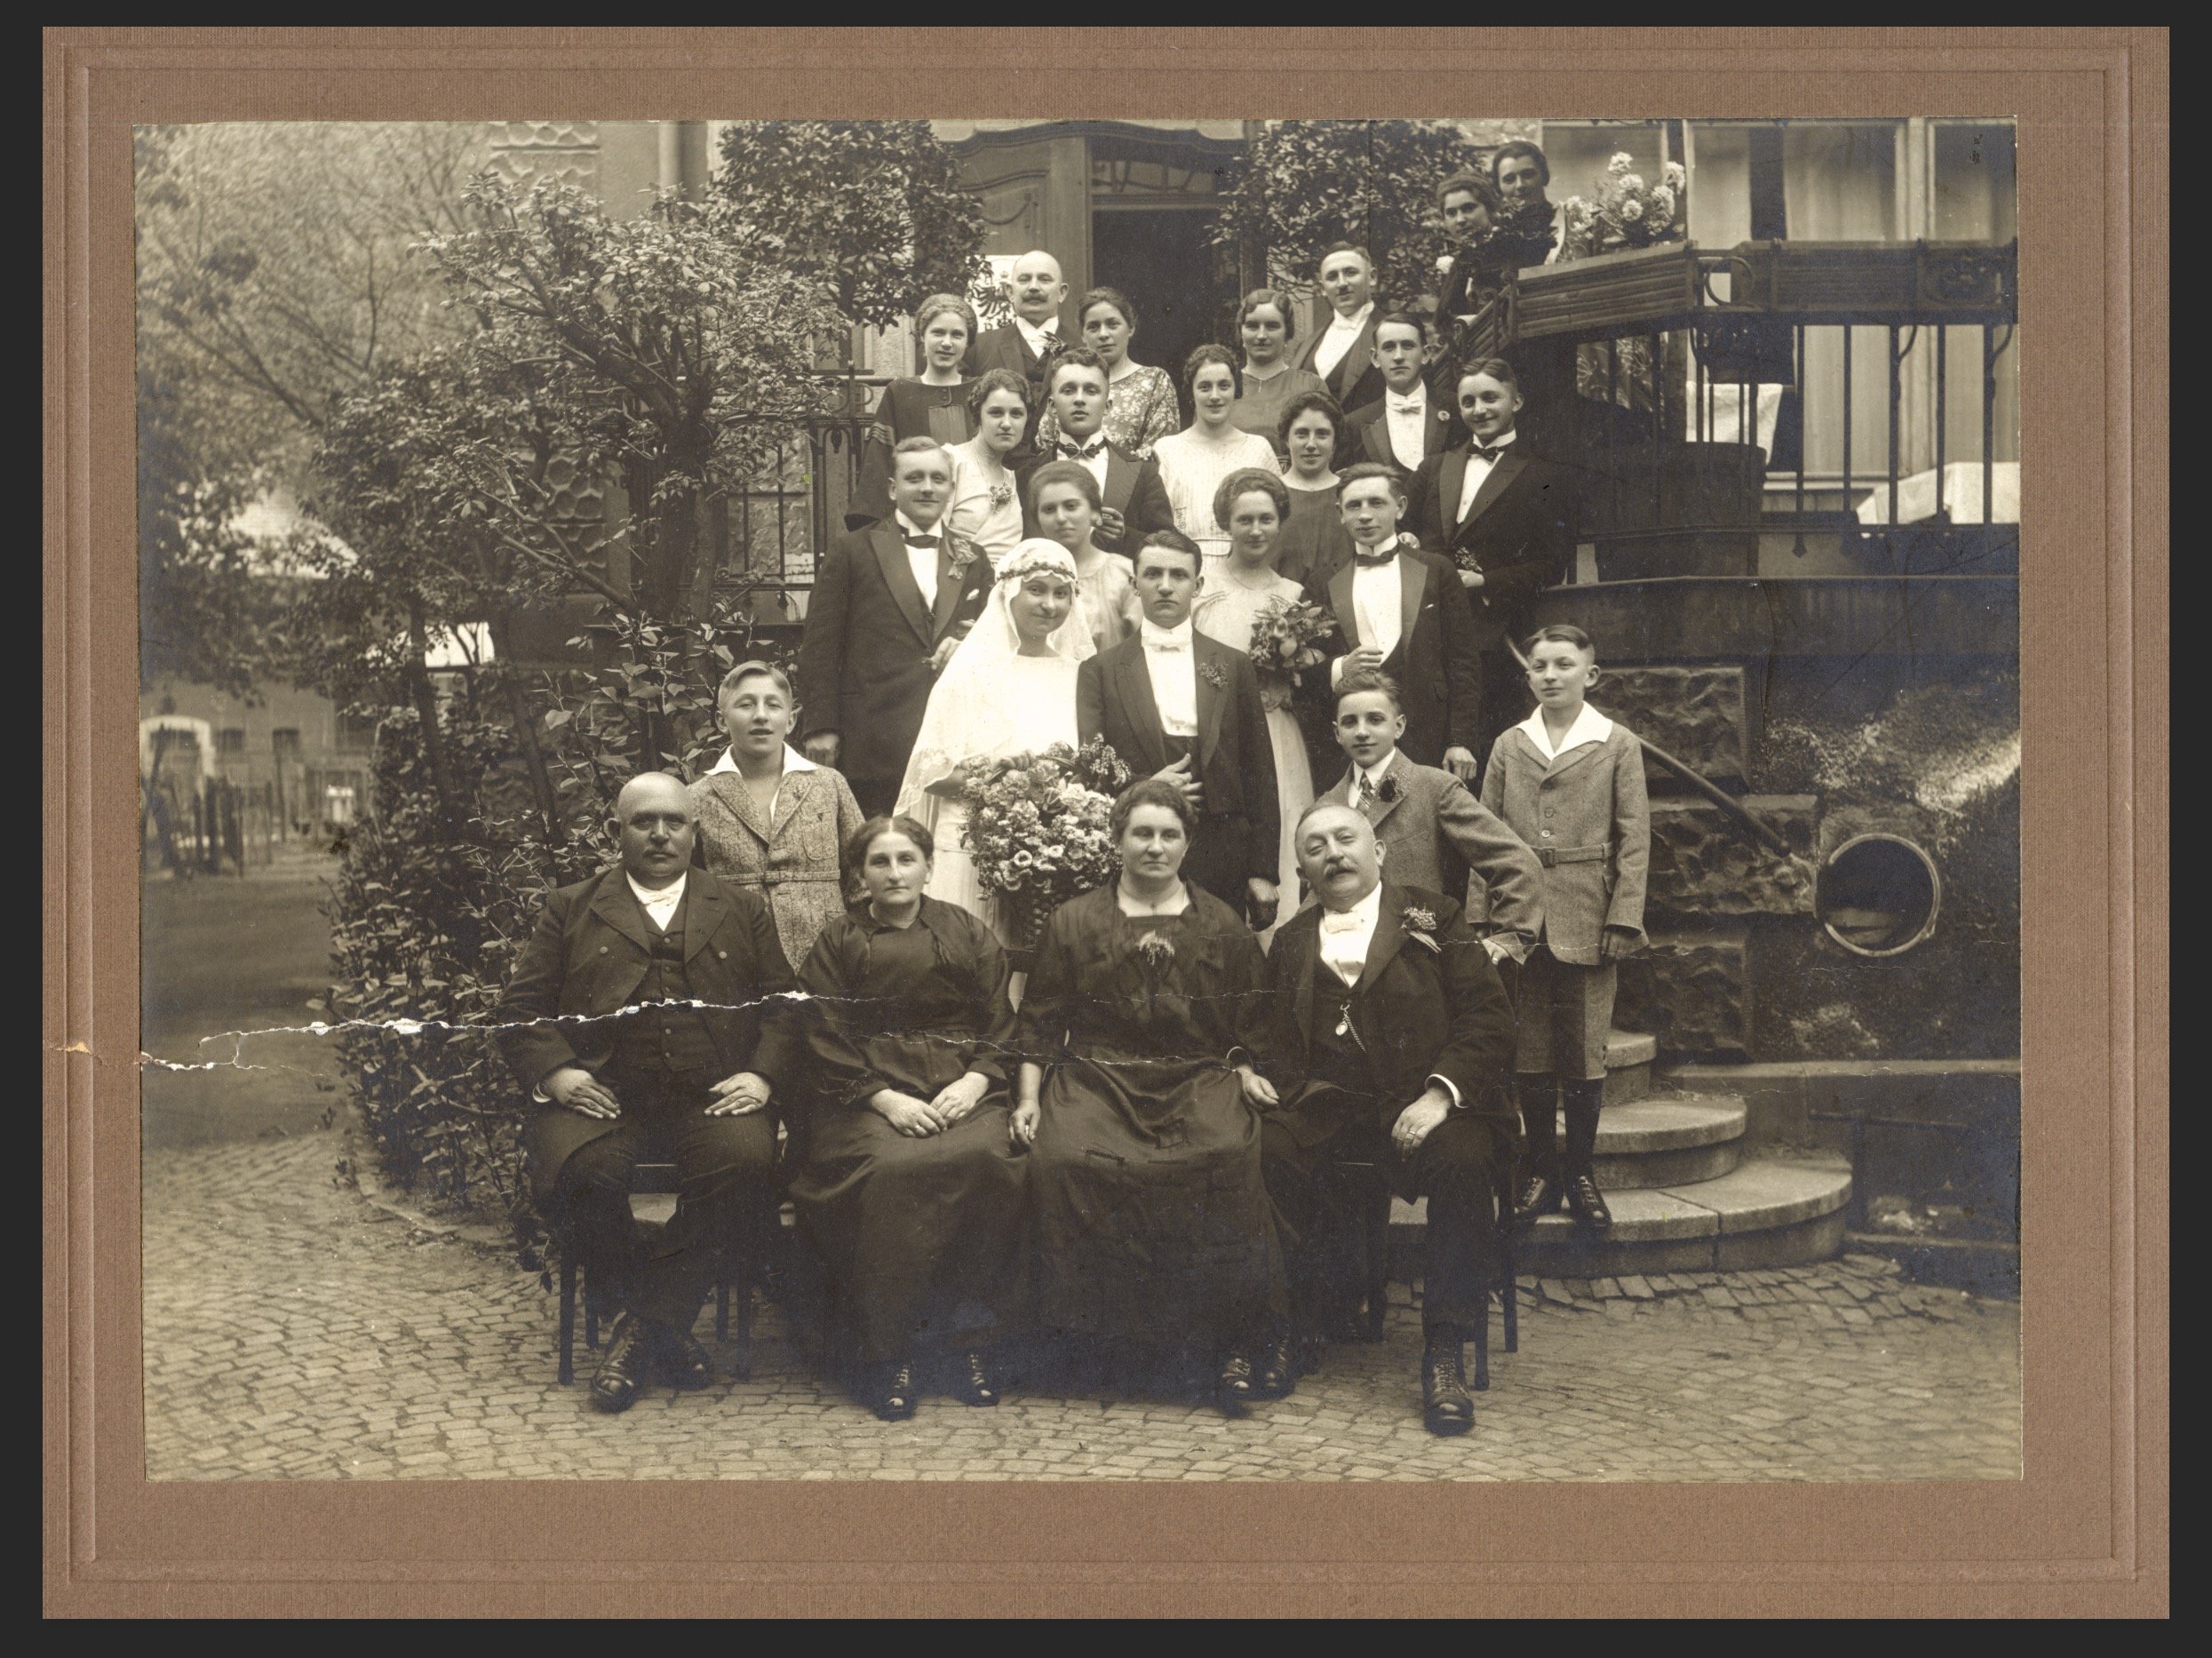
I’ve spent the last few days reviewing Photo Restoration and Scanning courses on Lynda.com. I had already partially restored the Wedding Picture I posted the other day, but I wasn’t satisified with the result. One of the bigger challenges was to remove glare from the scanning process. I tried several different scanning procedures to resolve the problem, but to no effect. So, more detailed research on restoration was required.
The original image appeared to be in fairly good shape, although it had a number of cracks and tears in the surface. Looking at it in detail, I found other signs of aging, including hairline cracks, various spots and variations in the surface texture.
Reviewing the courses, I summarized the restoration process into the following steps:
- Assess the damage: scratches, stains, rips, fading, lost parts, dust, etc.
- Repair the cracks: here I used the “Healing Brush” for the most part, although the “Clone Stamp” and “Patching Tool” were suggested in the courses.
- Replace missing parts: The crack went through my Great Grandfather’s jacket into my Great Grandmother, and in removing the crack, I had to rebuild their clothing, add a missing button, etc.
- Remove specks, spots and scratches: again, I used the “Healing Brush”
- Remove glare: to do this I converted the image to black and white, then lowered the luminosity of the blue and cyan channels, then added back the sepia colour
- Remove specks, spots and scratches: I repeated this procedure as the step above surfaced other flaws
- Repair discolourations: I used dodging and burning to make the colours (tones) more consistent
The above steps were completed in Photoshop, but a few steps were completed in Lightroom, specifically softening the faces and sharpening, as the last step.
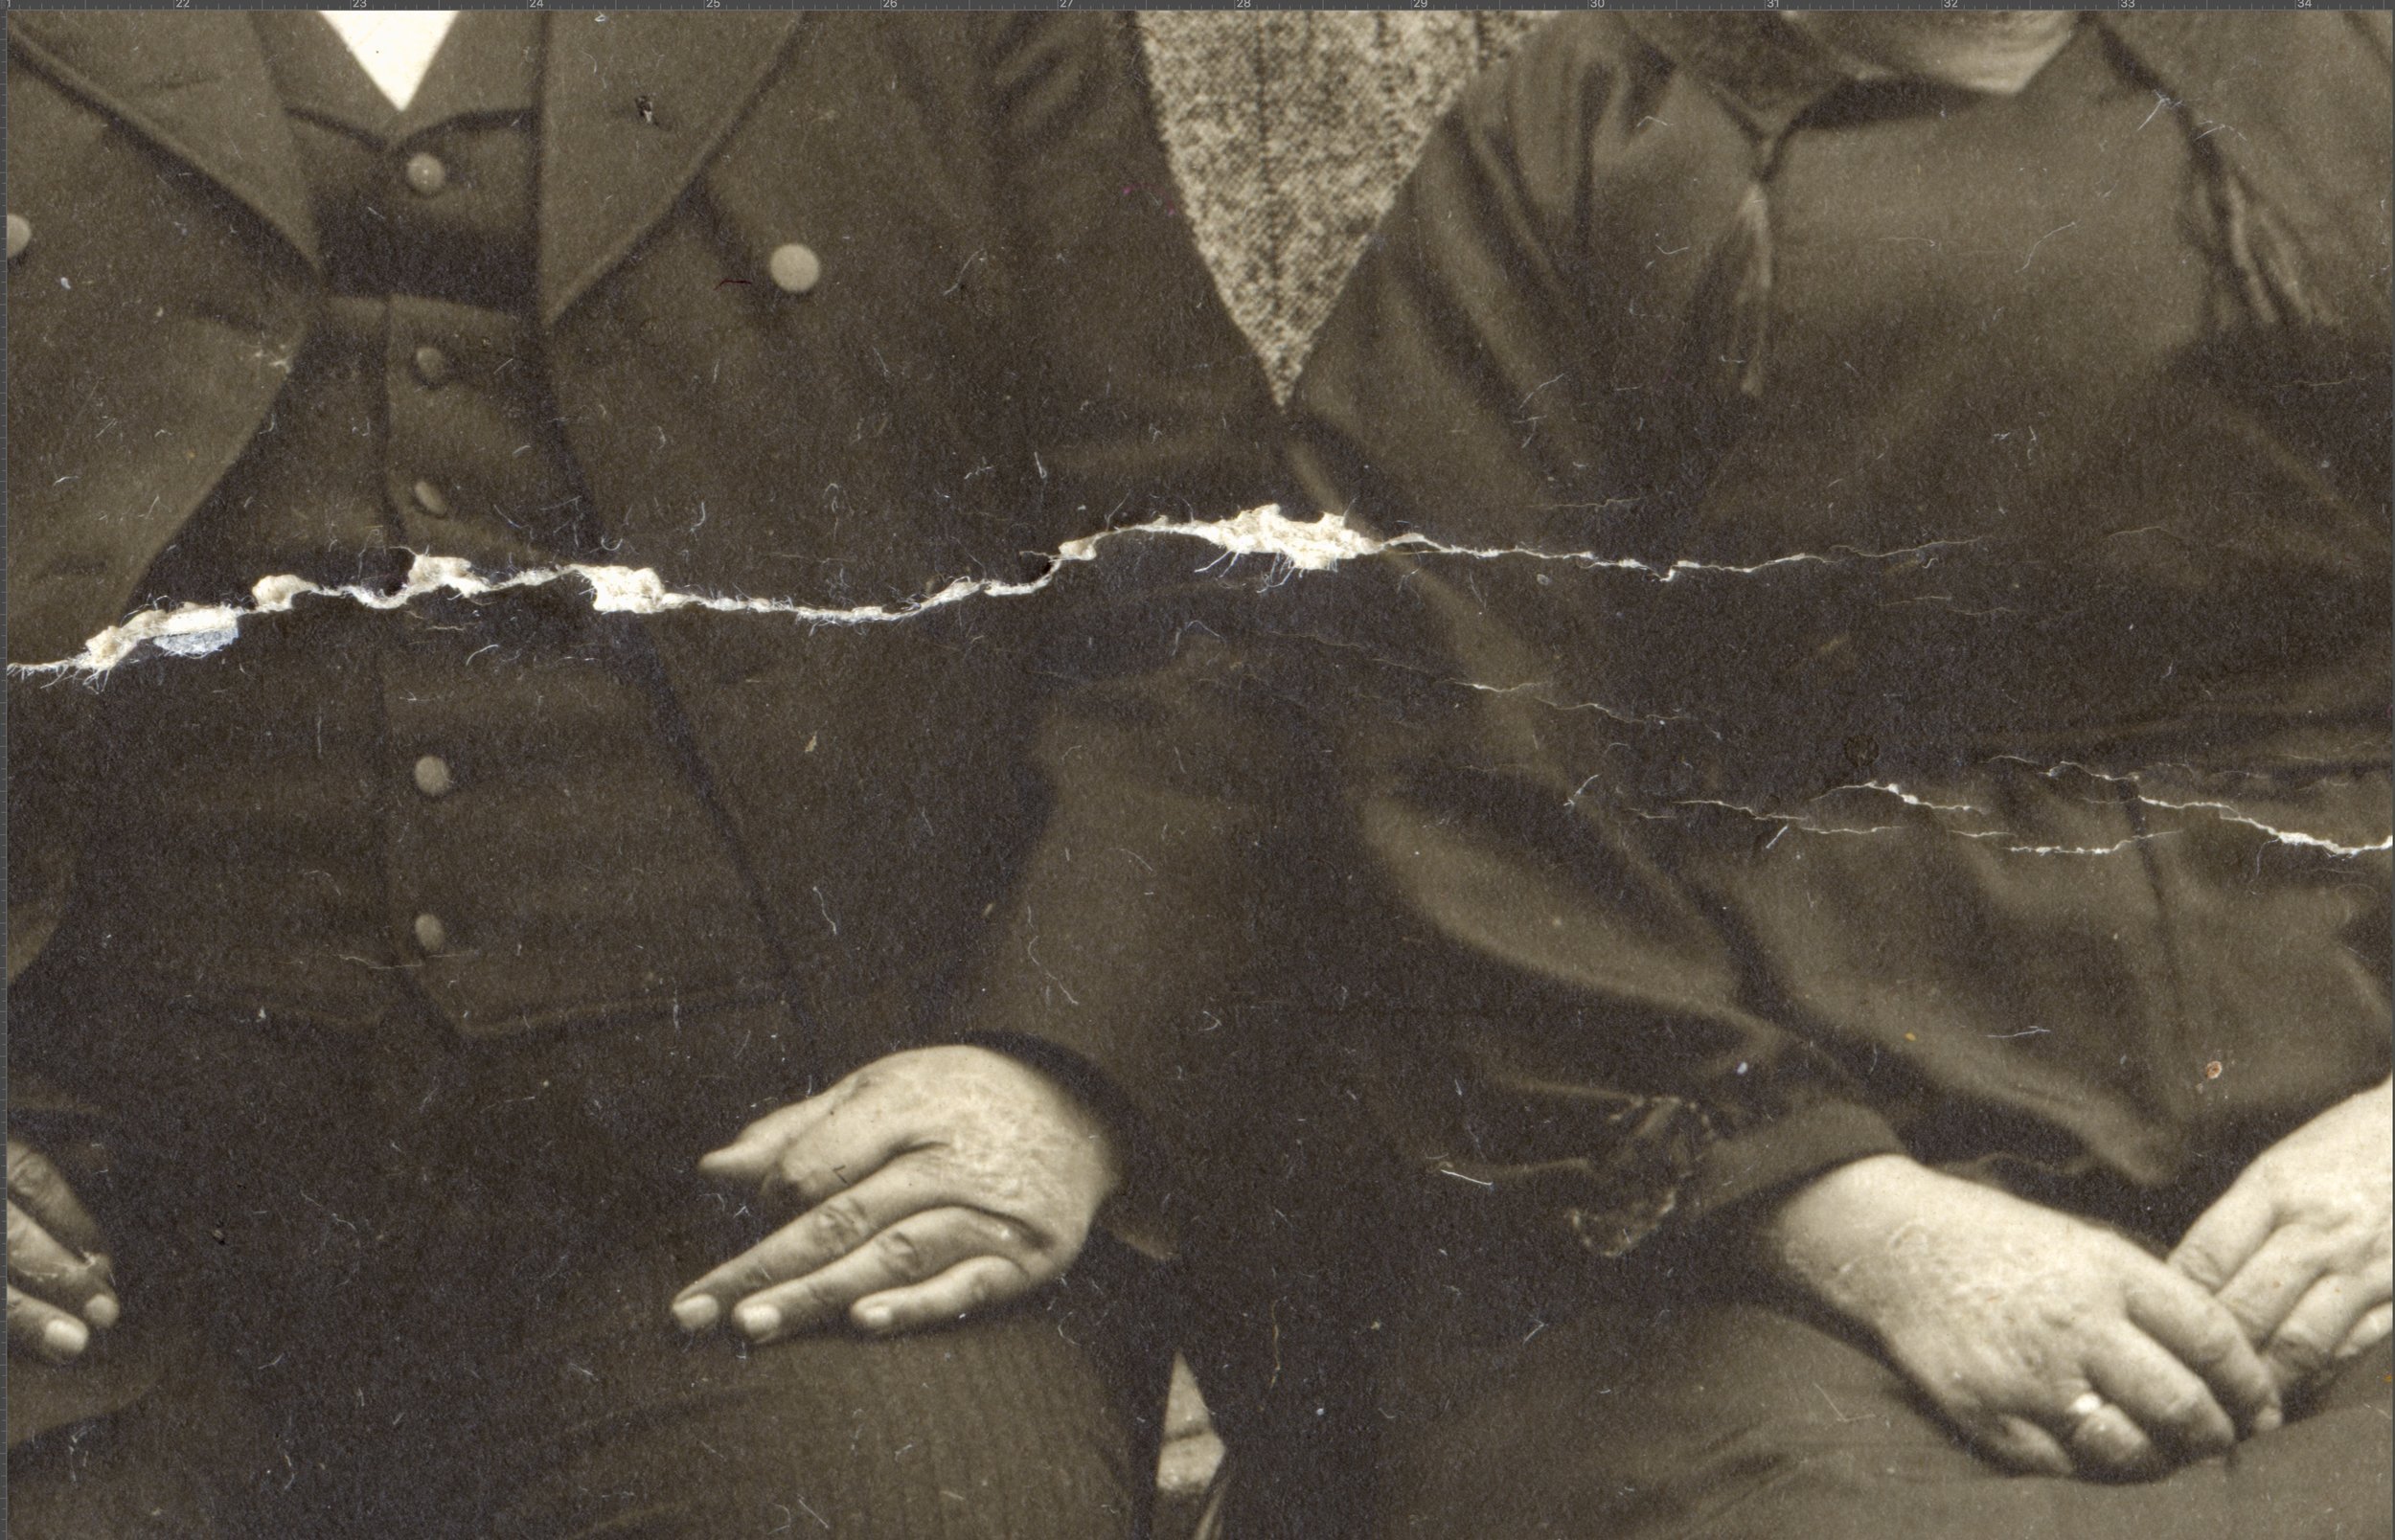
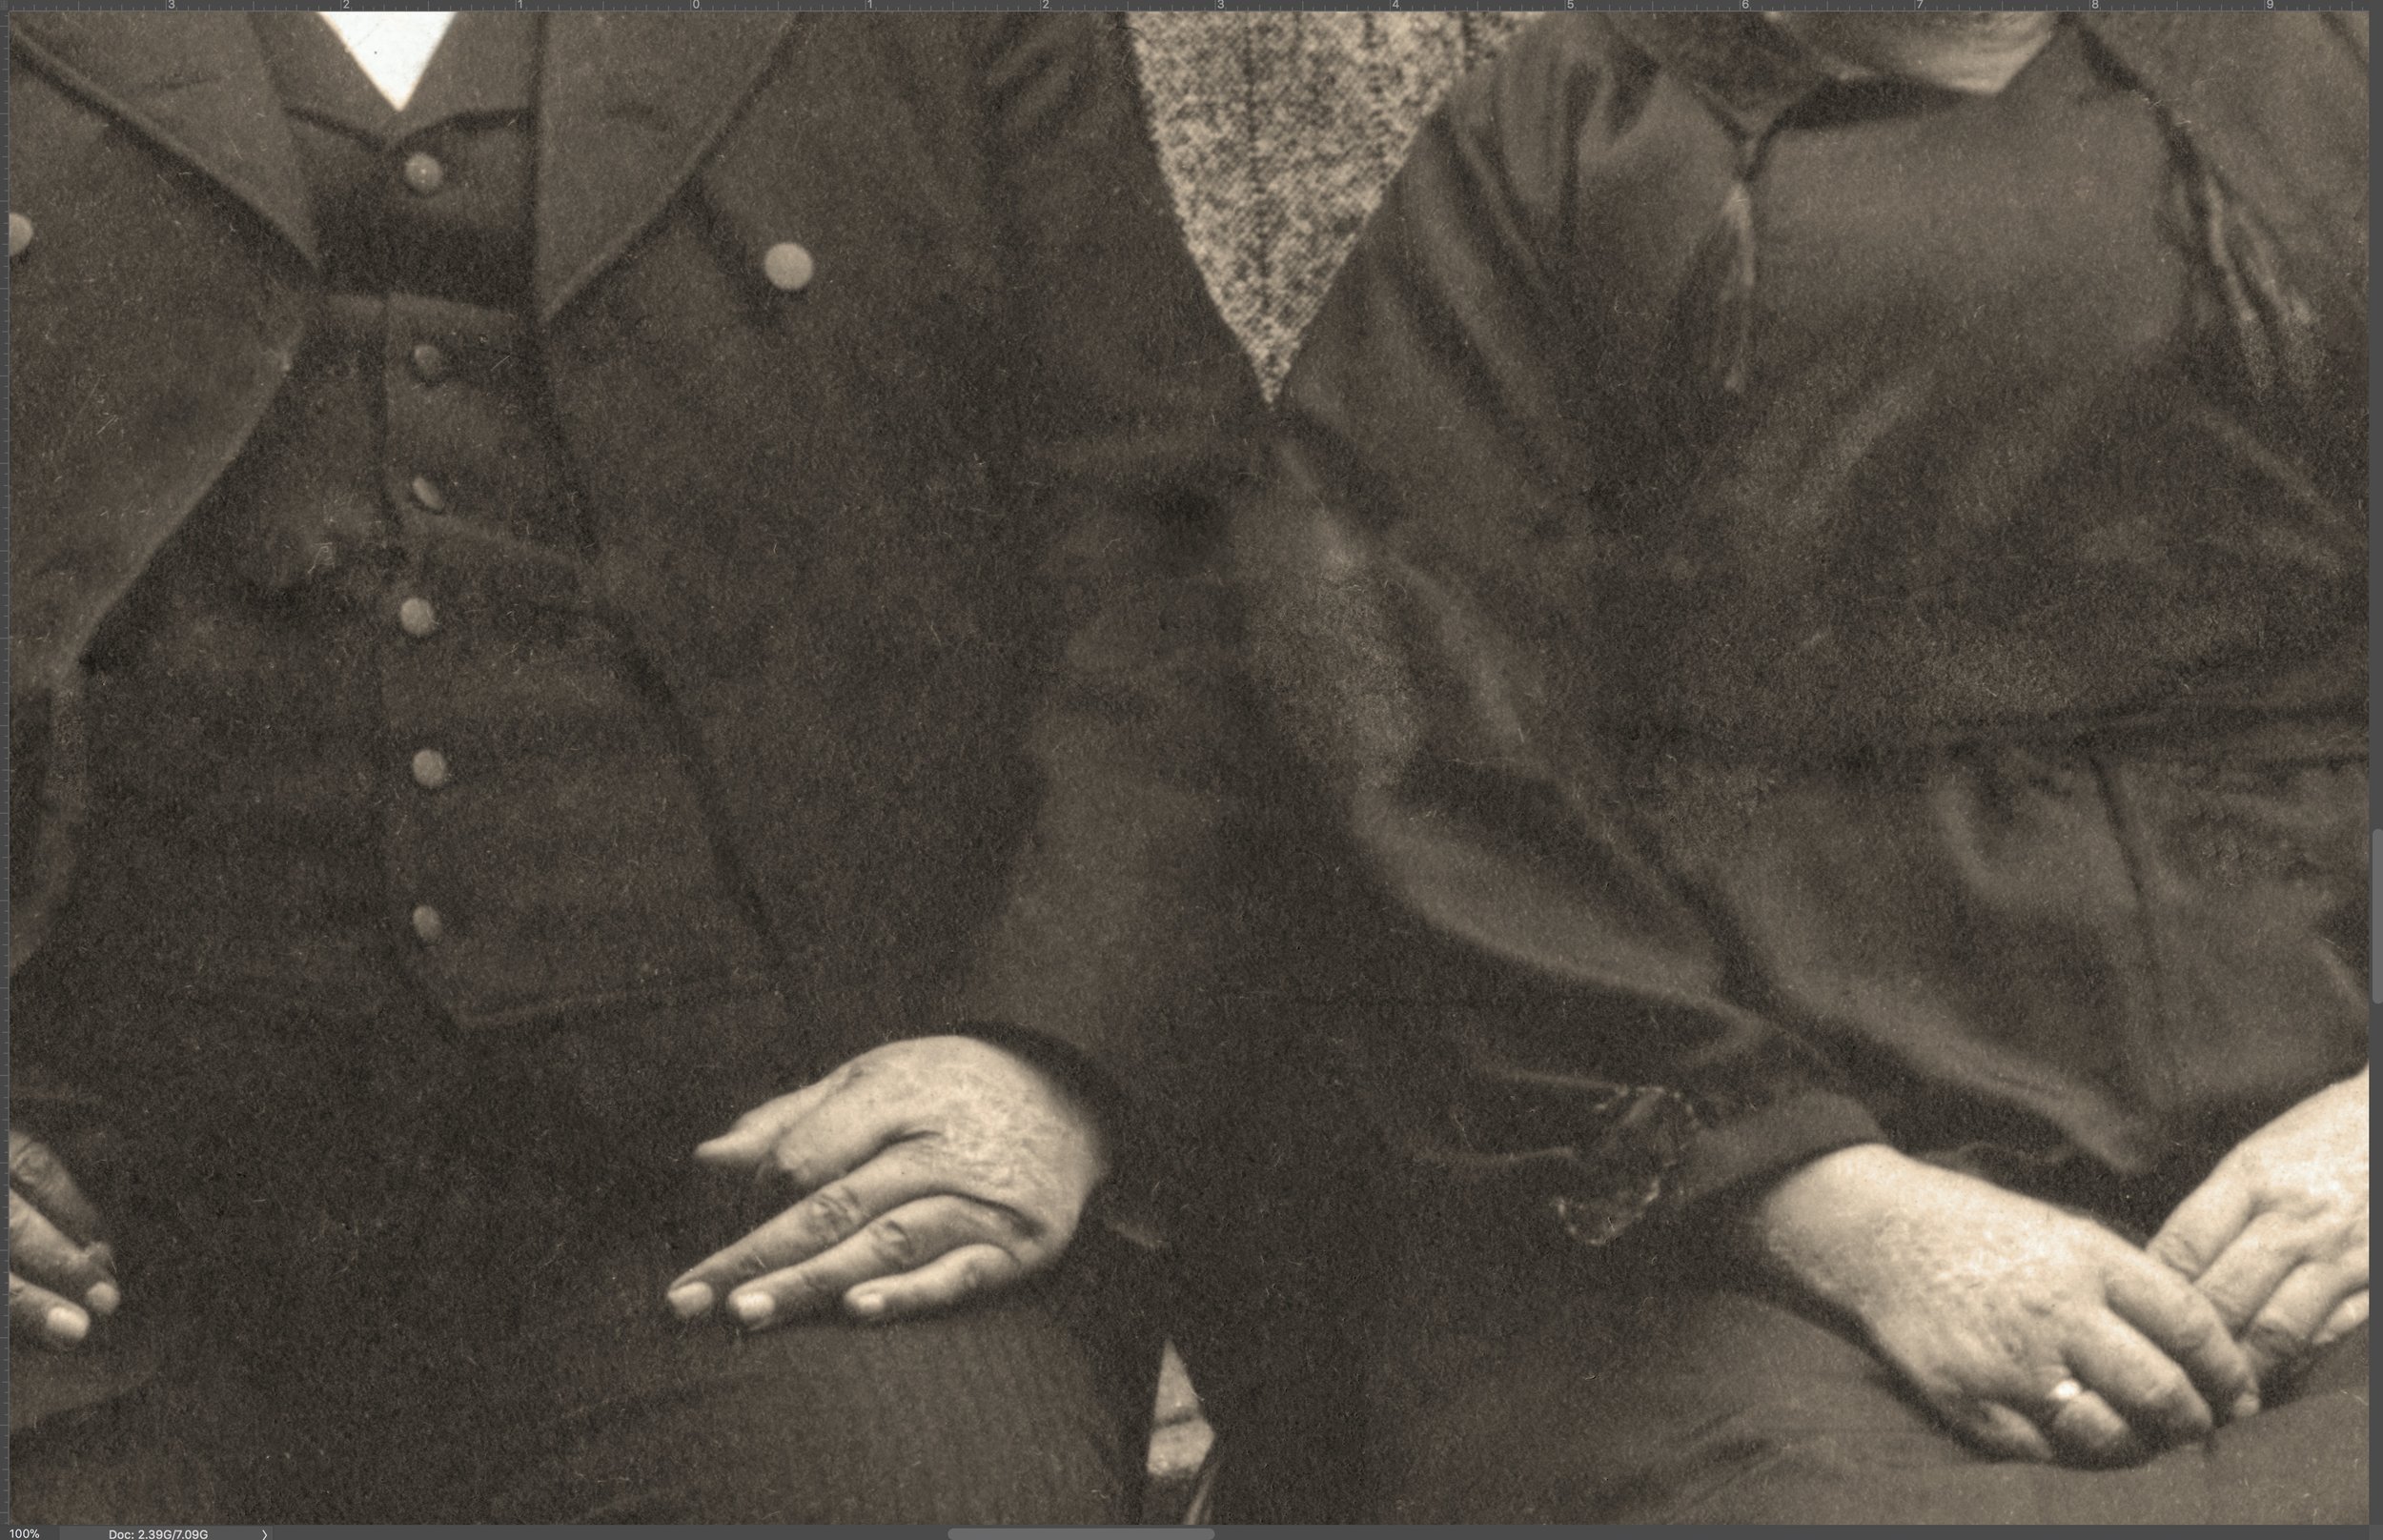
Below are two 100% crops showing a before and after state.
Leave a Reply