Introduction
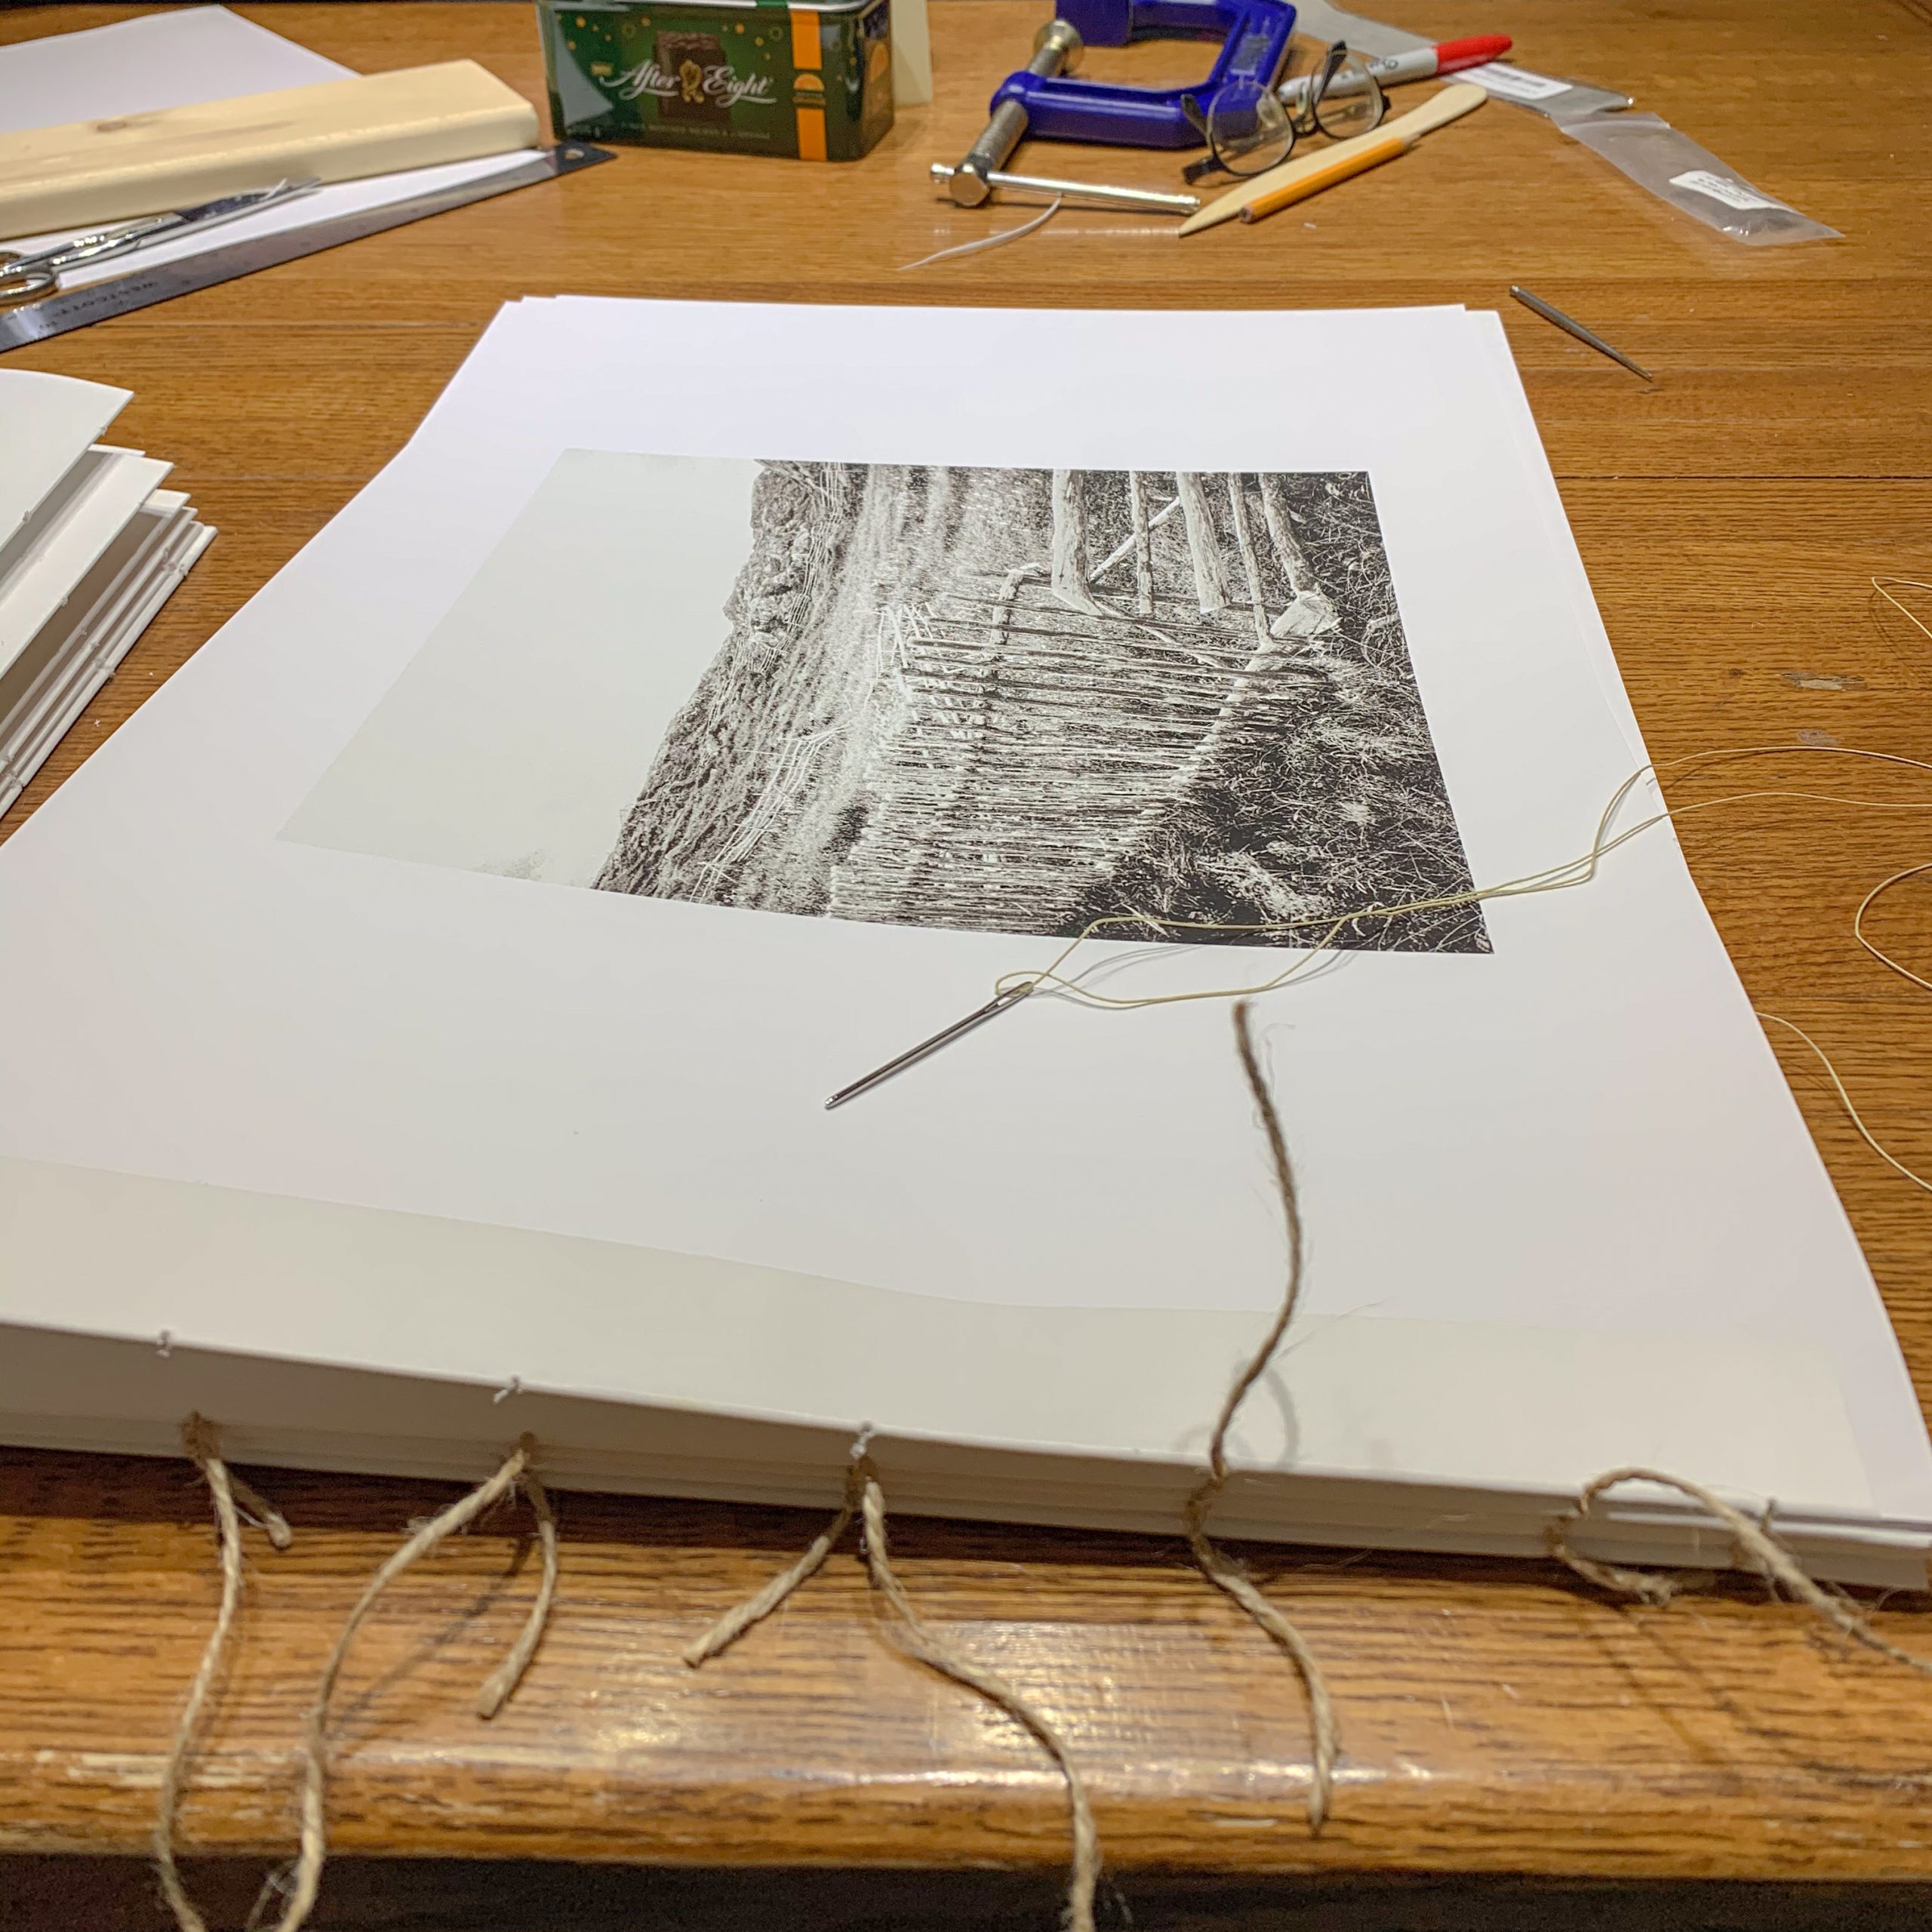
Over the last 15 years I have prepared over 20 physical photo books, using various printing-publishing services as well as making the books myself. While using a printing-publishing service such as Blurb is easier and faster than making a book from scratch, the latter usually results in better quality images. However, it requires book-making skills, a good printer, it is more time consuming, and tedious, if you want more than one copy.
But printing is only the last step in a longer process of creation that involves figuring out what to include and how to organize it. To help foster some ideas, I start with an historical overview of the photo album coupled with some notable examples. It is my hope that these examples, as well as your own experience with your own family’s albums, will help you identify some things you like, and may be don’t like. This is all in pursuit of an answer to the question: what differentiates a good photo album? I submit that it starts by establishing the objectives of the album (“Why Make a Photo Album”) and from that it follows what needs to be included in the album (“What makes an Album more Compelling”).
To help move us from the theoretical to the practical I describe some of the different styles of albums that might be used as frameworks for the content of the book, and then I look at different options for organizing it.
Finally, I summarize some of the publishing options, such as through social media, PDFs or physical books.
History
The earliest photo albums were created after the invention of the daguerreotype in 1839 and the subsequent introduction of the albumen print—a paper photograph—several years later. Initially, photos were one-of-a-kind (like paintings) and were often framed or stored in individual cases. But with the advent of paper photographs, multiple copies could be made, and people started collecting them in albums.
The Carte de Visite (Carte de visite – Wikipedia), a small photo mounted on a card, was introduced in the 1850s. These were easy to produce and collect, leading to a boom in photo albums. Many families had albums where they collected Cartes de Visite of family members, famous people, and other subjects. Cabinet Cards Era (Cabinet card – Wikipedia), a larger version of Cartes de Visite, became popular later in the 19th century.
With the introduction of portable cameras like the Kodak Brownie in the early 20th century, photography became accessible to the masses, and the snapshot was born. This led to a rise in informal, candid photography and family photo albums filled with personal and everyday life photos.
The introduction and eventual prevalence of color film added a new dimension to photo albums. Family events, vacations, and everyday life were now captured in full color, adding vibrancy to the photographic records.
The development of digital photography and the internet in the late 20th and early 21st centuries brought a major shift. Physical photo albums have increasingly given way to digital ones—collections of digital photos stored on computers or shared online on social media platforms or photo-sharing websites.
Today, we have a mix of physical and digital albums. Some people enjoy the tangibility and craftsmanship of a physical album and use services that print digital photos into book form. At the same time, digital albums continue to be popular because they are easy to create, share, and store.
Examples:
Francis Frith’s Egypt, Sinai, and Jerusalem (Exhibition – Egypt, Sinai, and Jerusalem: A Series of Twenty Photographic Views – Robert Koch Gallery): In the mid-19th century, Francis Frith, an English photographer, took a series of trips to the Middle East, capturing images of important historical and cultural sites. His photographs were printed as albumen prints, which were often compiled into albums. These were some of the first comprehensive photographic records of these regions.
Samuel Bourne’s India (Samuel Bourne – Wikipedia): Samuel Bourne, a British photographer, traveled extensively in India in the 1860s and captured numerous photographs of the landscapes, architecture, and people. His photos were sold individually and as albums.
George Eastman Kodak Brownie albums (Snapshot Albums, 1900-1969 · Photographies): The Kodak Brownie camera, introduced in the early 20th century, made photography accessible to the masses. Many people used these cameras during their travels and created personal photo albums documenting their journeys. While these may not be famous albums, they are significant as part of the democratization of travel photography.
Robert Frank’s “The Americans“: Although not strictly a travel photo album, this influential photography book by Swiss-American photographer Robert Frank was the result of his travels across America in the mid-1950s. The book challenged the conventional portrayal of America and had a major impact on the direction of photography.
Modern Travel Photo Books: Today, many professional photographers and travelers create photo books of their travels, which are published and sold commercially. Examples include “End of the Earth: Voyages to Antarctica” by Peter Matthiessen and Eliot Porter, “In the Shadow of the Pyramids” by Laura El-Tantawy, and “Genesis” by Sebastião Salgado.
Digital and Social Media Albums: In the digital era, many people create online travel photo albums on platforms like Instagram, Flickr, and Facebook. These albums can be shared widely and provide an immediate way to document and share travel experiences. While they may not be physical albums, they represent a significant evolution in the tradition of the travel photo album.
Why make a photo album
Some of the obvious reasons to take the time to make a photo album are to keep a record; a record of travel, an event, special occasions, our children growing up, or broadly to preserve memories. If the last, the album represents a legacy that we can share with others and as such it takes on a little more importance.
If we look at a photo album simply as a storage device, a place to keep pictures, then the task is simply collecting pictures and pasting them in a book. However, if we look at the album more as a preservation of memories, then we will probably be a little more selective about which pictures we keep and what information we write down so that people reading this book, when we are not there, know what’s it all about.
If you think of a photo album as a means of recording memories then that forces you to start thinking about your objectives which in turn make you more selective about which pictures you include and how you describe them.
In describing a picture we could of course simply note the date, place, event and people in the photograph or we could go one step further and develop a story line. As we expand our objectives of the album we might even think about expressing our interpretation or finding a way to express the emotional impacts of an event. This might be done by more strictly curating the photography we include, or building a more complete narrative that merges text and image. We may even think about artistic expression to help convey an impression of events.
What makes an album more compelling
The answer to this question depends on the audience, or may be ourselves and what we find interesting. If we are creating an album to preserve memories that might be passed on to future generations — something we can give to our children and grandchildren — to be successful it is important to consider what they will need to know about each picture or series of pictures:
- what was the event?
- who are the people?
- where and when was the picture taken?
- is there a story behind the picture? what did this mean to you?
Look at your family’s photo albums (or the examples provided above) and think about what makes them interesting to you — or what you think is missing — and try to capture that in your work
What style of album do you want to make
We might go one step further and focus the book on a theme, such as travel, street photography, nature and landscape, architecture, family events, portraits, etc.
The style of an album determines the nature or tone of the book, and its content. A traditional photo album that might have been passed down to us is often simply a collection of pictures organized into a book format. These are usually relatively simple to prepare, and require little thought.
A documentary interpretation adds a little more focus and stresses some interesting observation about a travel destination, event or some other subject, while an essay that combines text and image could develop a deeper more poetic storyline, beyond a documentary. A Fine Art style creates an artistic interpretation of a journey, event, etc.
Organizing the content
There are several ways to organize the content in an album, the simplest being a Chronological Approach where photos are arranged in the order they were taken. This is a straightforward way to document a trip, for example, and is easy for viewers to follow.
Following a Thematic Approach we would arrange our photos by themes or categories, such as landscapes, portraits, food, wildlife, or cityscapes. This can be a fun and visually appealing way to organize photos, particularly if you took a lot of pictures of certain subjects.
Similarly, a in Geographical Approach photos are organized by location. This could be by country, city, or specific places within a city (e.g., different museums you visited). This approach can be especially effective for trips that covered multiple locations.
A Narrative Approach adds a bit more complexity to the preparation of the album as we want to arrange the photos to tell a story. This doesn’t have to follow the order in which the photos were taken but instead focuses on the overall storyline of the trip. This could involve grouping photos by events or experiences, rather than by time or location.
A Highlight Approach focuses on the most memorable or significant moments of a trip, event, etc. regardless of when or where they occurred. This could include the best photos, unique experiences, or anything else that stood out.
In a Personal Approach the photos are arranged based on personal significance. This might not make sense to an outsider, but the order is meaningful to you. For example, you could group photos based on the emotions they evoke, the people you were with, or any other personal criteria.
An Aesthetic Approach could involve arranging photos by color, composition, lighting, or any other visual criteria. This is a more artistic approach and can result in a visually stunning album, though it might not convey the timeline or locations of your trip / event as clearly.
While these organizing frameworks are presented as discrete options, most albums will combine two or more of the above methods. For example, you might primarily use a geographical approach but have a separate section for thematic highlights (e.g., food or wildlife).
Publishing options
We could recreate the traditional photo album by printing off the photographs we want to include, and then add them to a physical album. However, with a combination of digital images and composition software, more options are available, including:
- PDFs: use some service to compose your album and then create a PDF and distribute by email or some other means
- Internet: use some service to compose, host and then distribute your photographs
- Photo books: use some service to compose and then print the results in a book format than may then be viewed “in person”
Each of the above options represents the present-day version of the traditional photo album, differentiated by how you would like to distribute the content. Over the traditional photo album they all share certain benefits: they are easy edit; it is easier to make multiple copies; it is often price competitive.
How to publish a book
Steps
- Determine style, organization and select photographs.
- These three steps are closely related, as, for example, style selection may depend on which photographs available and vice versa.
- Selecting the organizational approach can be done at the macro level, such as chronologically, geographically, etc. Fine-grain organization of photographs will be done in the layout phase
- Layout the photographs and text.
- Use the software you have selected to: determine size of book, format (landscape, portrait or square), paper, hard or soft cover, etc. Then organize your photographs and text in the style you have chosen.
- Test Publish.
- Prepare a draft copy of the album by publishing it to a PDF format (most layout software offers this feature and it can be done at no charge)
- Publish book.
- Upload the layout from the software to the publisher
Using Blurb
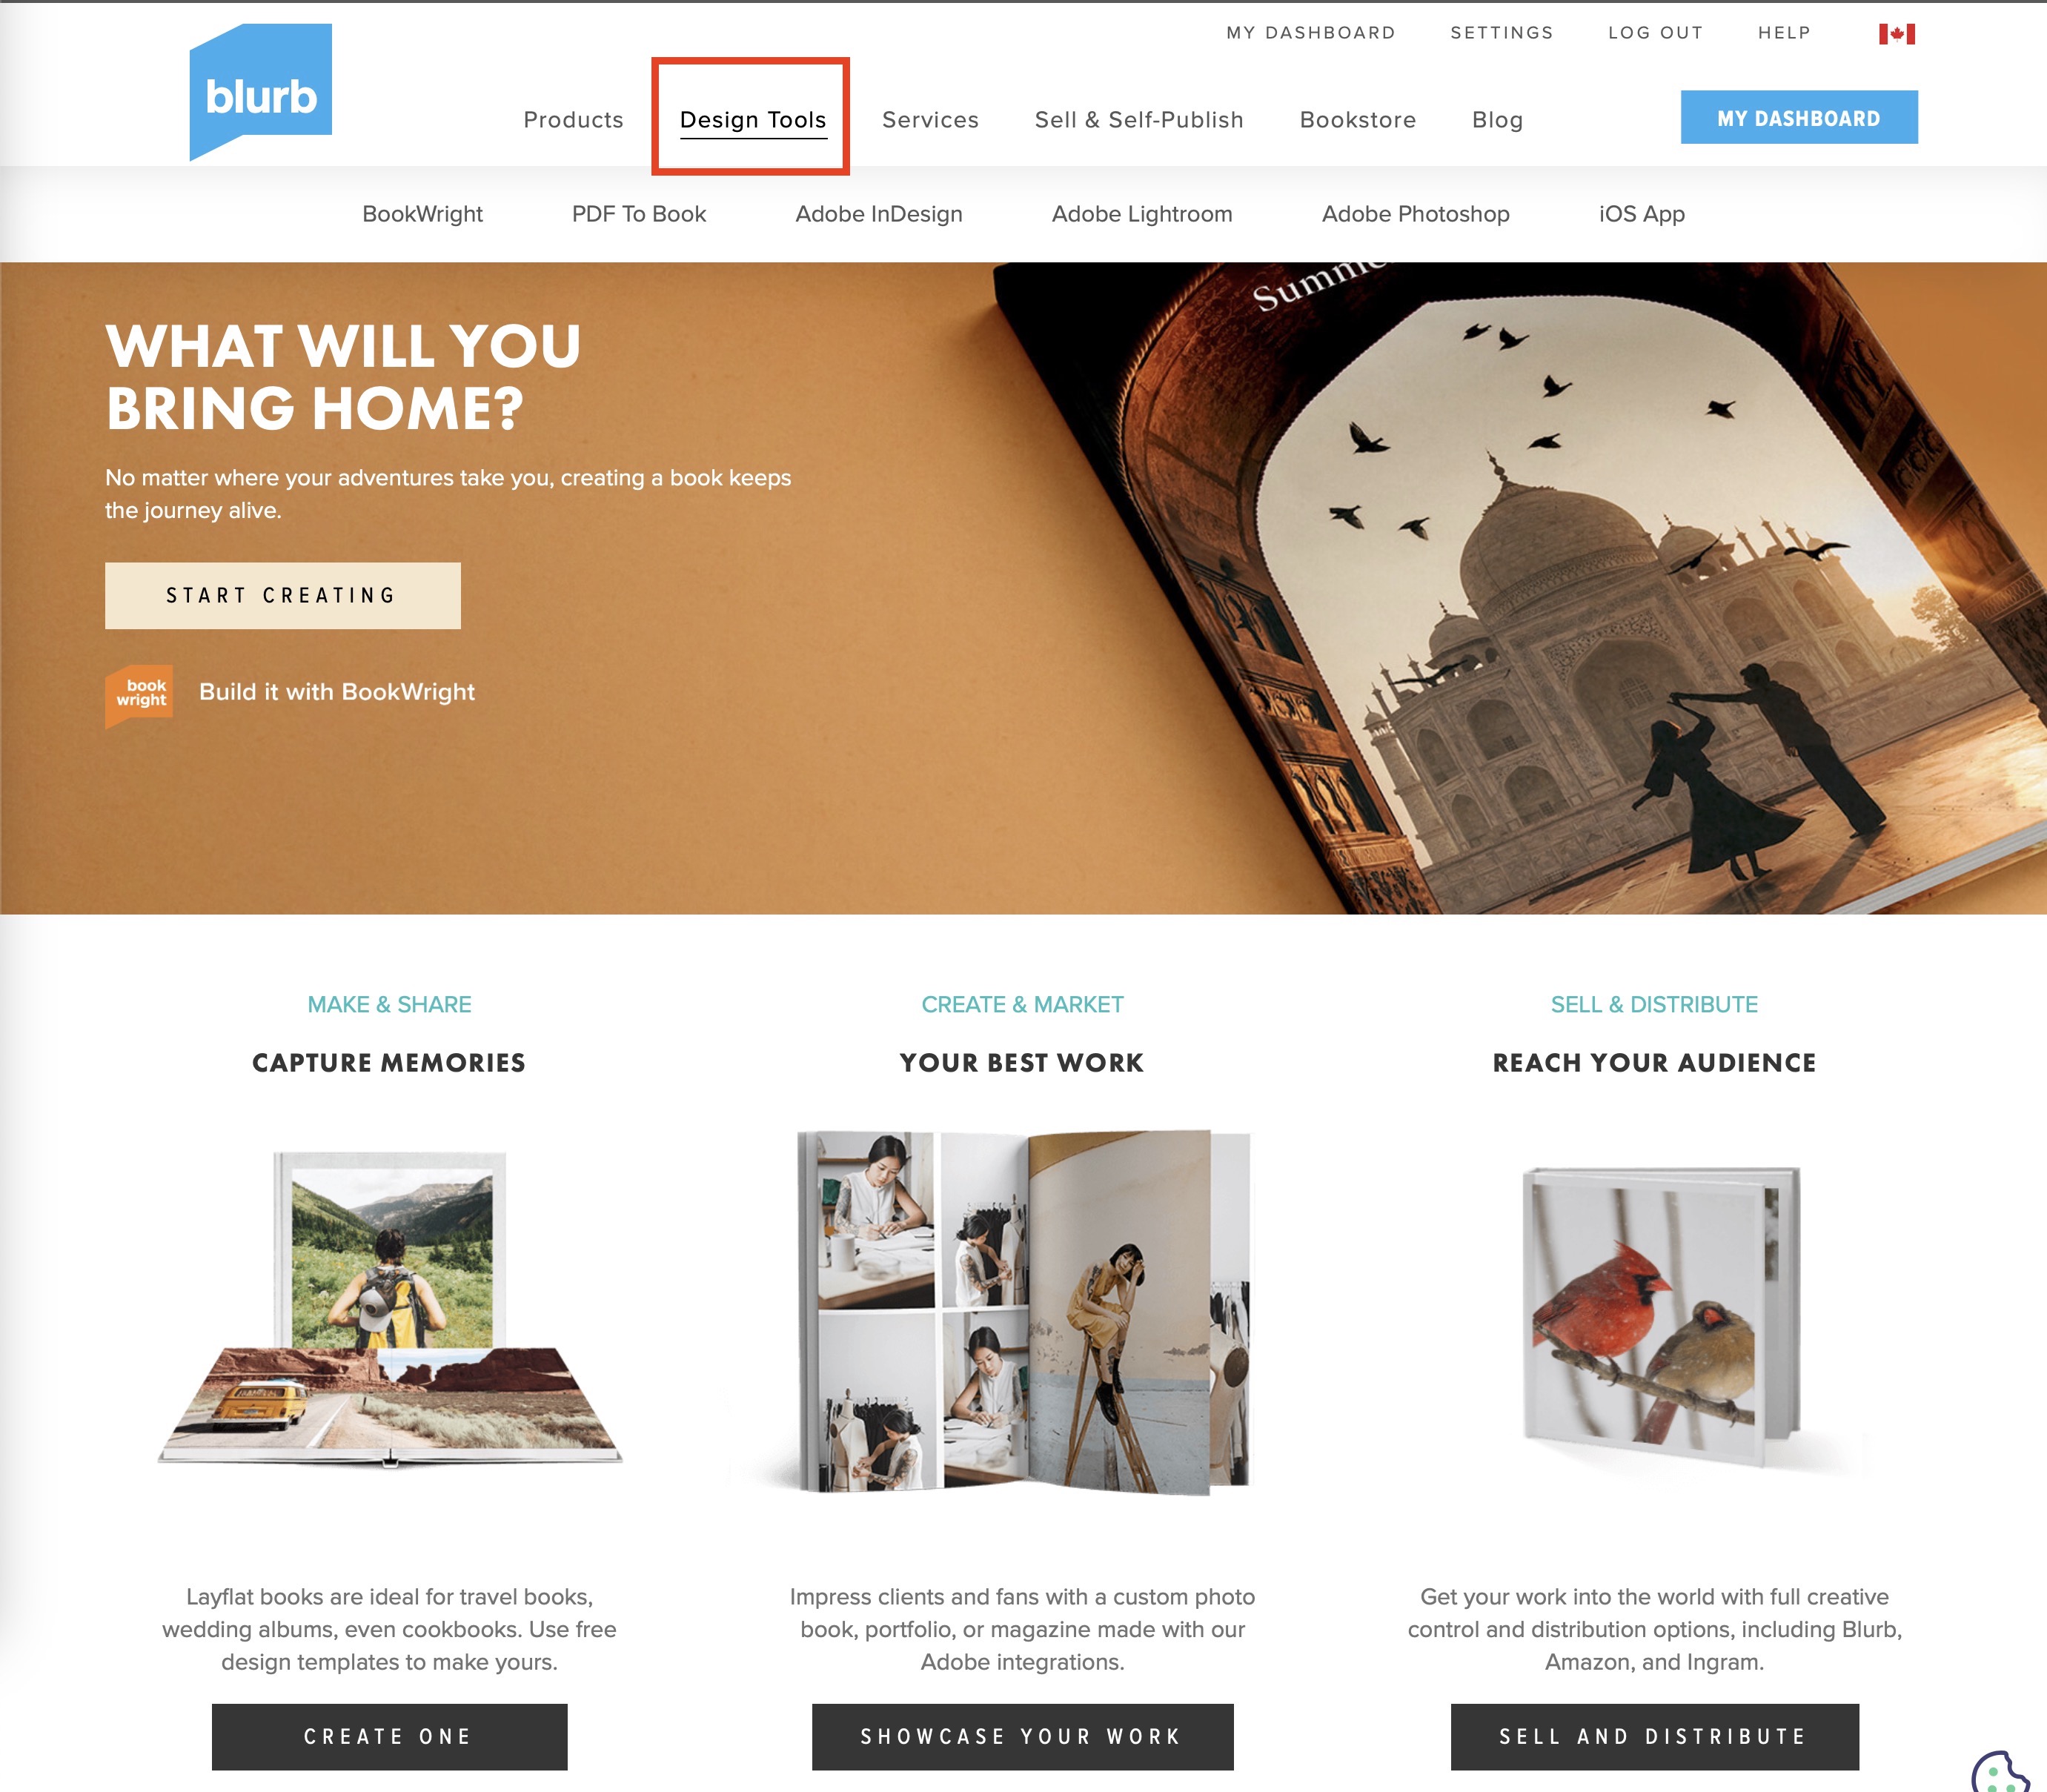
Goto to www.blurb.ca click on “Design Tools”
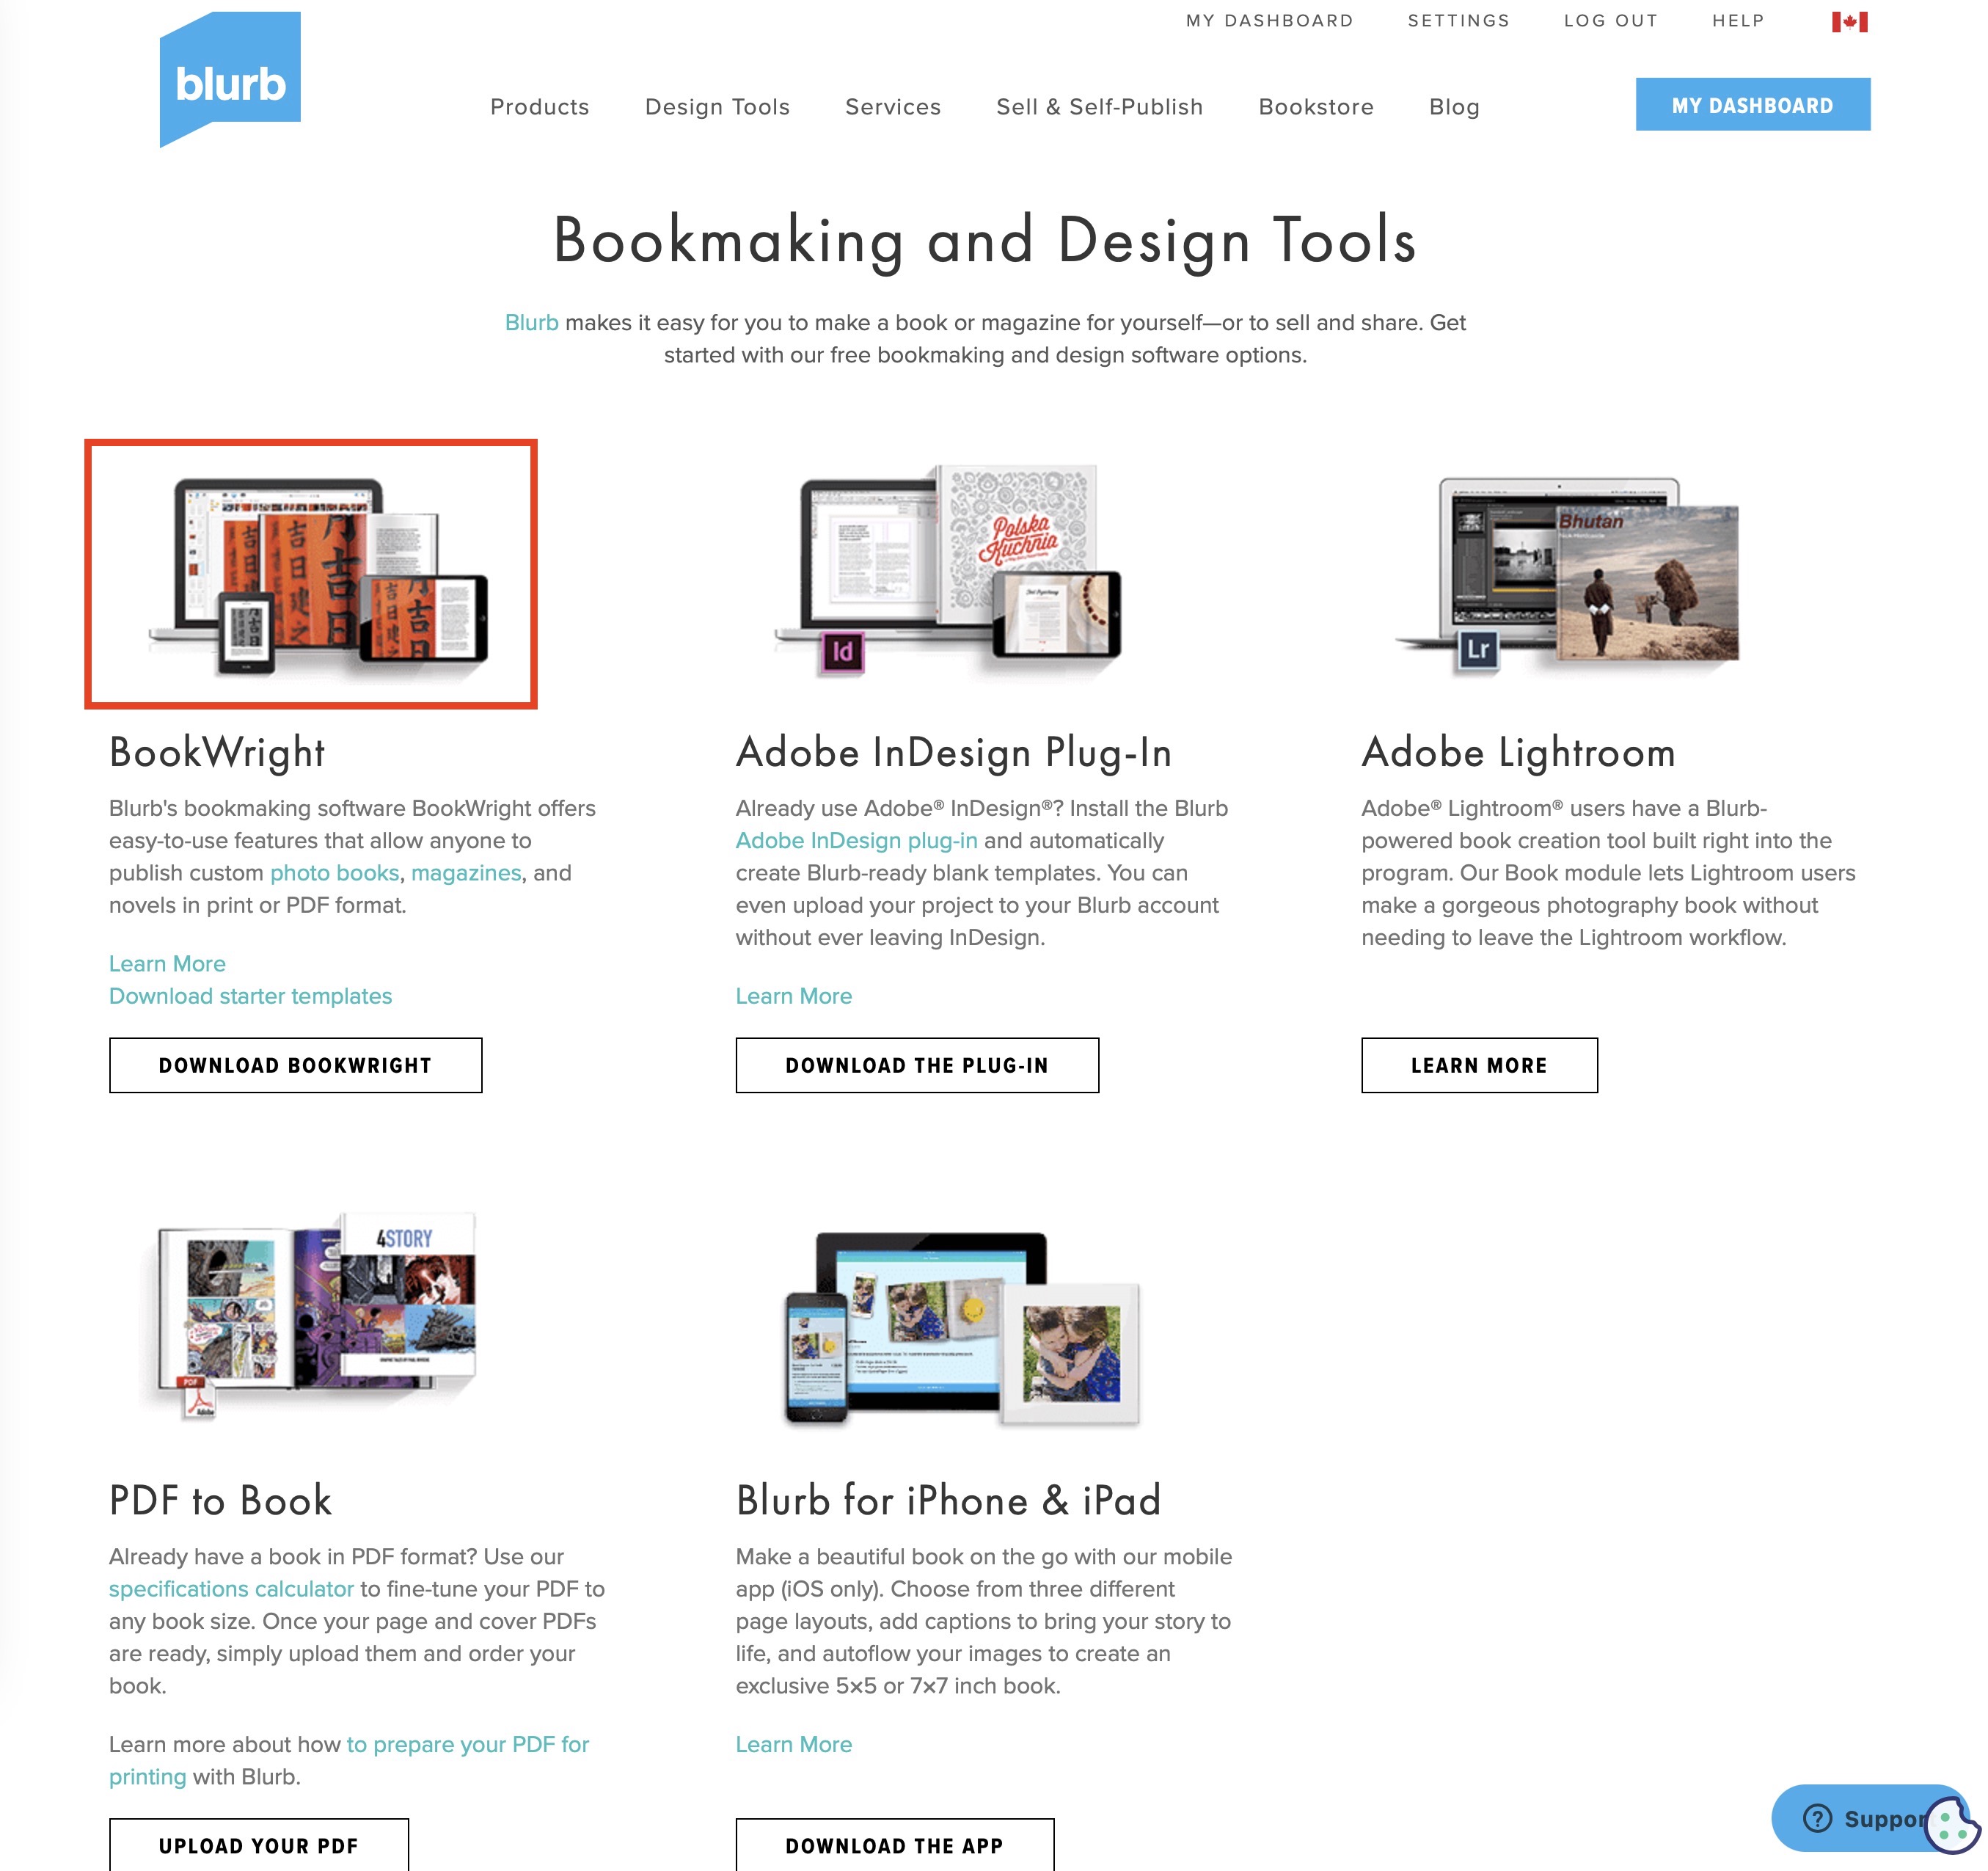
Click on the tool you want to use:
- For a desktop select “BookWright” (this is what I have selected)
- For a iPhone or iPad select “Blurb for iPhone & iPad”
Click on “Get Started for Free”

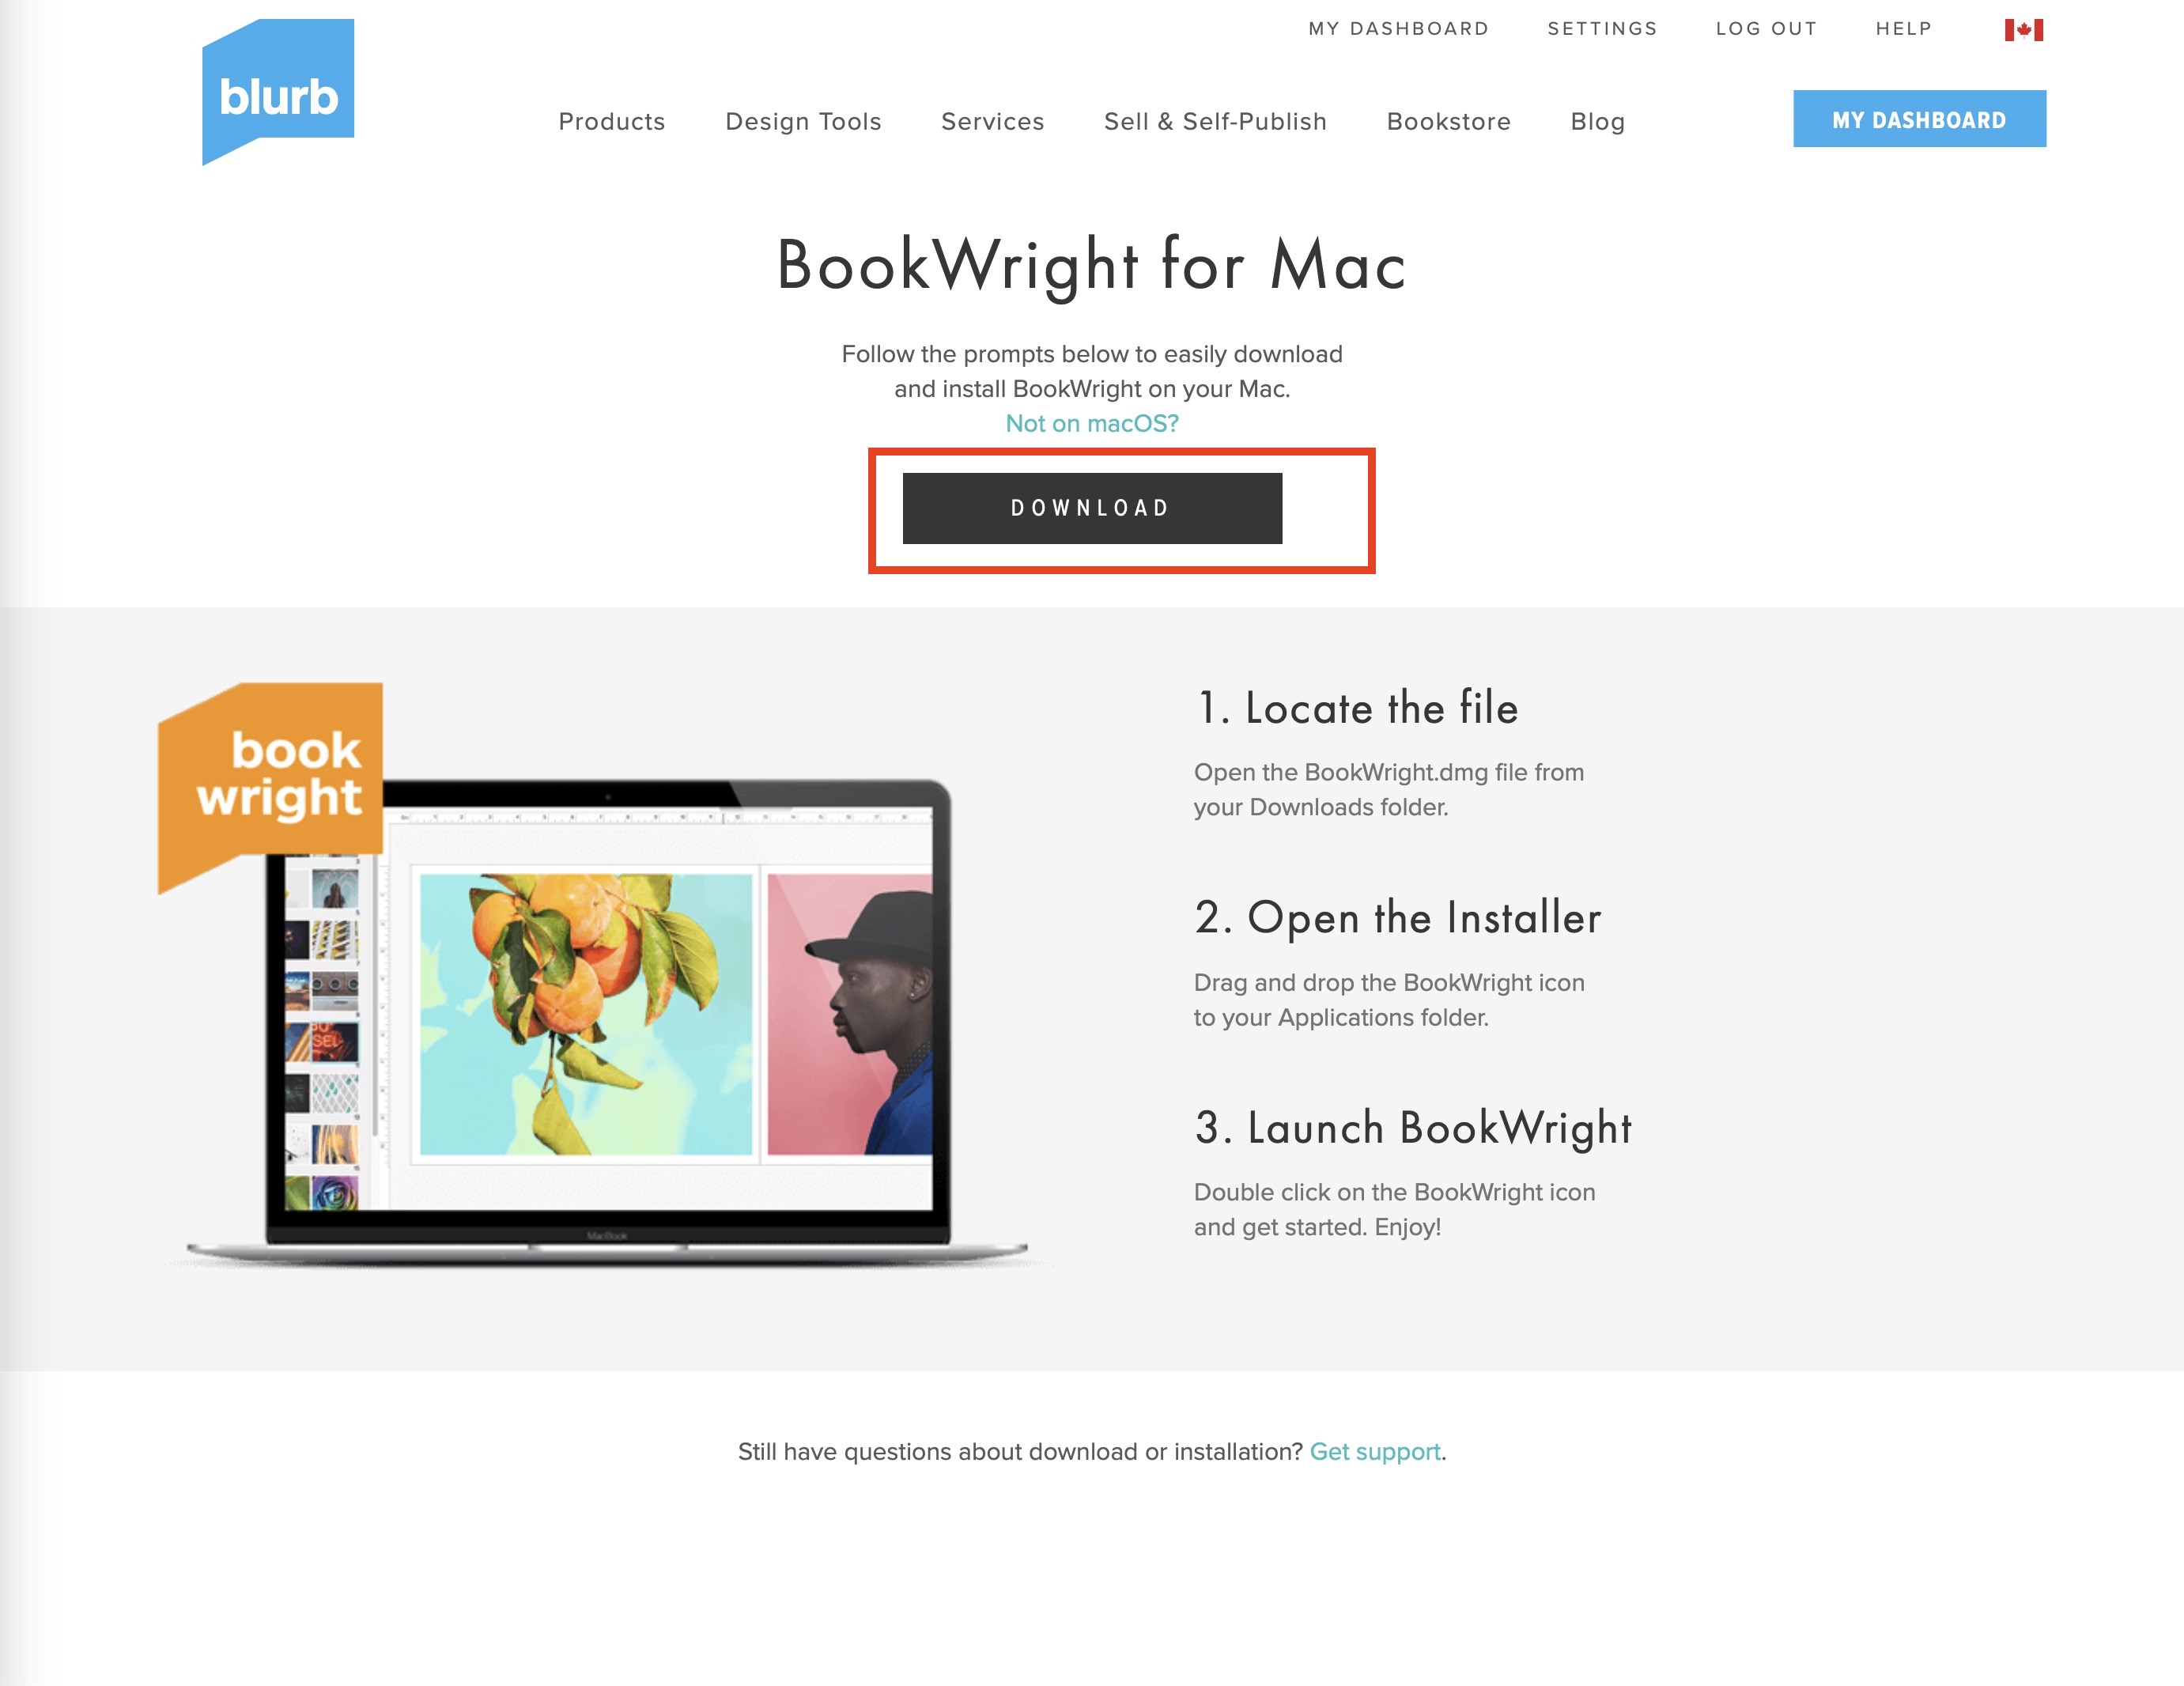
Click on “Download” and then install the software
Go to Help Center for detailed instructions on how to use the software.
Suggestions:
- Experiment with the software
- There is no cost to playing around with the software
- Become familiar with the way it works
- Try different templates (page layouts); you don’t need to follow the same page layout for every page. You can mix and match
- Publish a draft to a PDF file (this is free)
- Regardless of how it looks on the screen, seeing it in a PDF will change how you “see it”
- Send the PDF to some others to get feedback
- If you decide to print the book, Blurb recommends printing one copy first, before ordering multiple copies
- The overhead cost is additional postage (and time to deliver)
- However, keep in mind the printed images will look different on paper than on the screen (they are often darker on paper) so you may not like the results
- Paper Choices will affect how the pictures look. I usually use a semi-gloss or glossy paper – see the following articles:
Next Steps
- Add more visual examples of the different styles of albums.
- Provide more specific tips or guidelines for selecting photographs and organizing them in the album.
- Include information on how to choose the right printing-publishing service and software for creating physical or digital albums.
- Consider adding a section on preserving and storing physical photo albums to ensure their longevity.