I had two options for the book: have it professionally printed or make the book myself. I did both. I decided to send the book off to a printer as a ‘plan B’ in case I ran into serious problems with making the book myself.
Making a book isn’t that difficult, although making it to the standards of a printer / publisher is. I found two steps, in particular, difficult: [1] getting the binding (sewing) tight [2] attaching the book cover. After several attempts, my quality improved, but it still has a ways to go. Laying-out the pages on the sheets to be printed was done with Keynote (PowerPoint); I would prefer to print from Lightroom as I have more control over the printer. But I didn’t have time to figure out the process as it turned out to be less straightforward than I thought it would be.
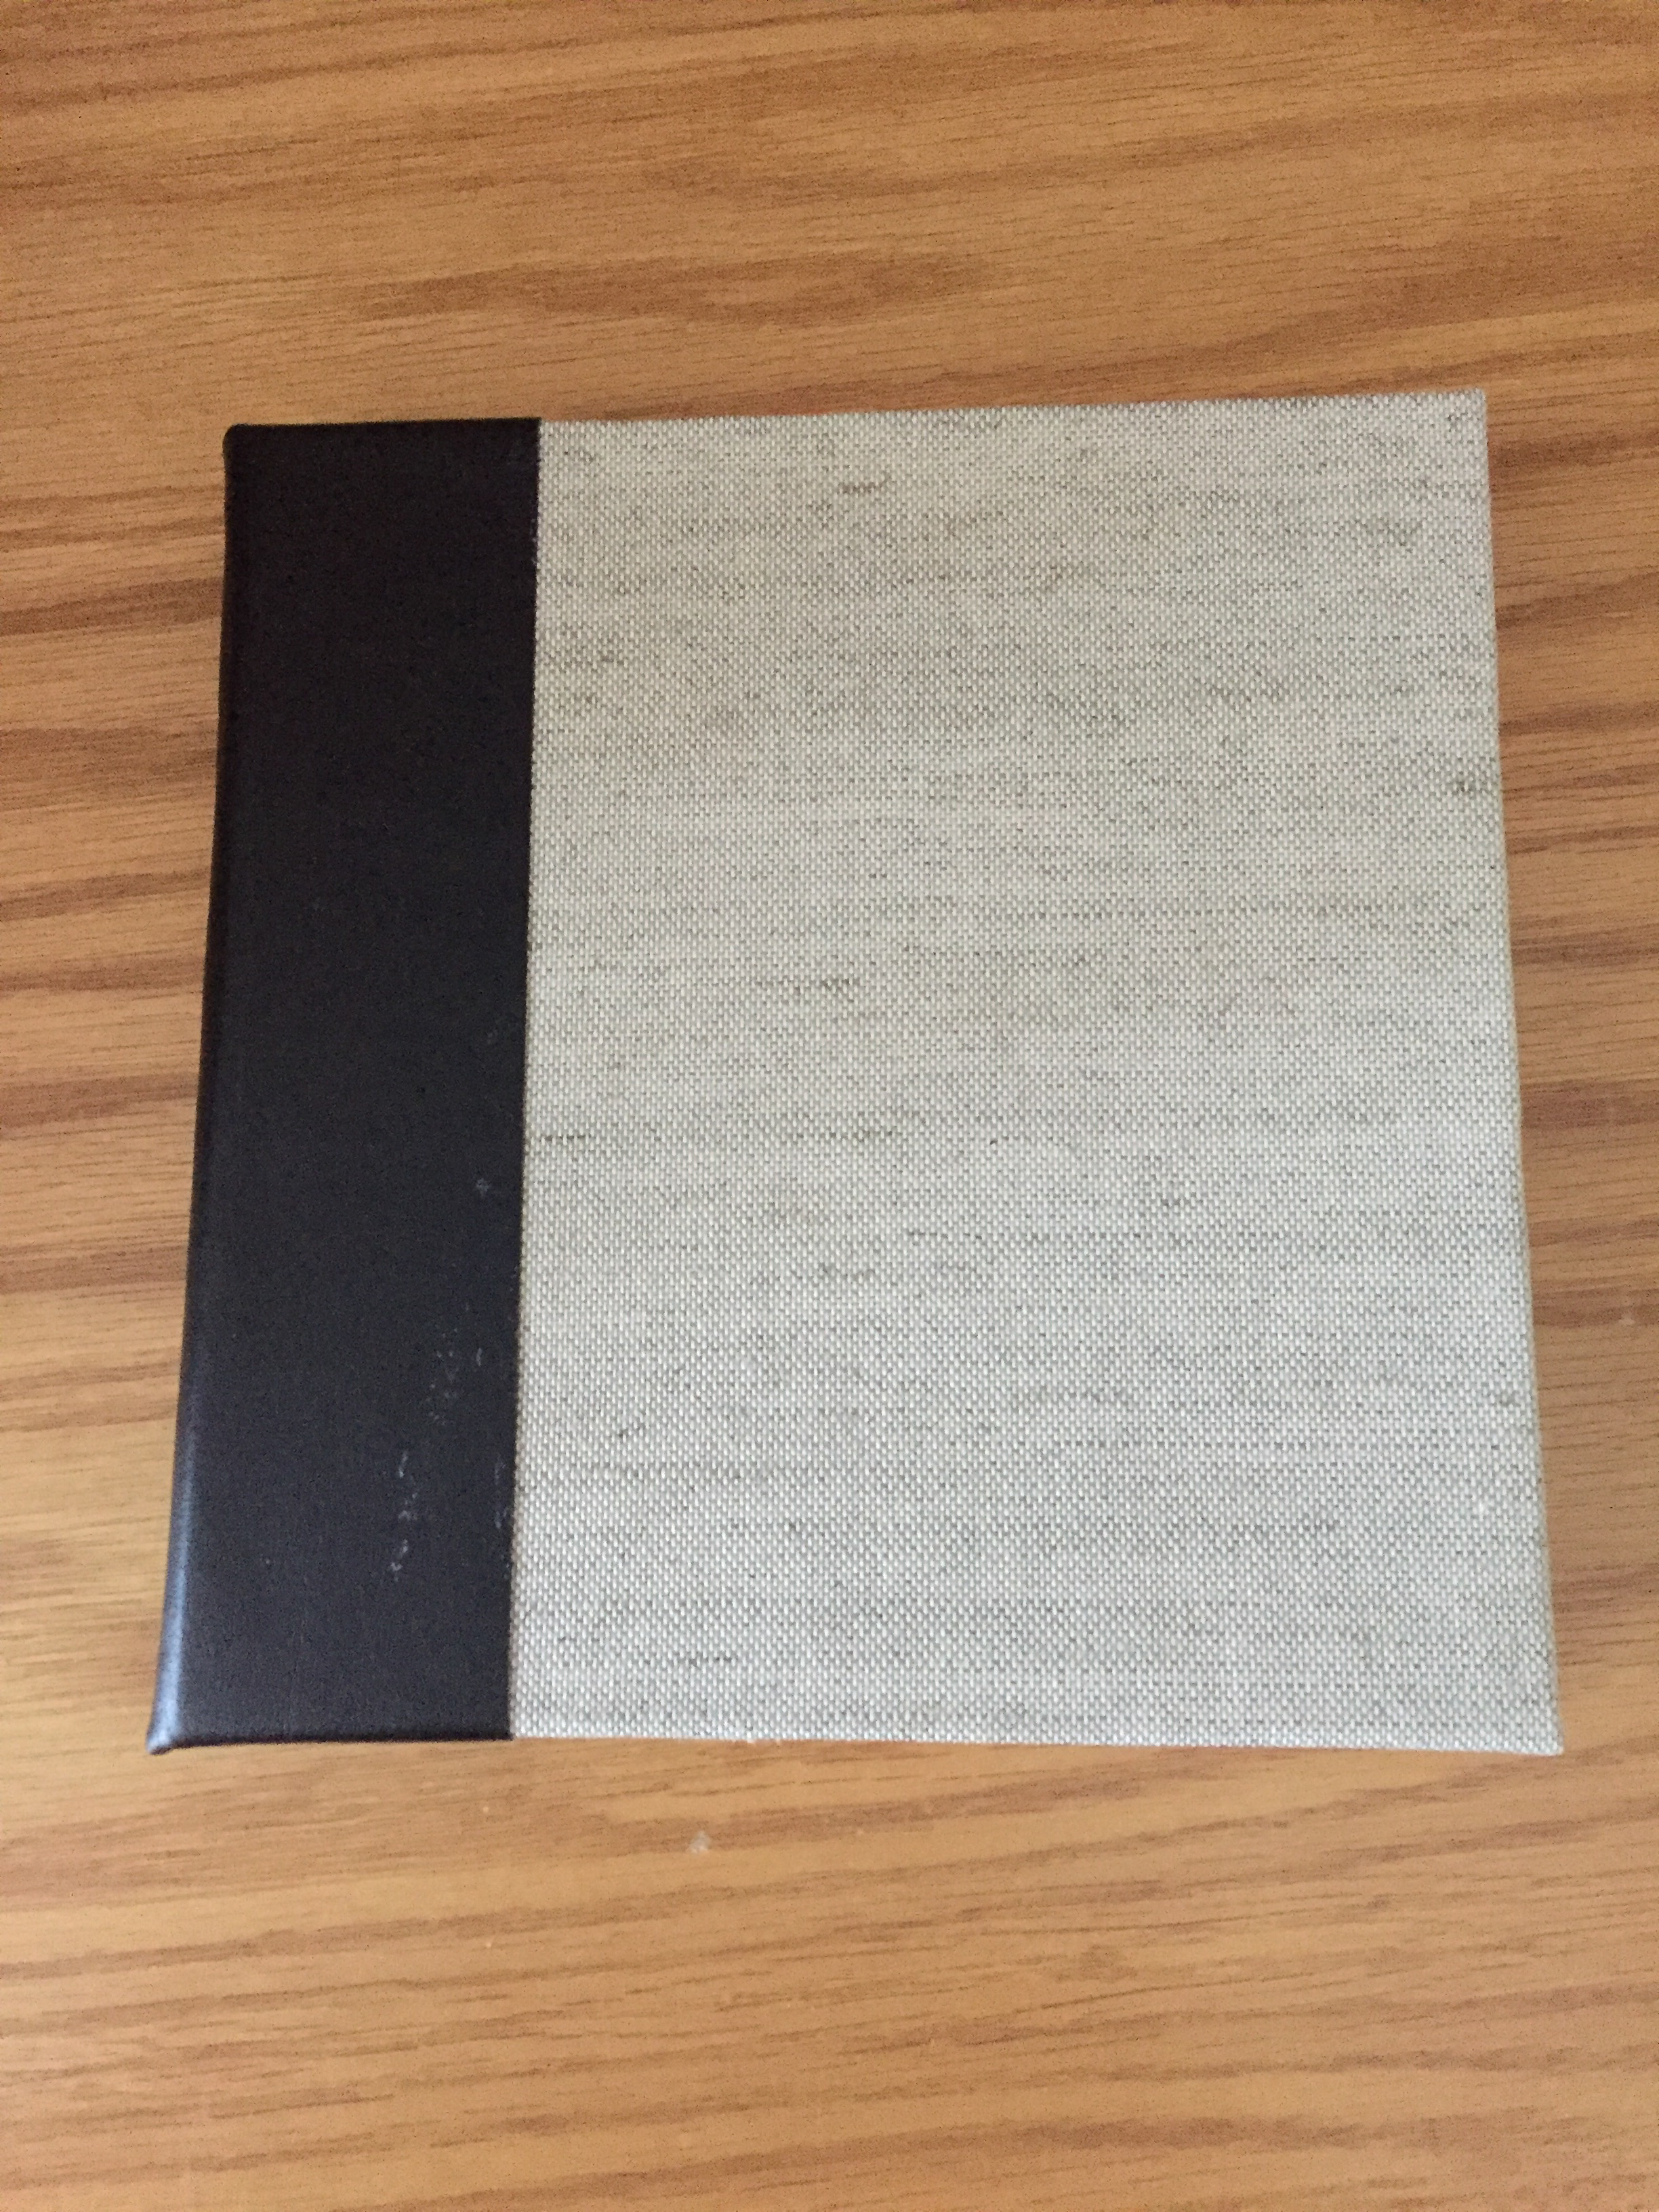
Comparing the two results, the home-made version certainly has more character, and (in my mind) a better feel. This comes in part from the choice of a thicker paper than was available from a printer and the imperfections in the book quality. The sense of feel, however, is essential to a book; without it the content could be equally distributed electronically with no impact. As such, for this book project, where a more casual result is acceptable, the home-made book option was the better one. With a home-made book there were a few things I could do, that a printer would not, such as printing on the inside of the book cover. With a home-made book there is a wider choice of paper, in this case I used a heavier paper, which has a more robust feel. While printers have improved colour rendition, it’s more controllable for the home-made book. The binding of a printed book is glued; home-made is sewn, meaning the home-made book will lie flat. I made three copies of the home-made book, each one prepared over a period of 3 days: one day to print (and dry); one day to cut, fold, sew, build and glue; one day for glue to dry. If one is planning on having several copies, printing professionally may be the better option for scale.
Having said all that, I will continue to print my own, for low-volume works.
The following series of photographs documents my step-by-step process.
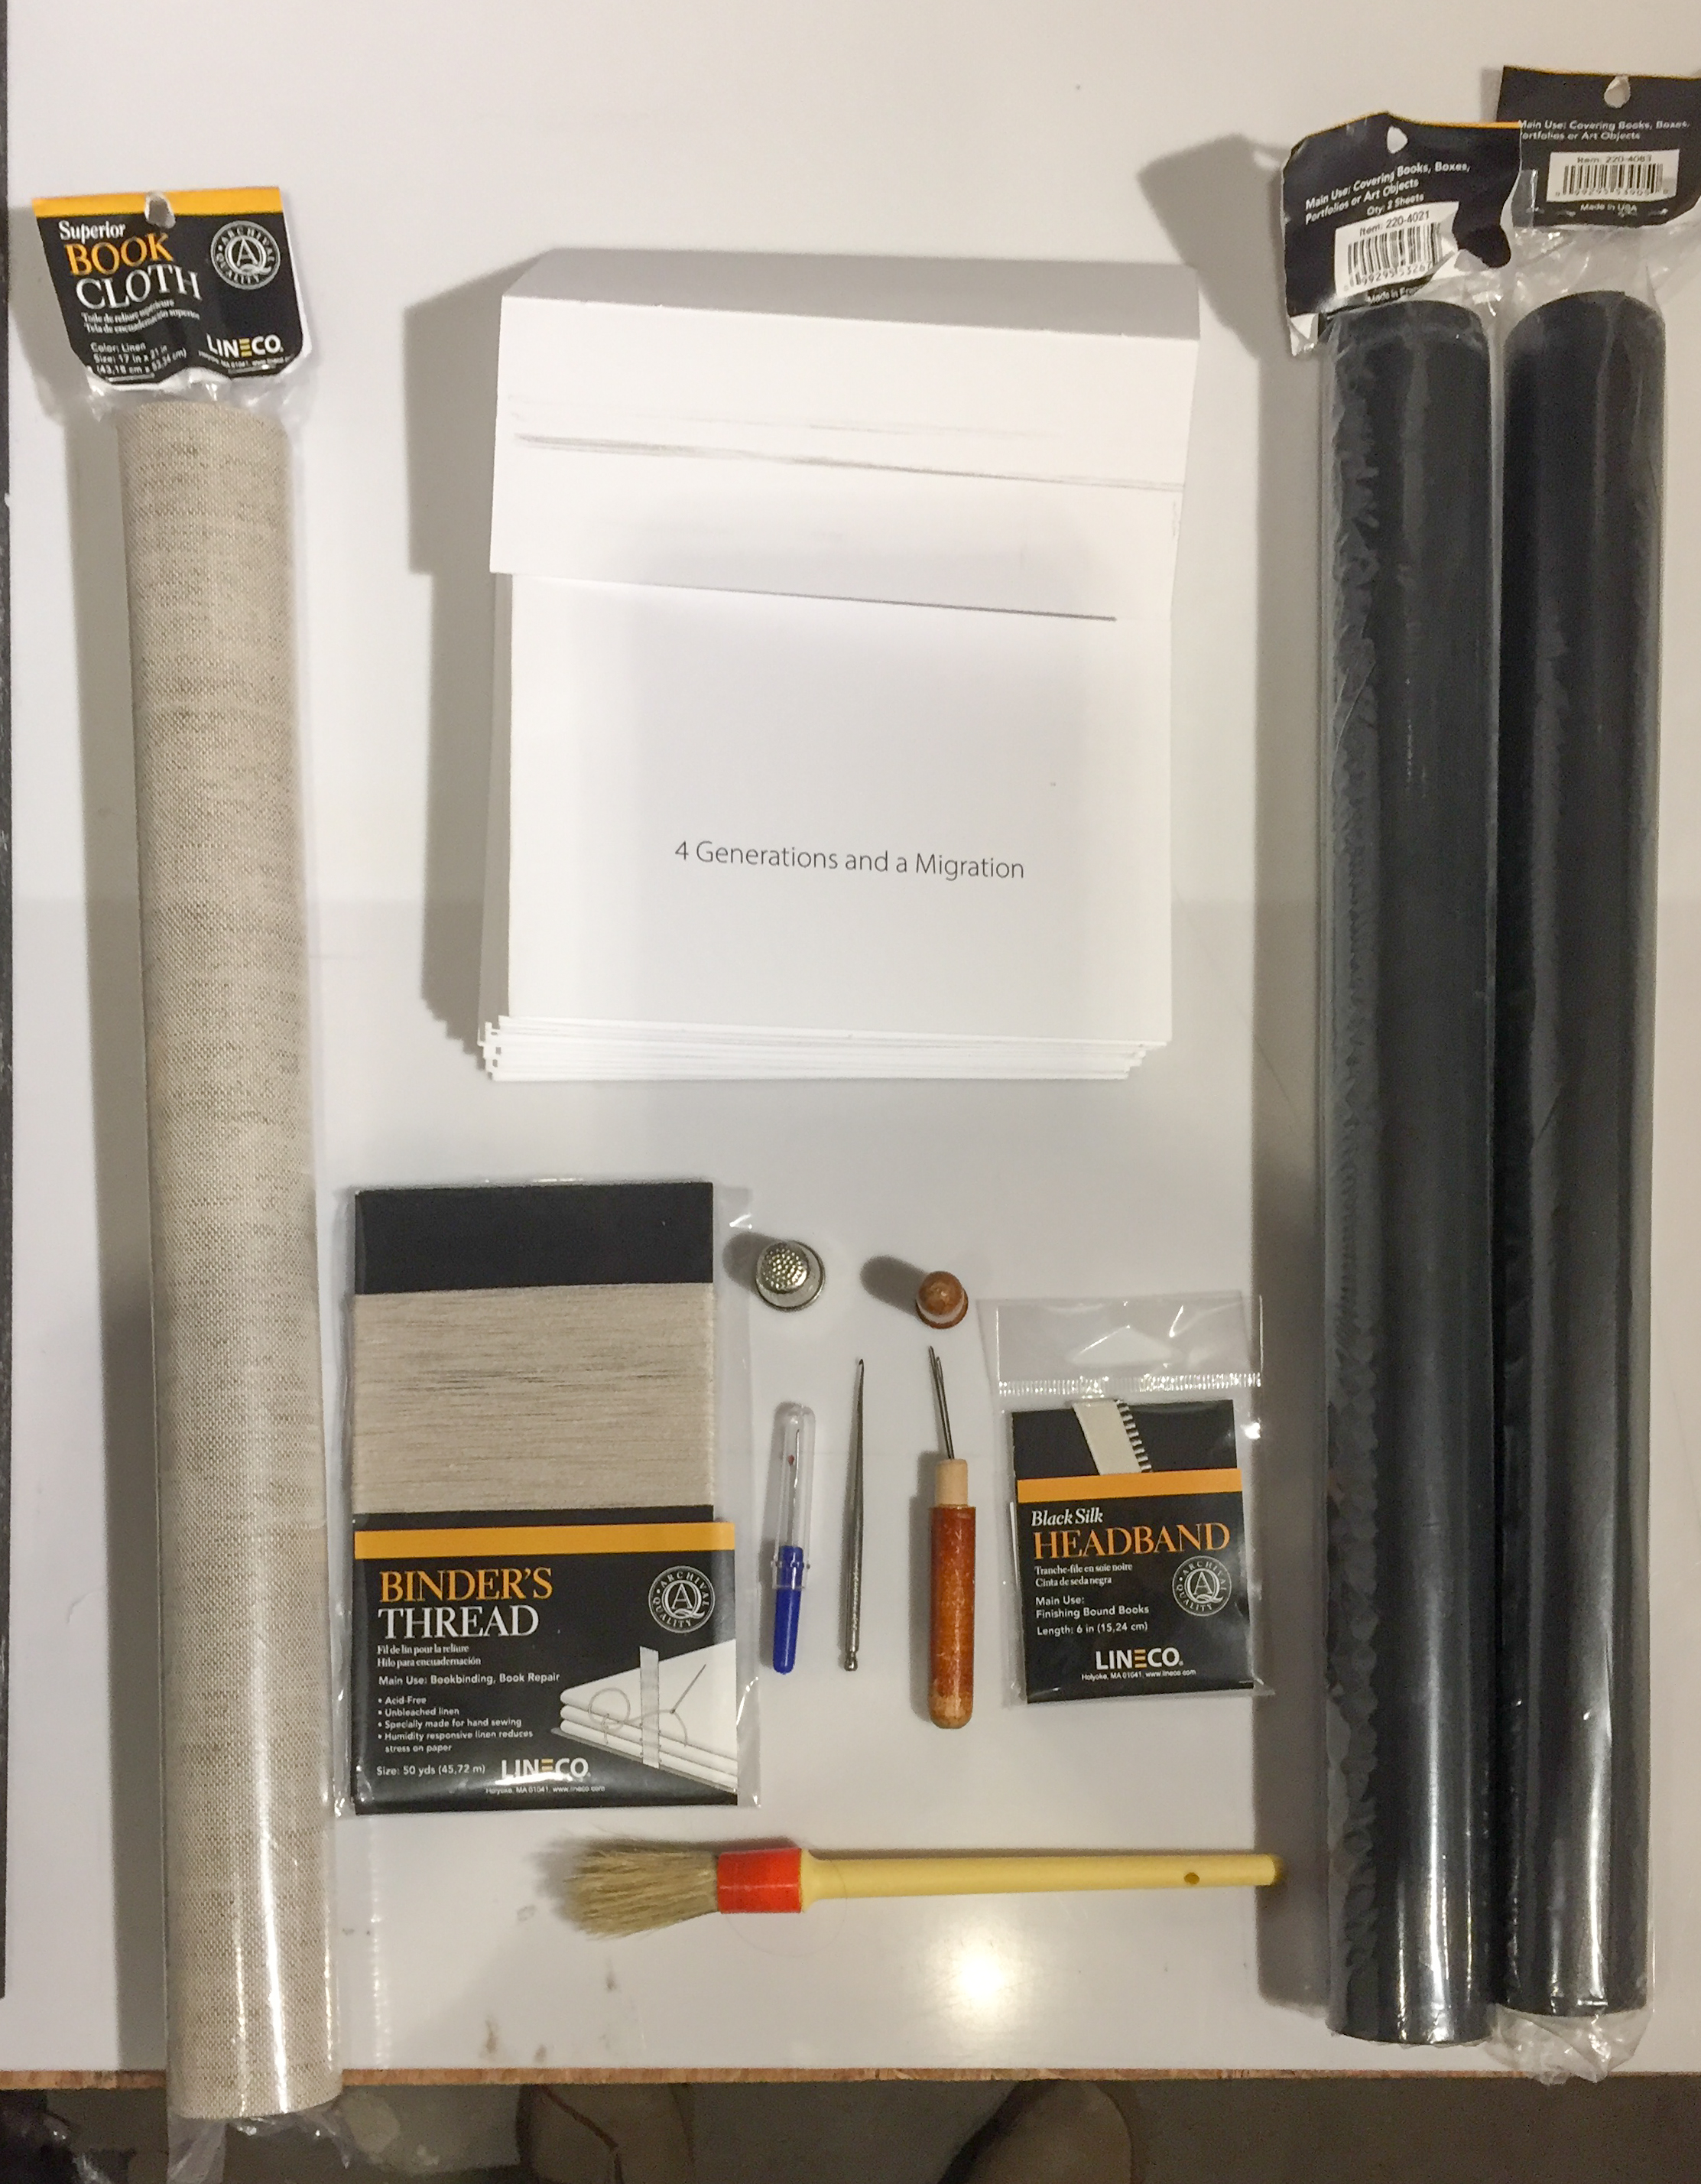
Tools
Many of the parts that go into the book.

The Paper
Double-sided matte paper, 235 grams.
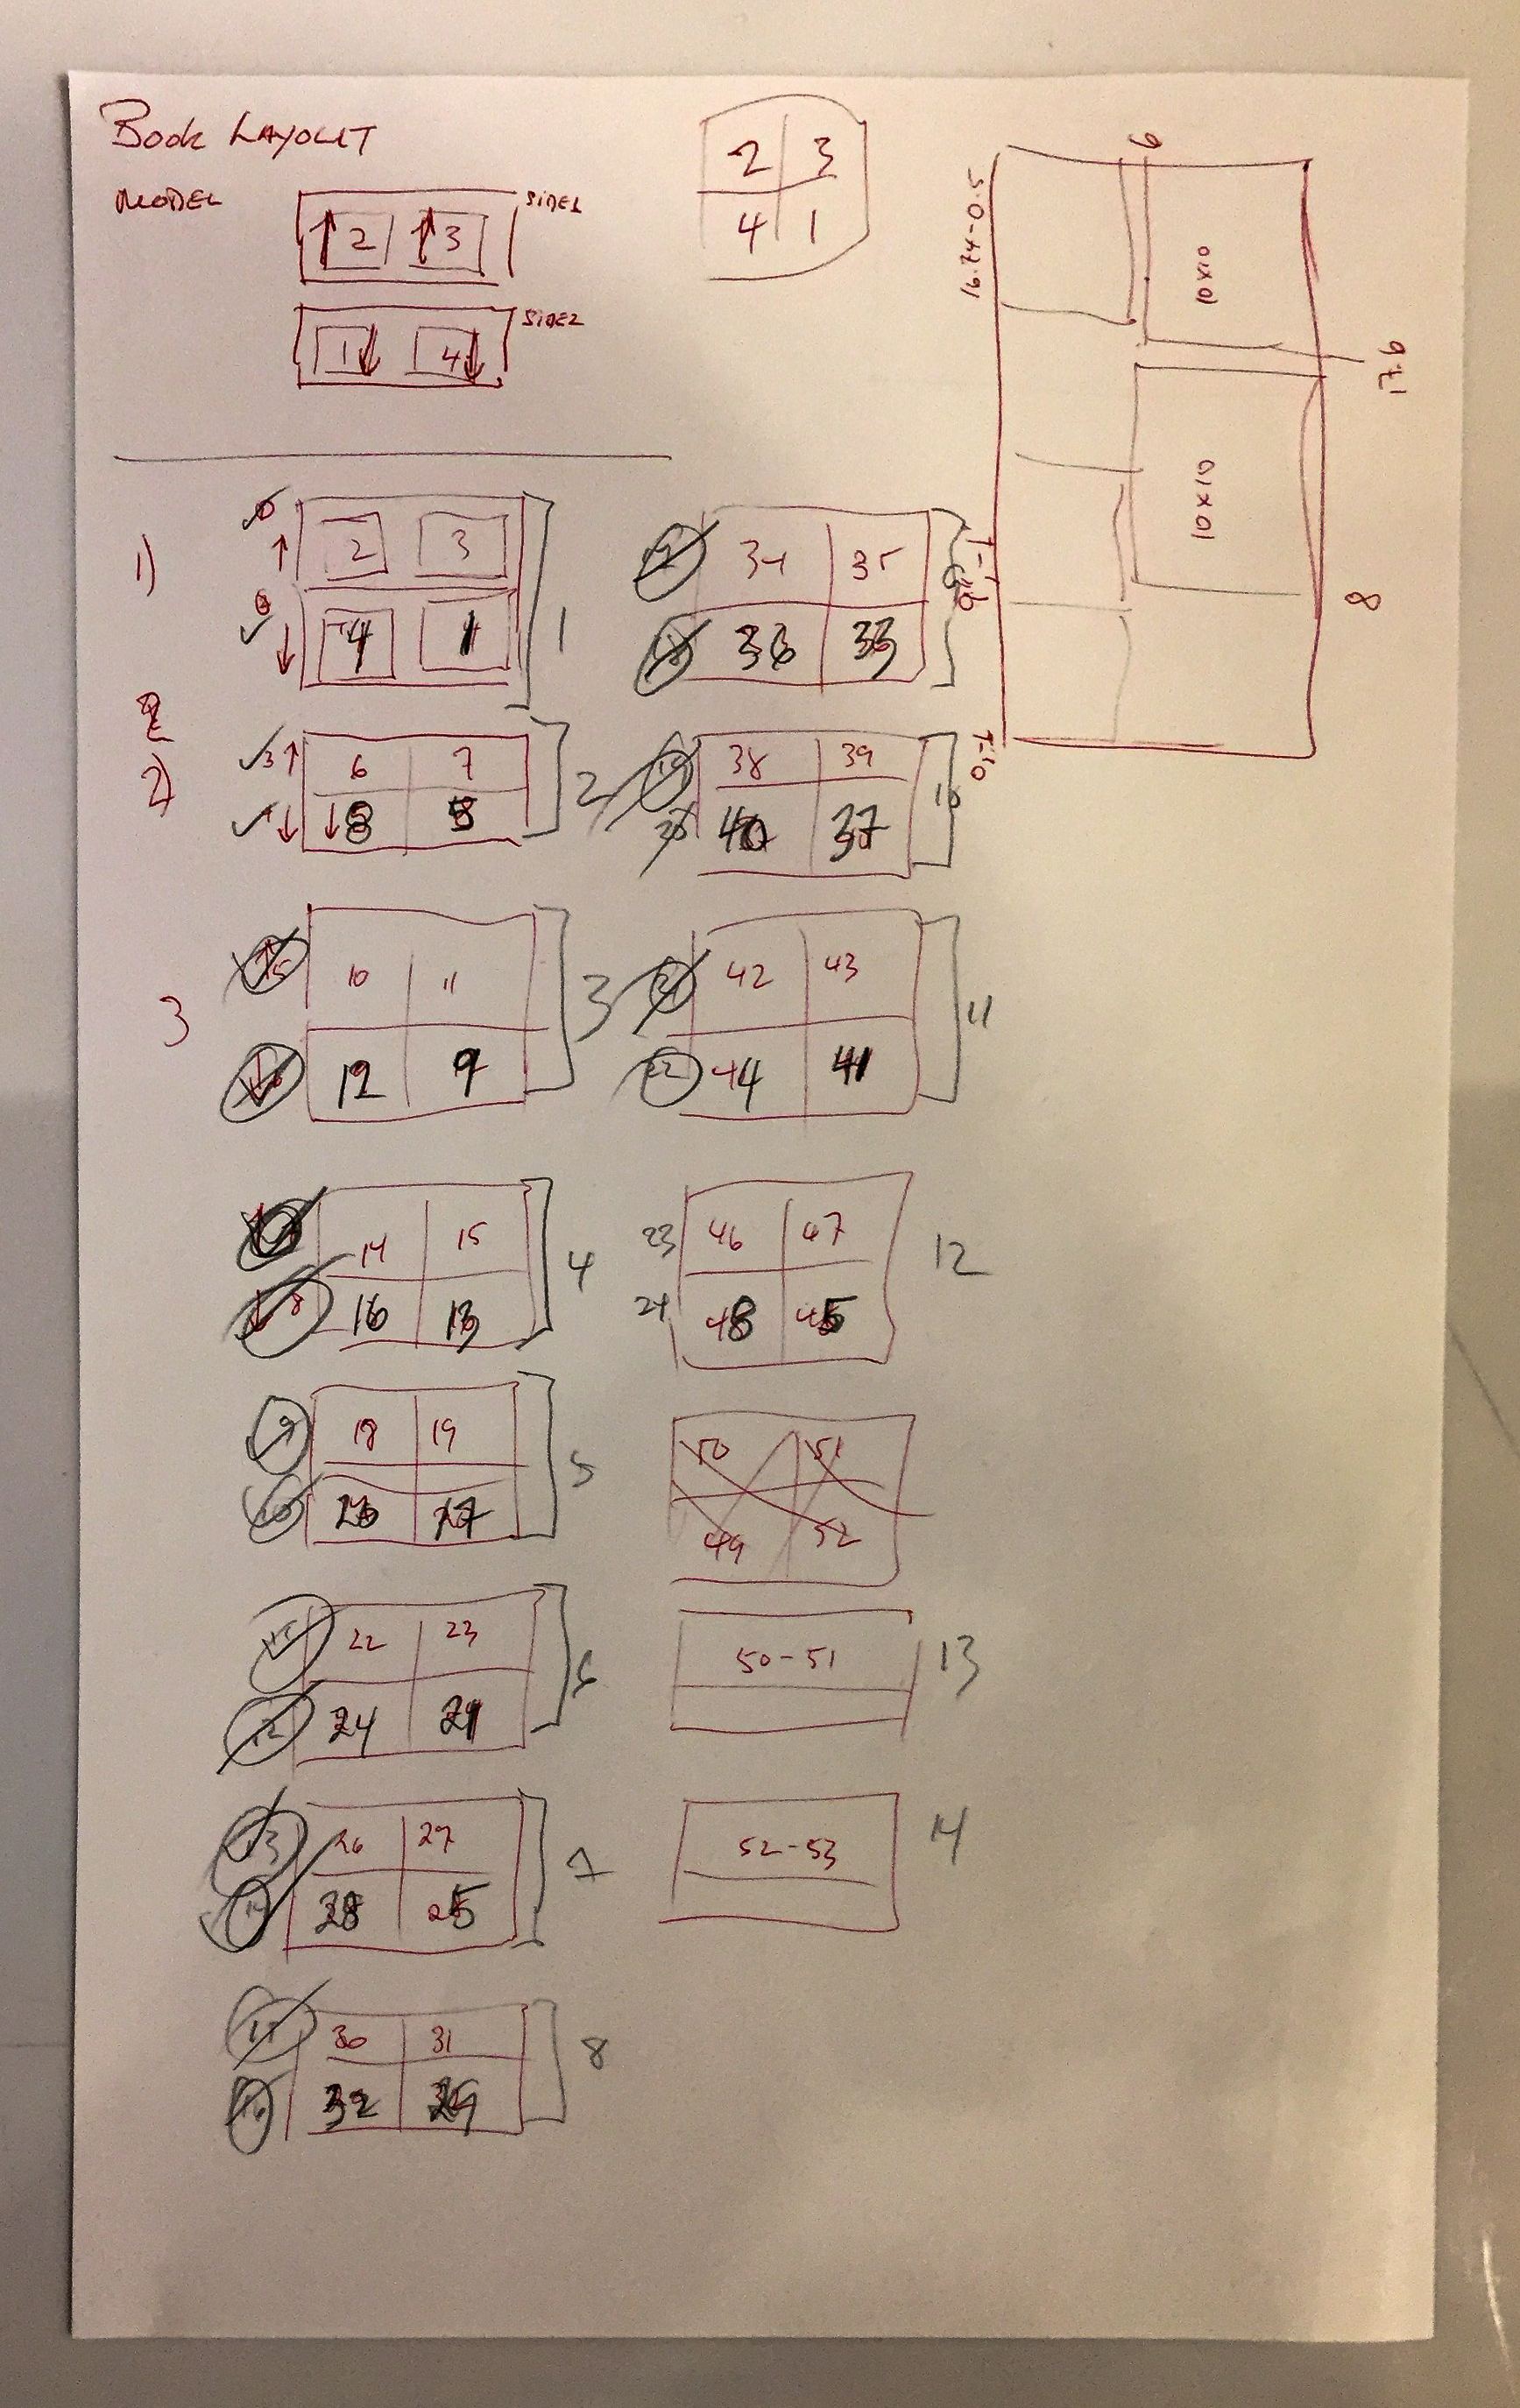
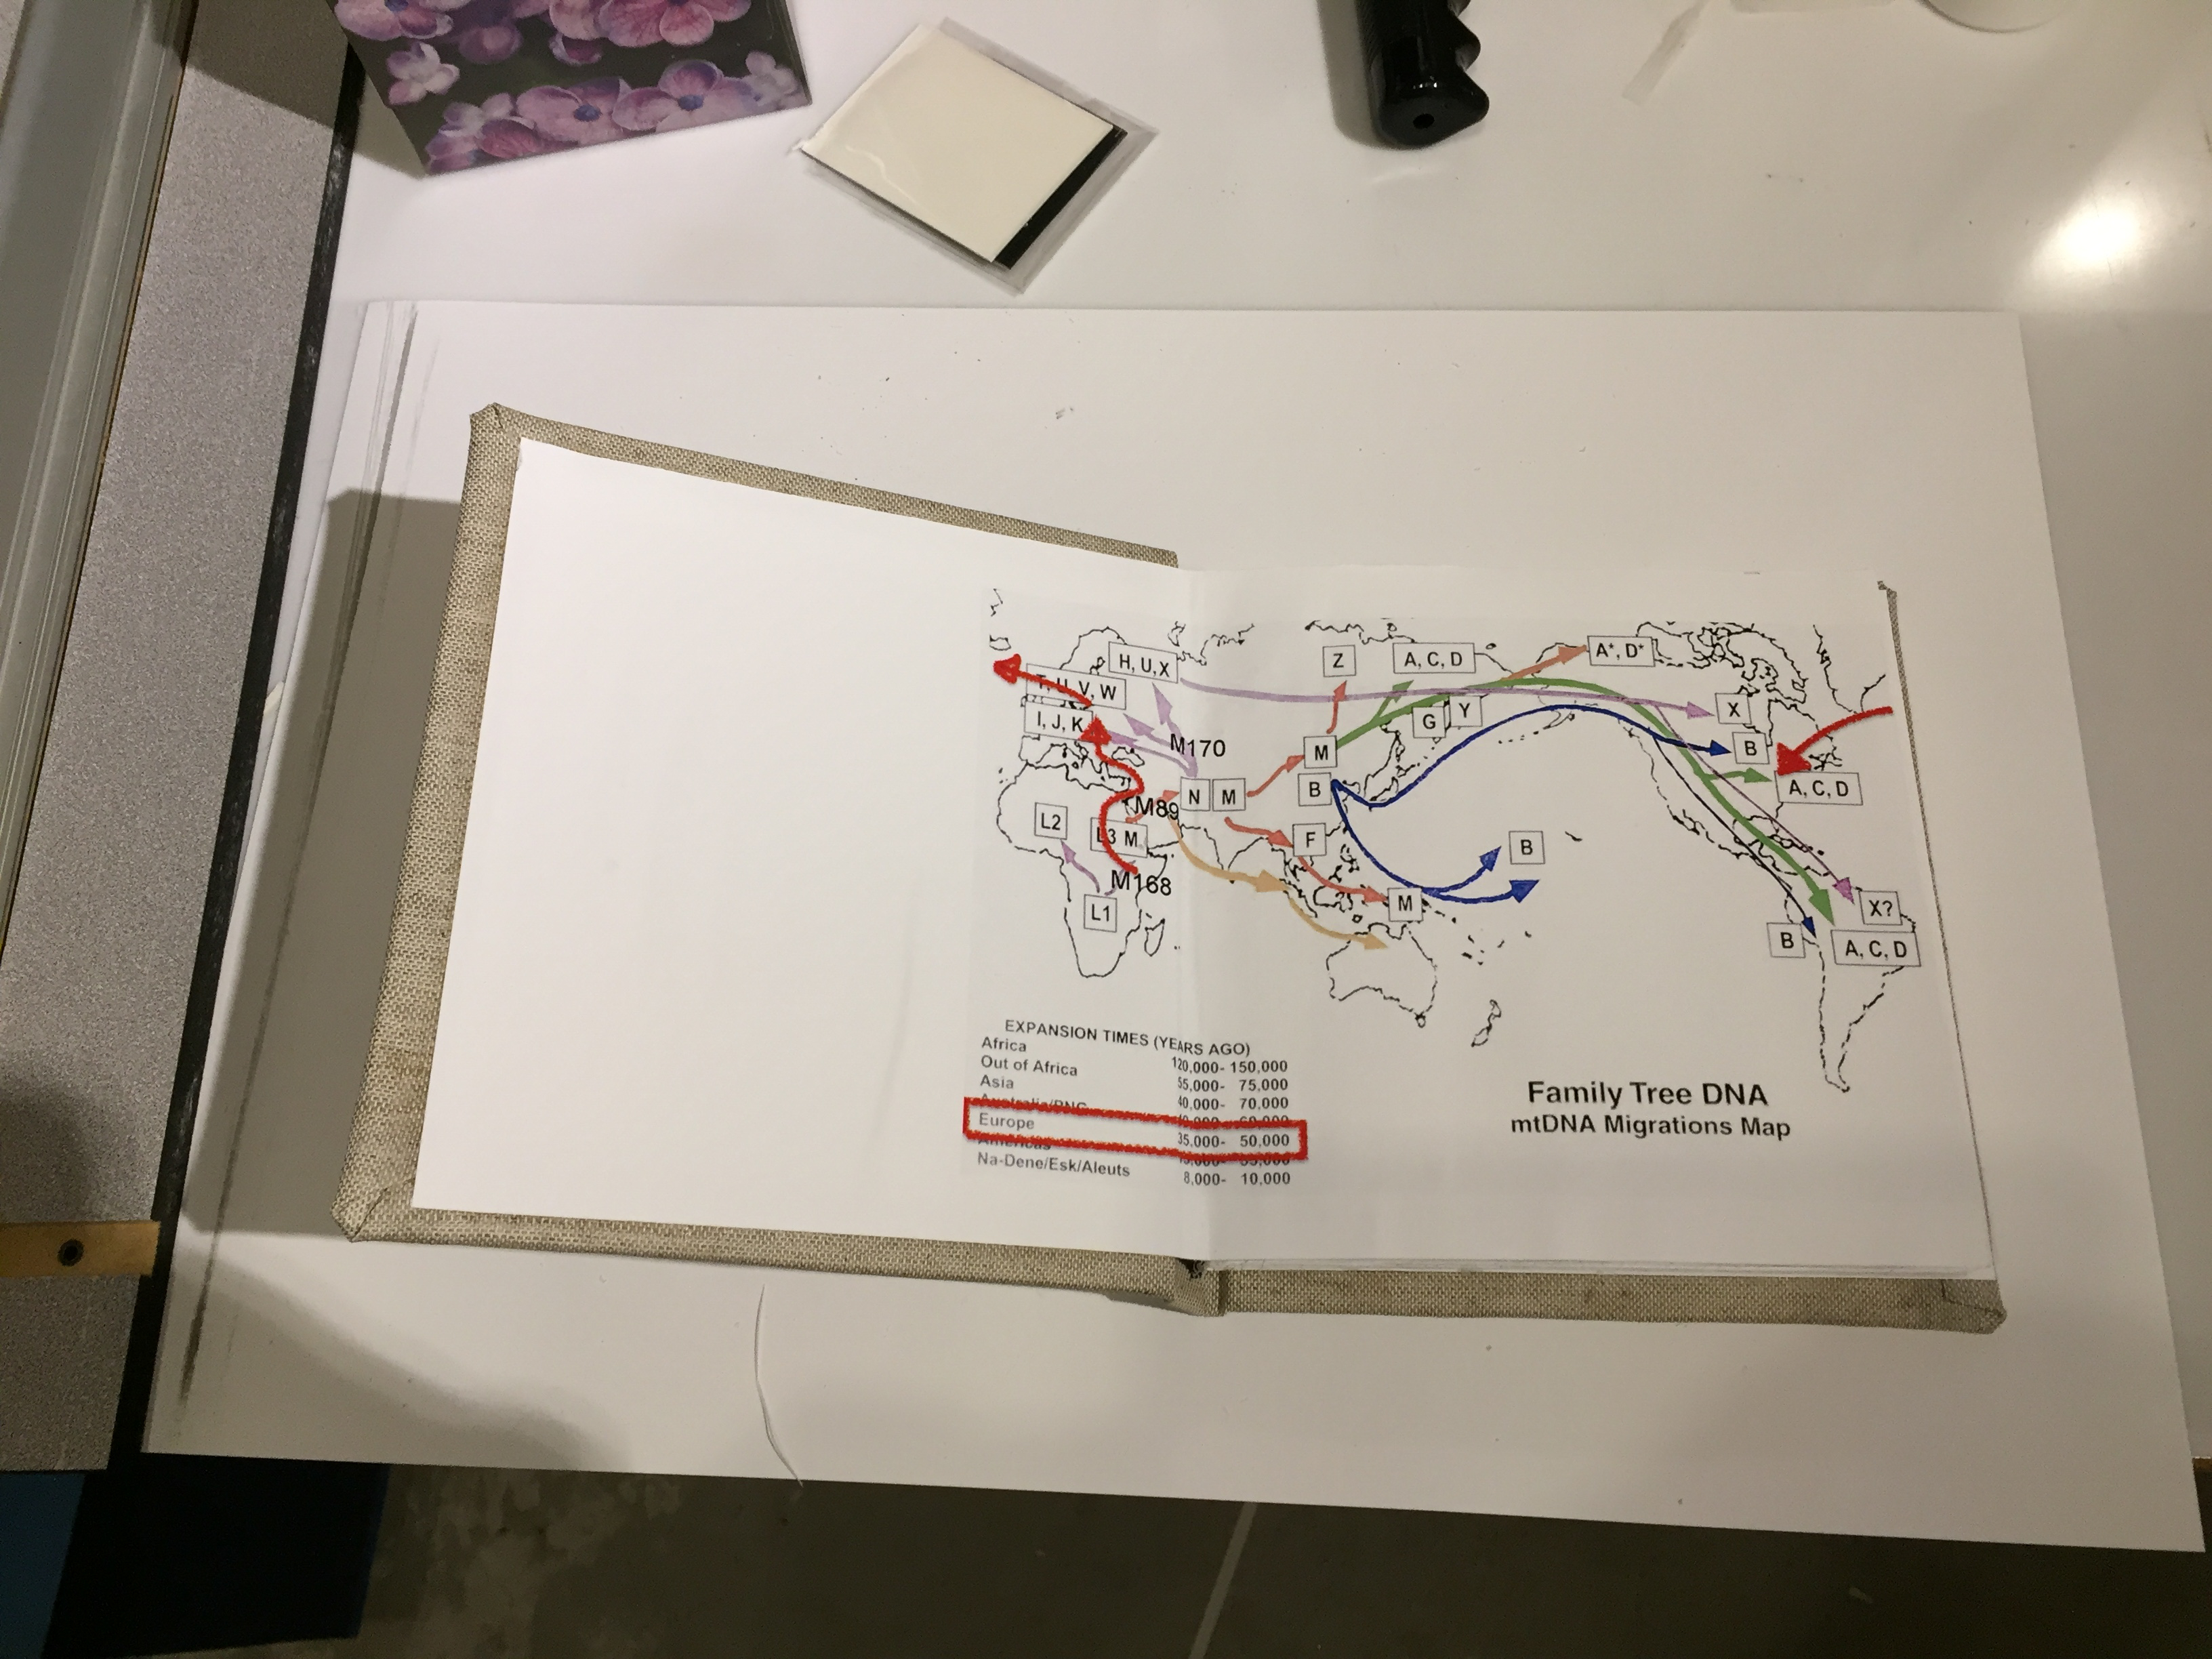
Page Layout Plan
Plan that shows where individual pages are to be printed on two-sided paper.
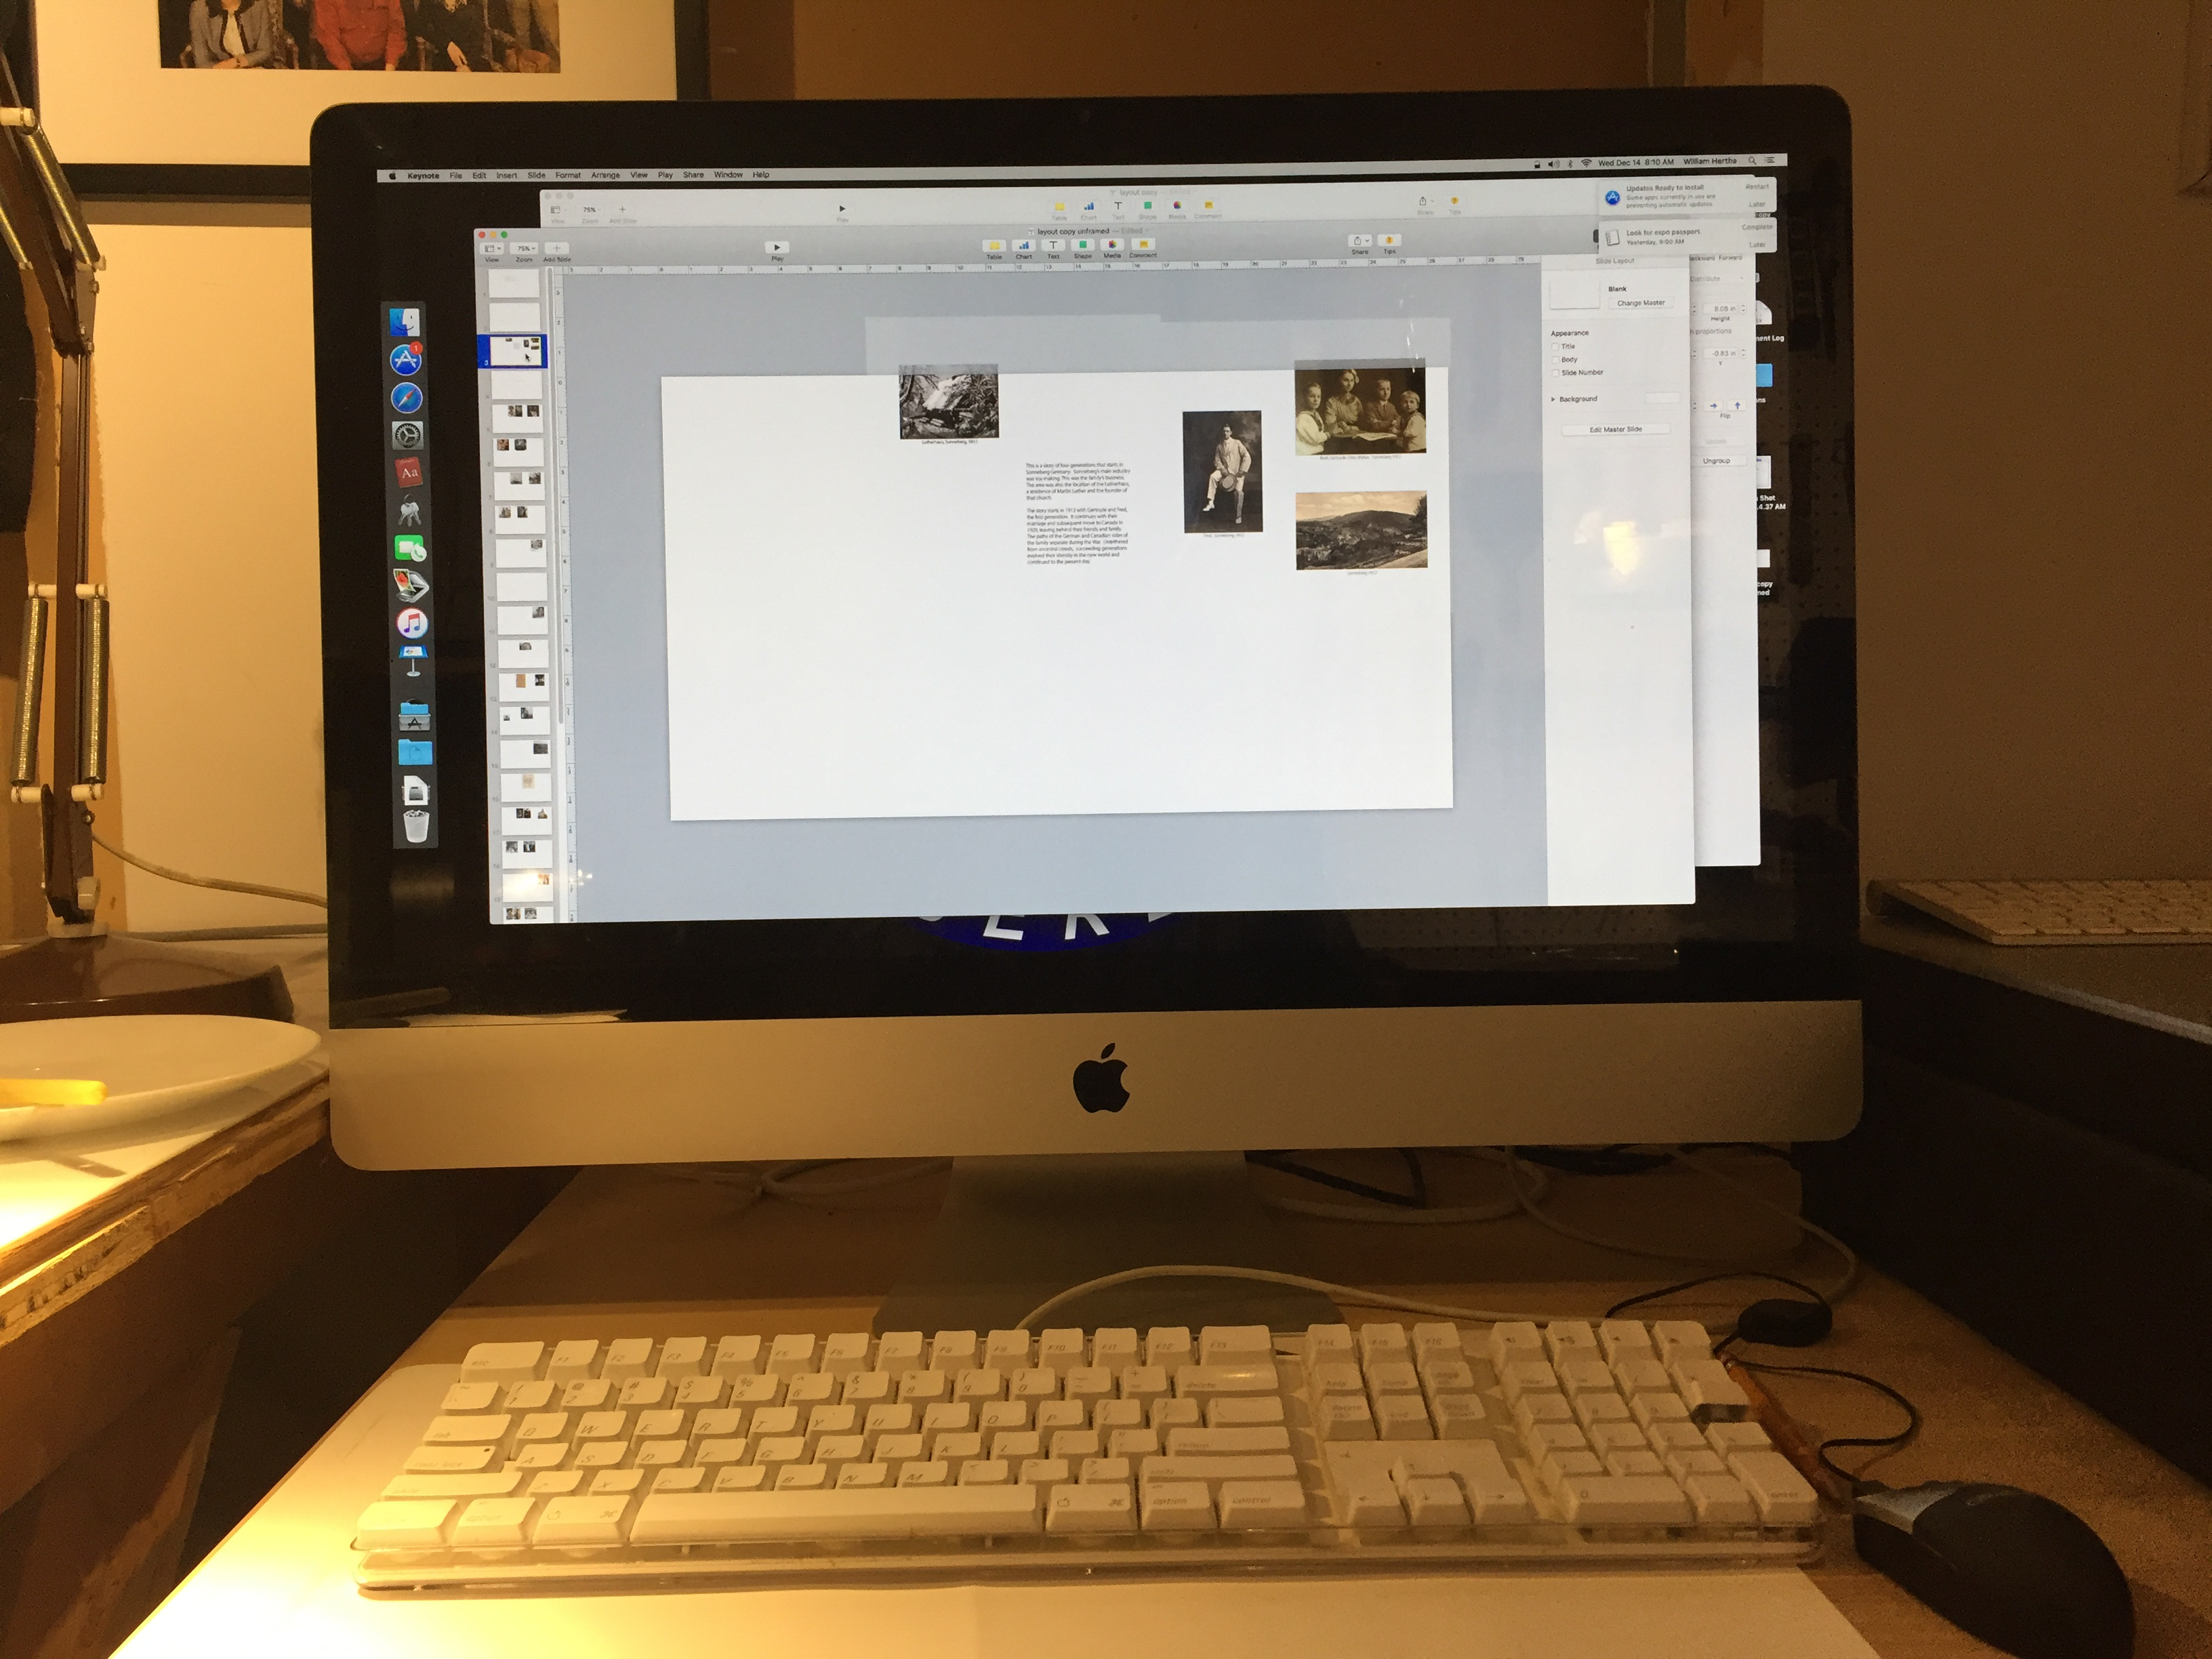
Layout On Screen
Each printed page is laid out on the screen, in print order. I created a template to help make sure I put each book page in the right place.
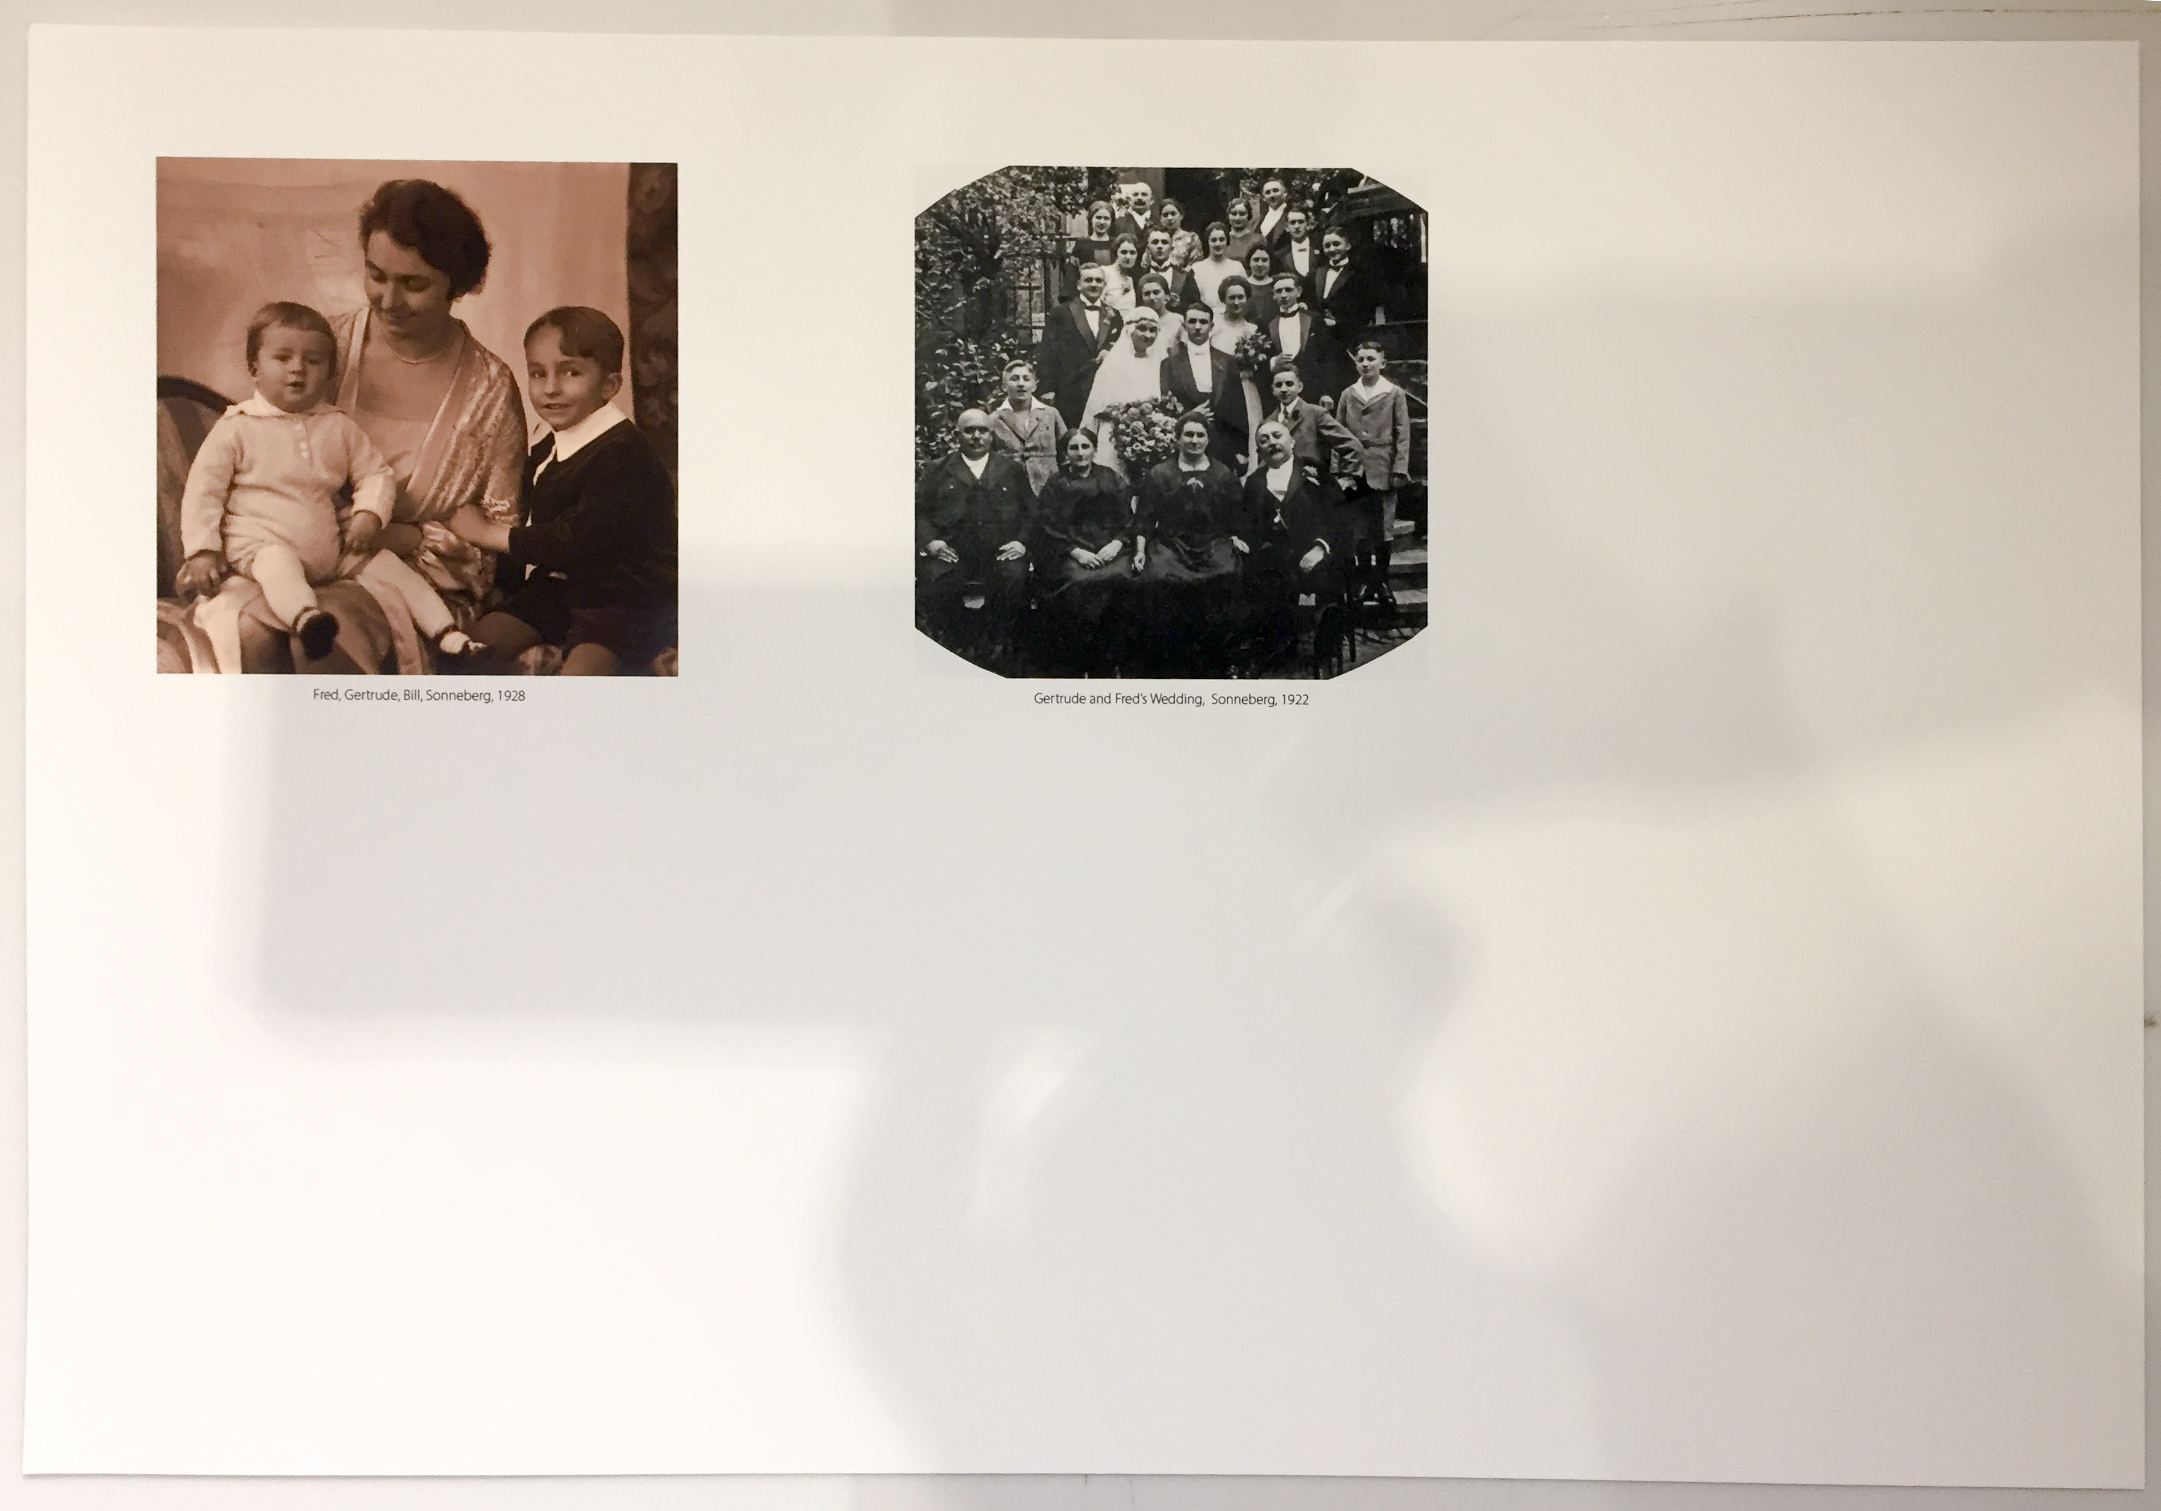
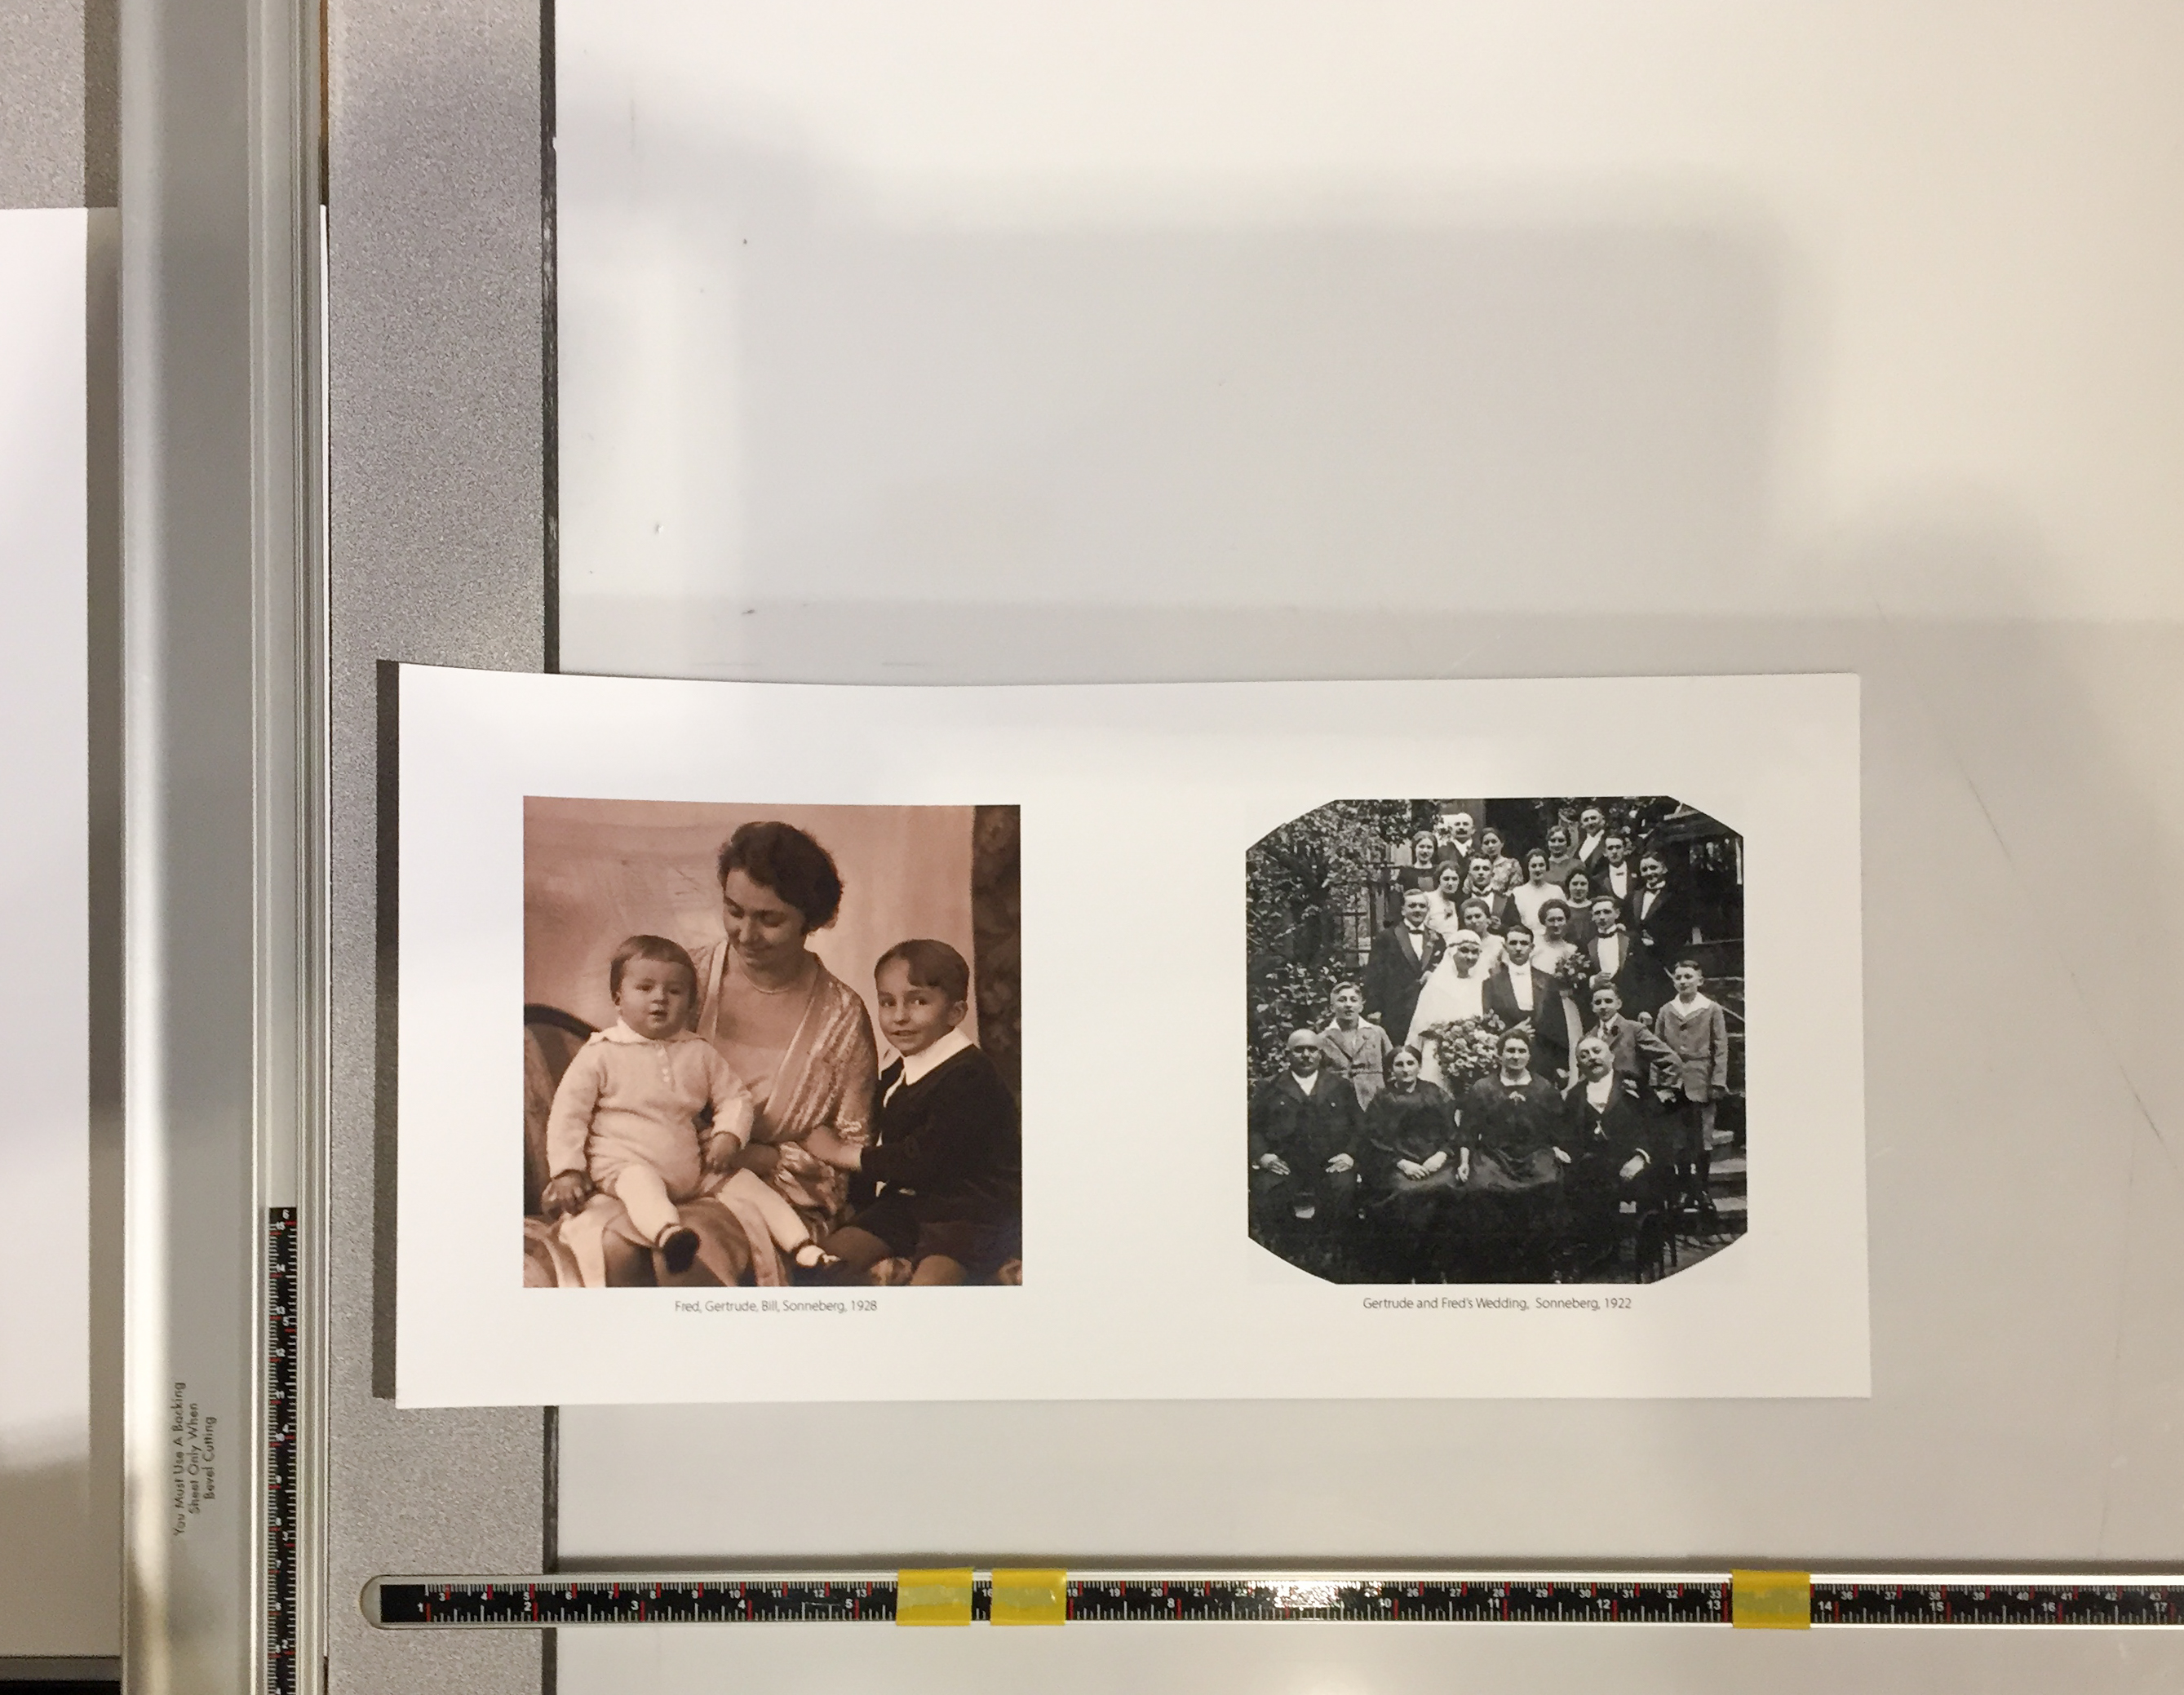
Printed Sheet (double sided)
Two book pages printed on one sheet. Each side of the physical piece of paper had two book pages printed.
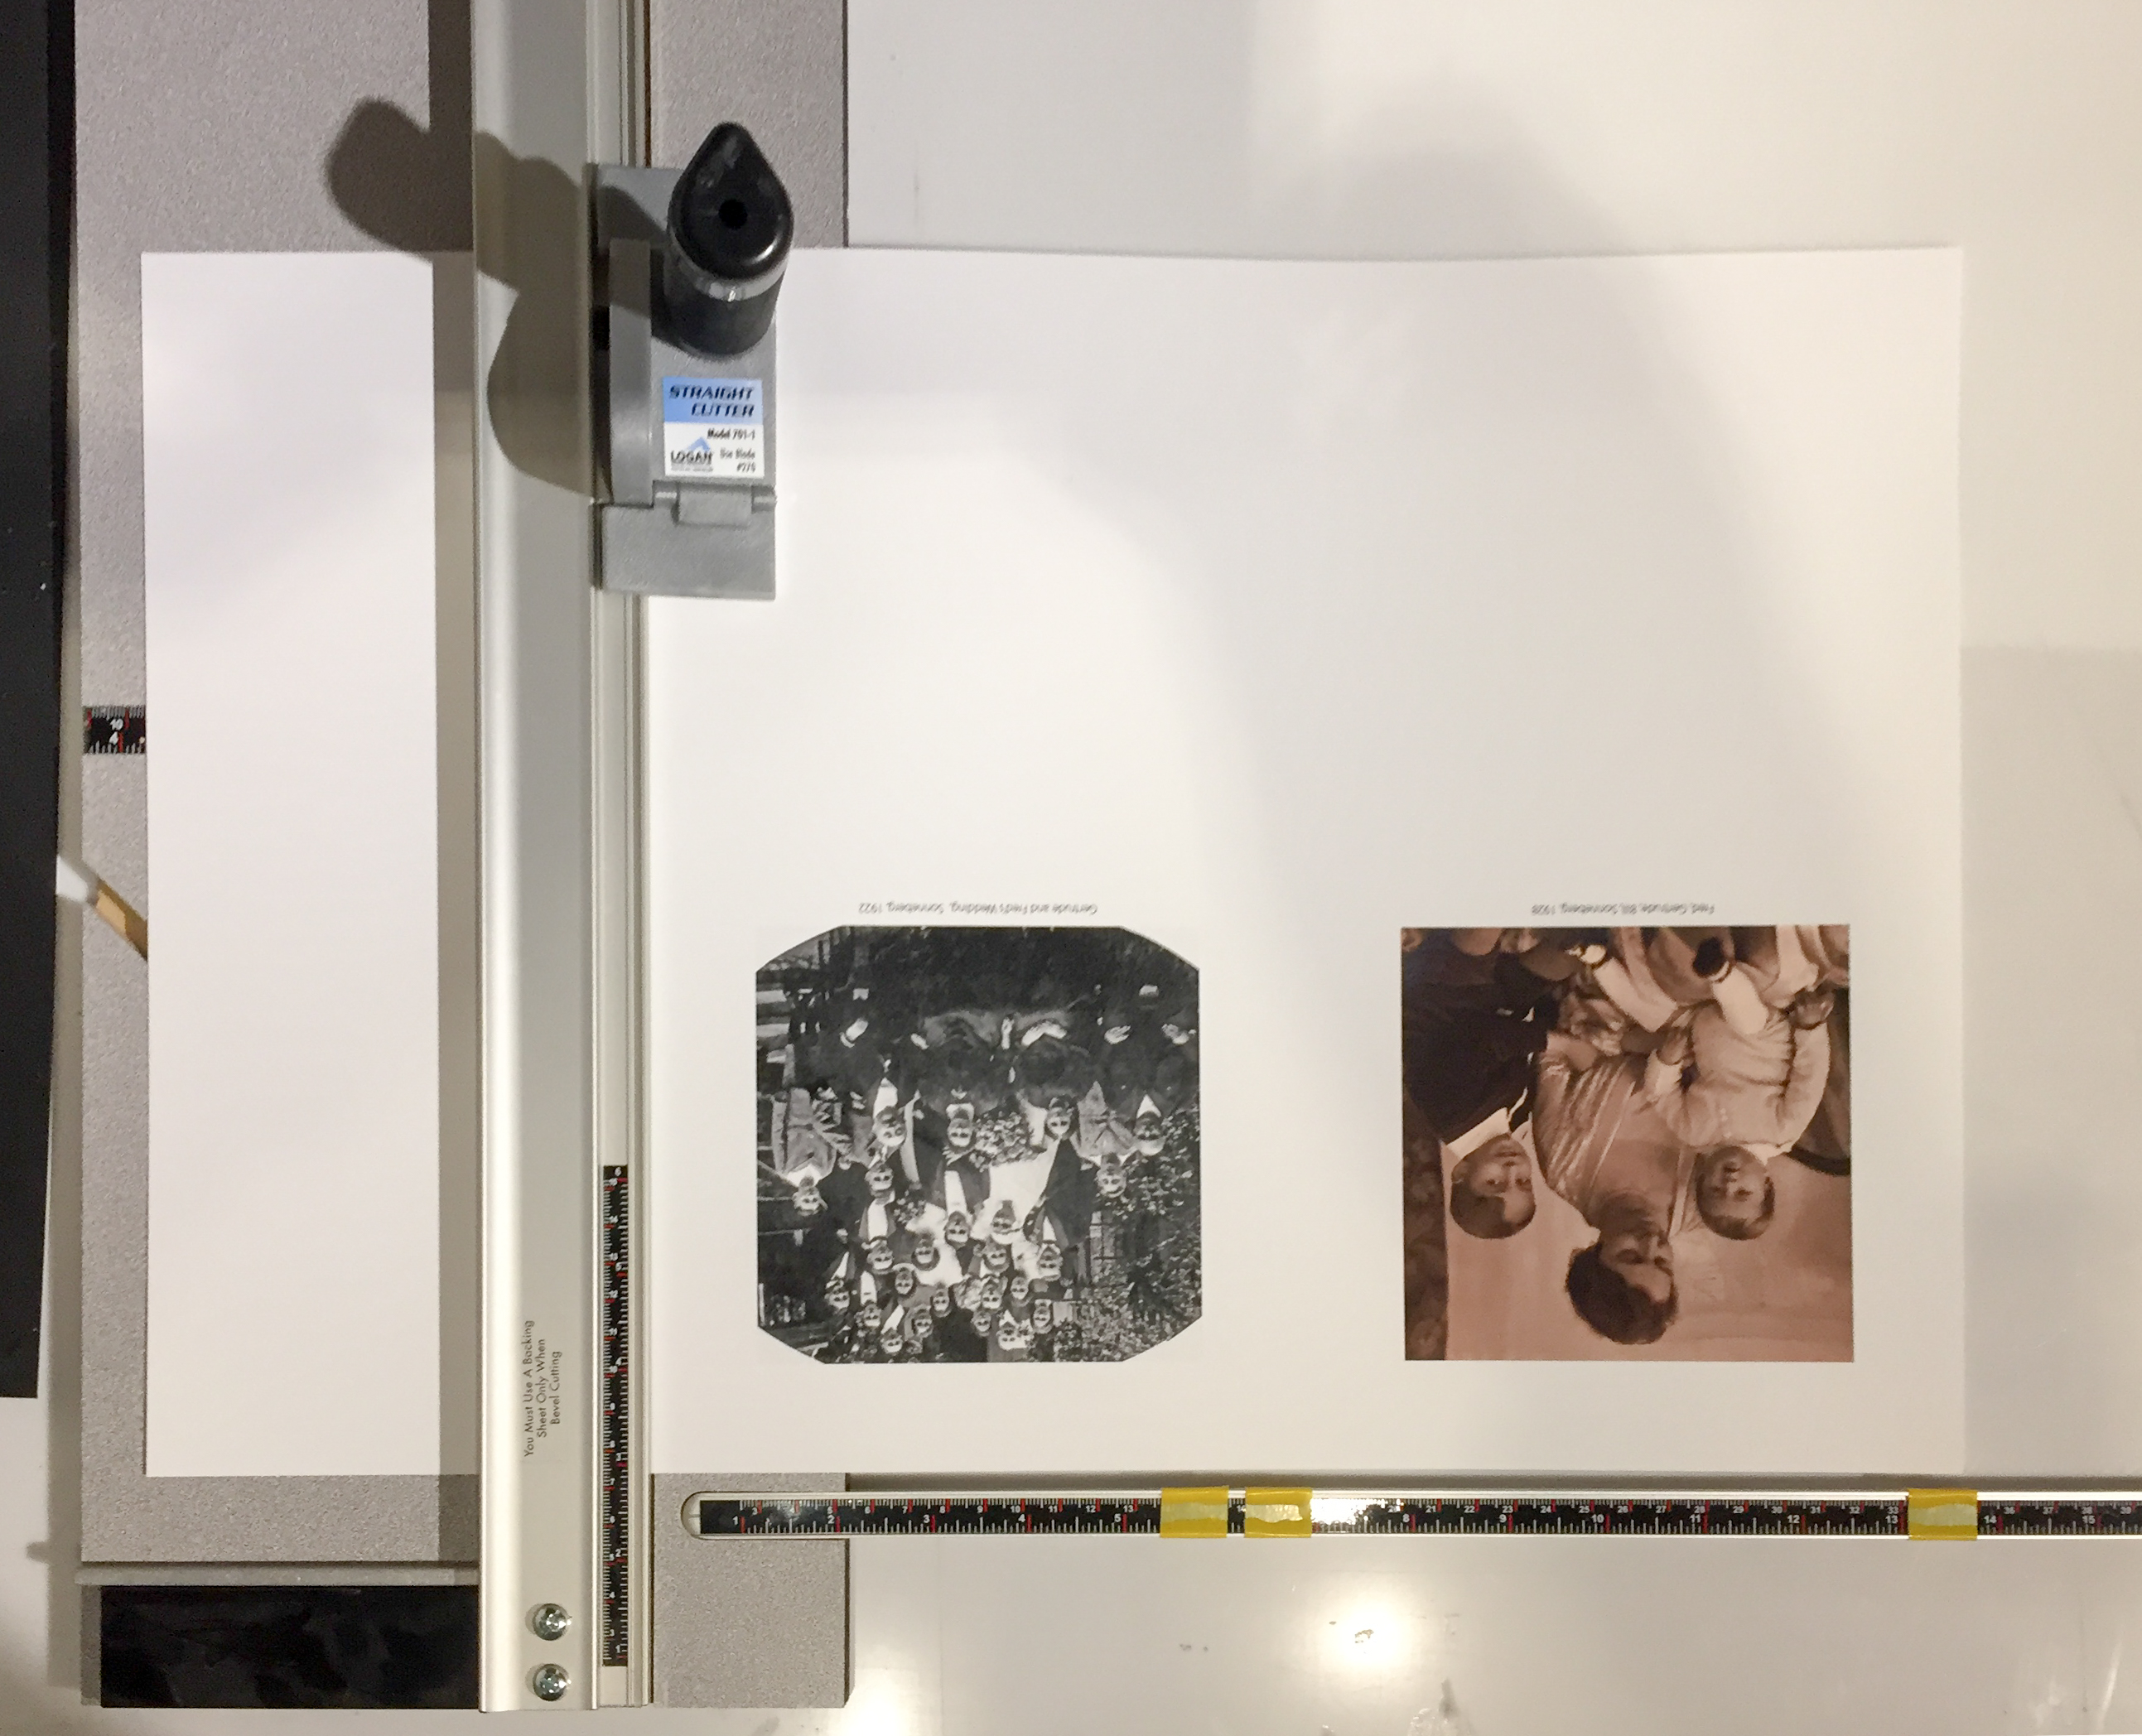
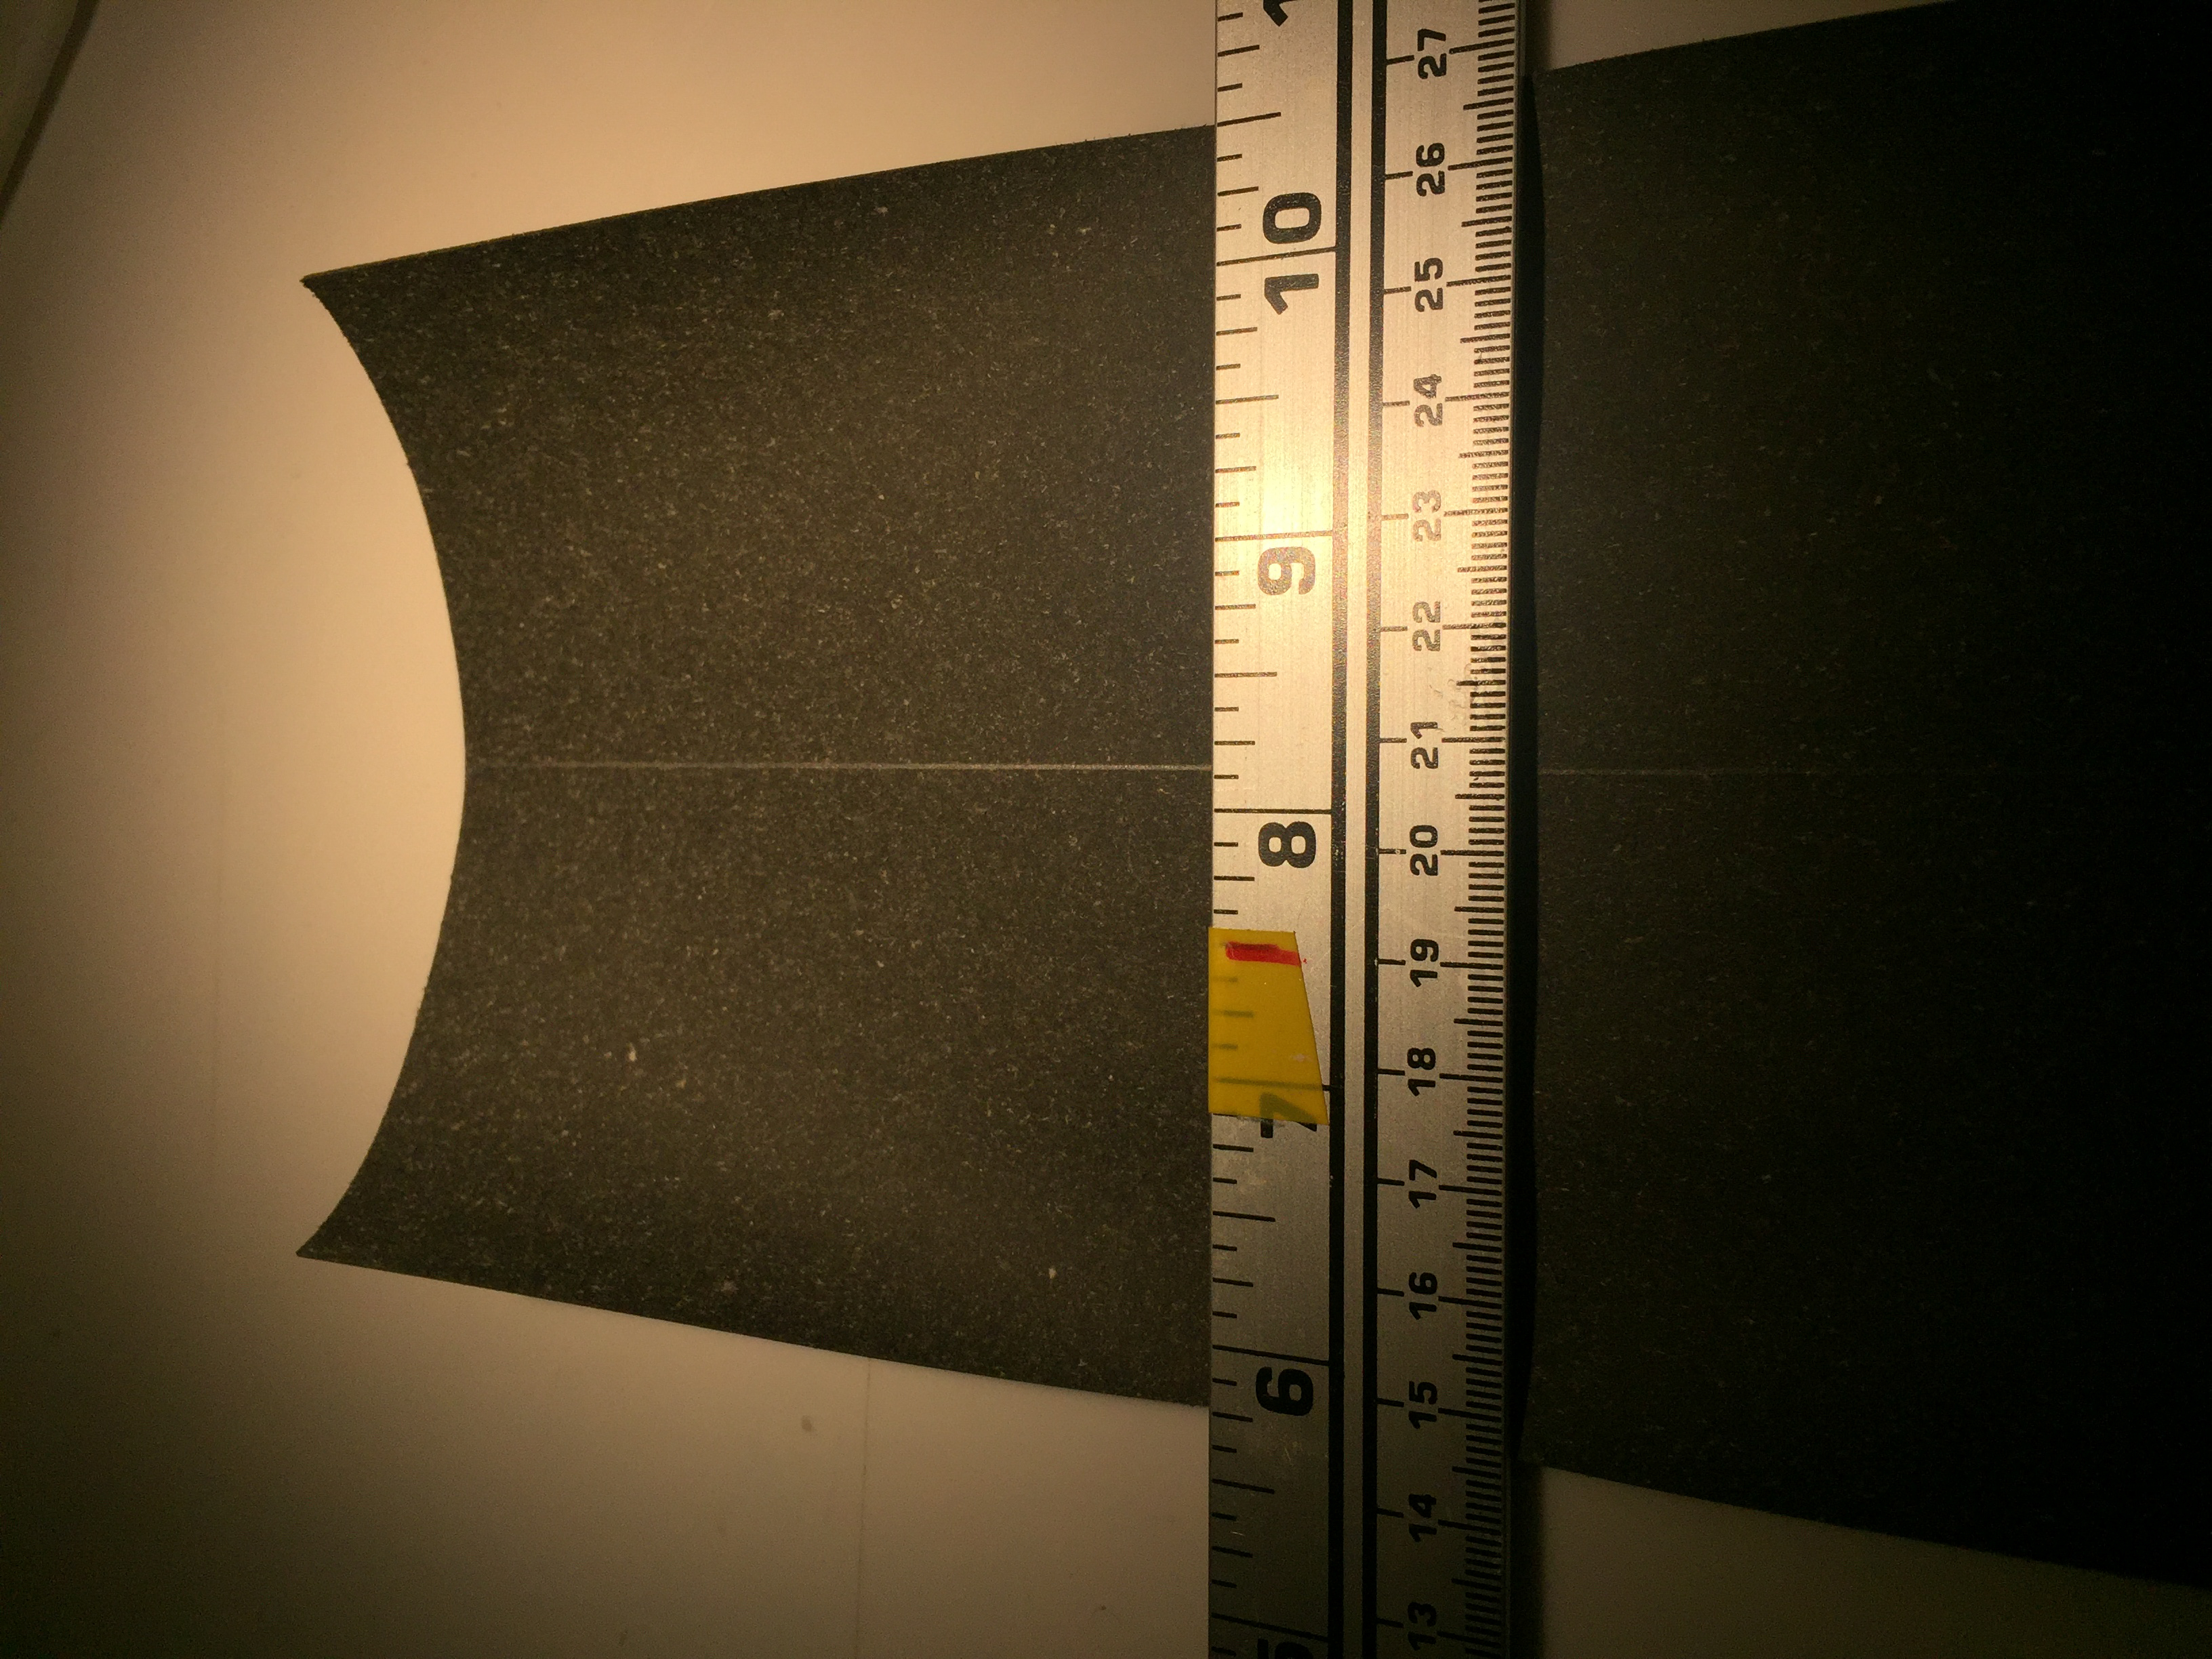
Trimming Sheet to Size
Pre-marked positions on the ruler ensure consistent size.
Cutting Sheet
I covered the sheets with another piece of paper to prevent scoring of the image while cutting.
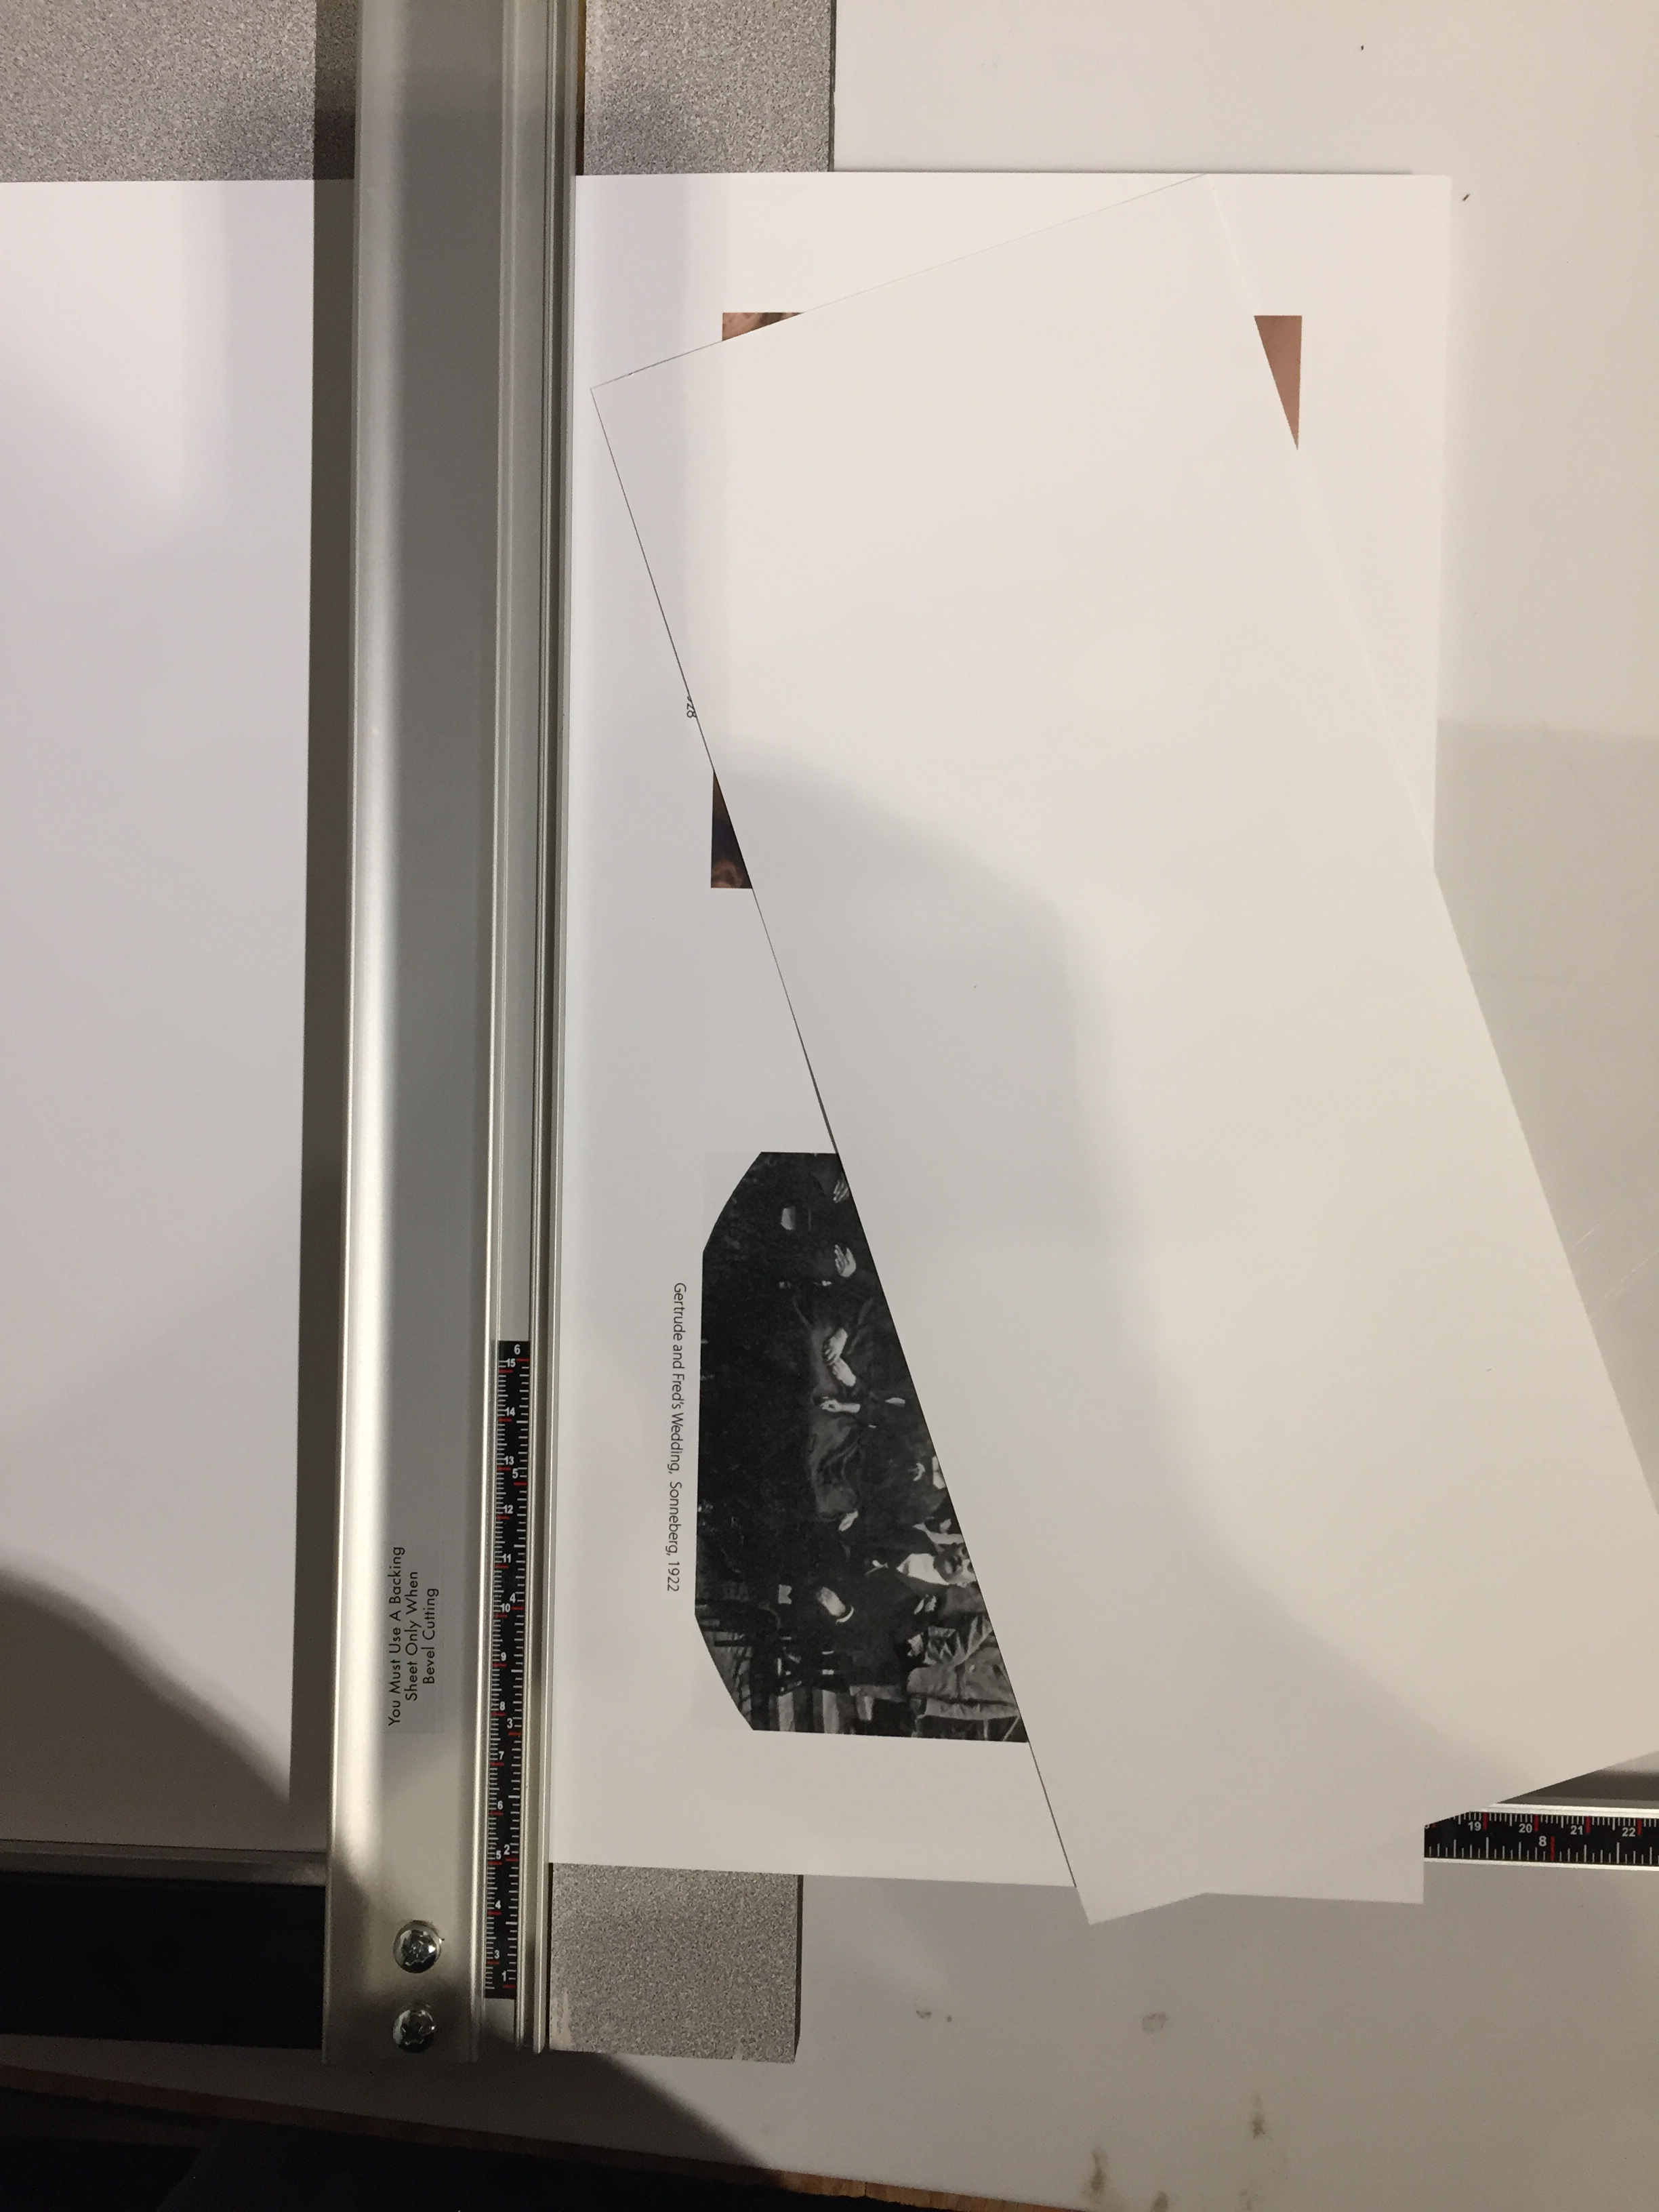
Trimmed Sheet
This single sheet will be folded in the middle to make a “signature.” Each signature has printed on it four book pages.
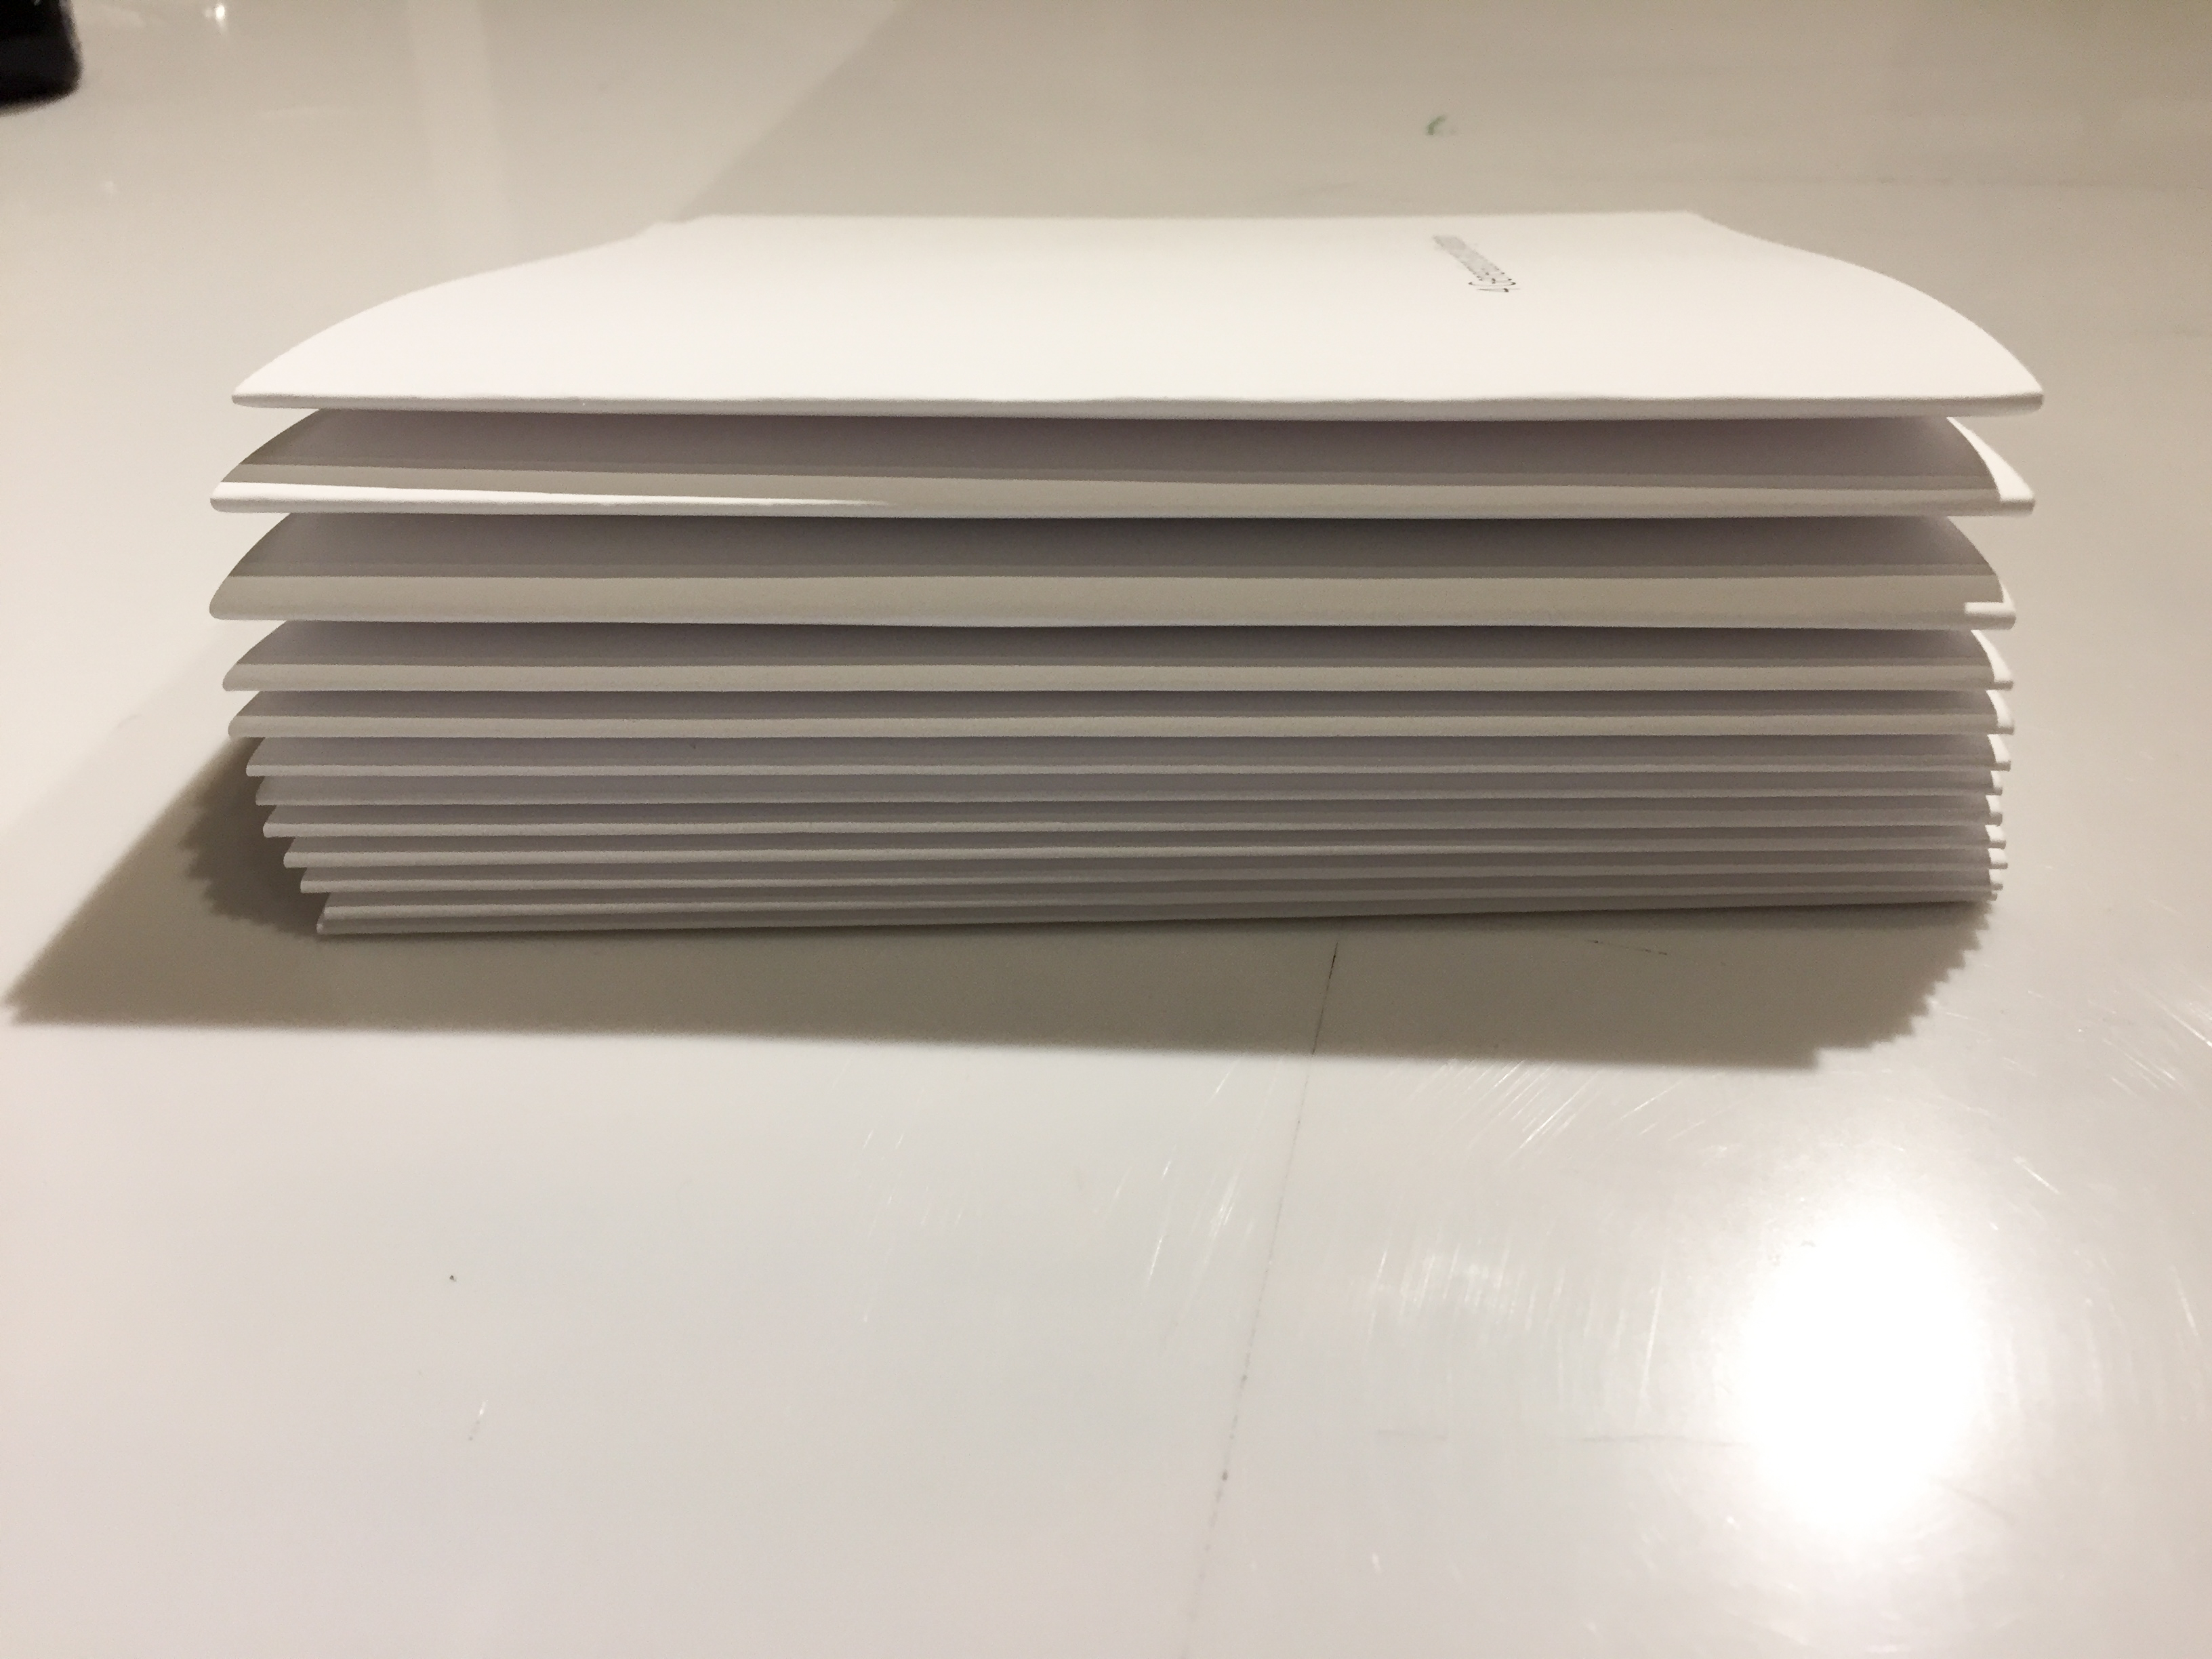
A Stack of Signatures
The stack of all printed, and folded sheets of paper.
Template
Template used to pre-punch holes in pages in the same place.
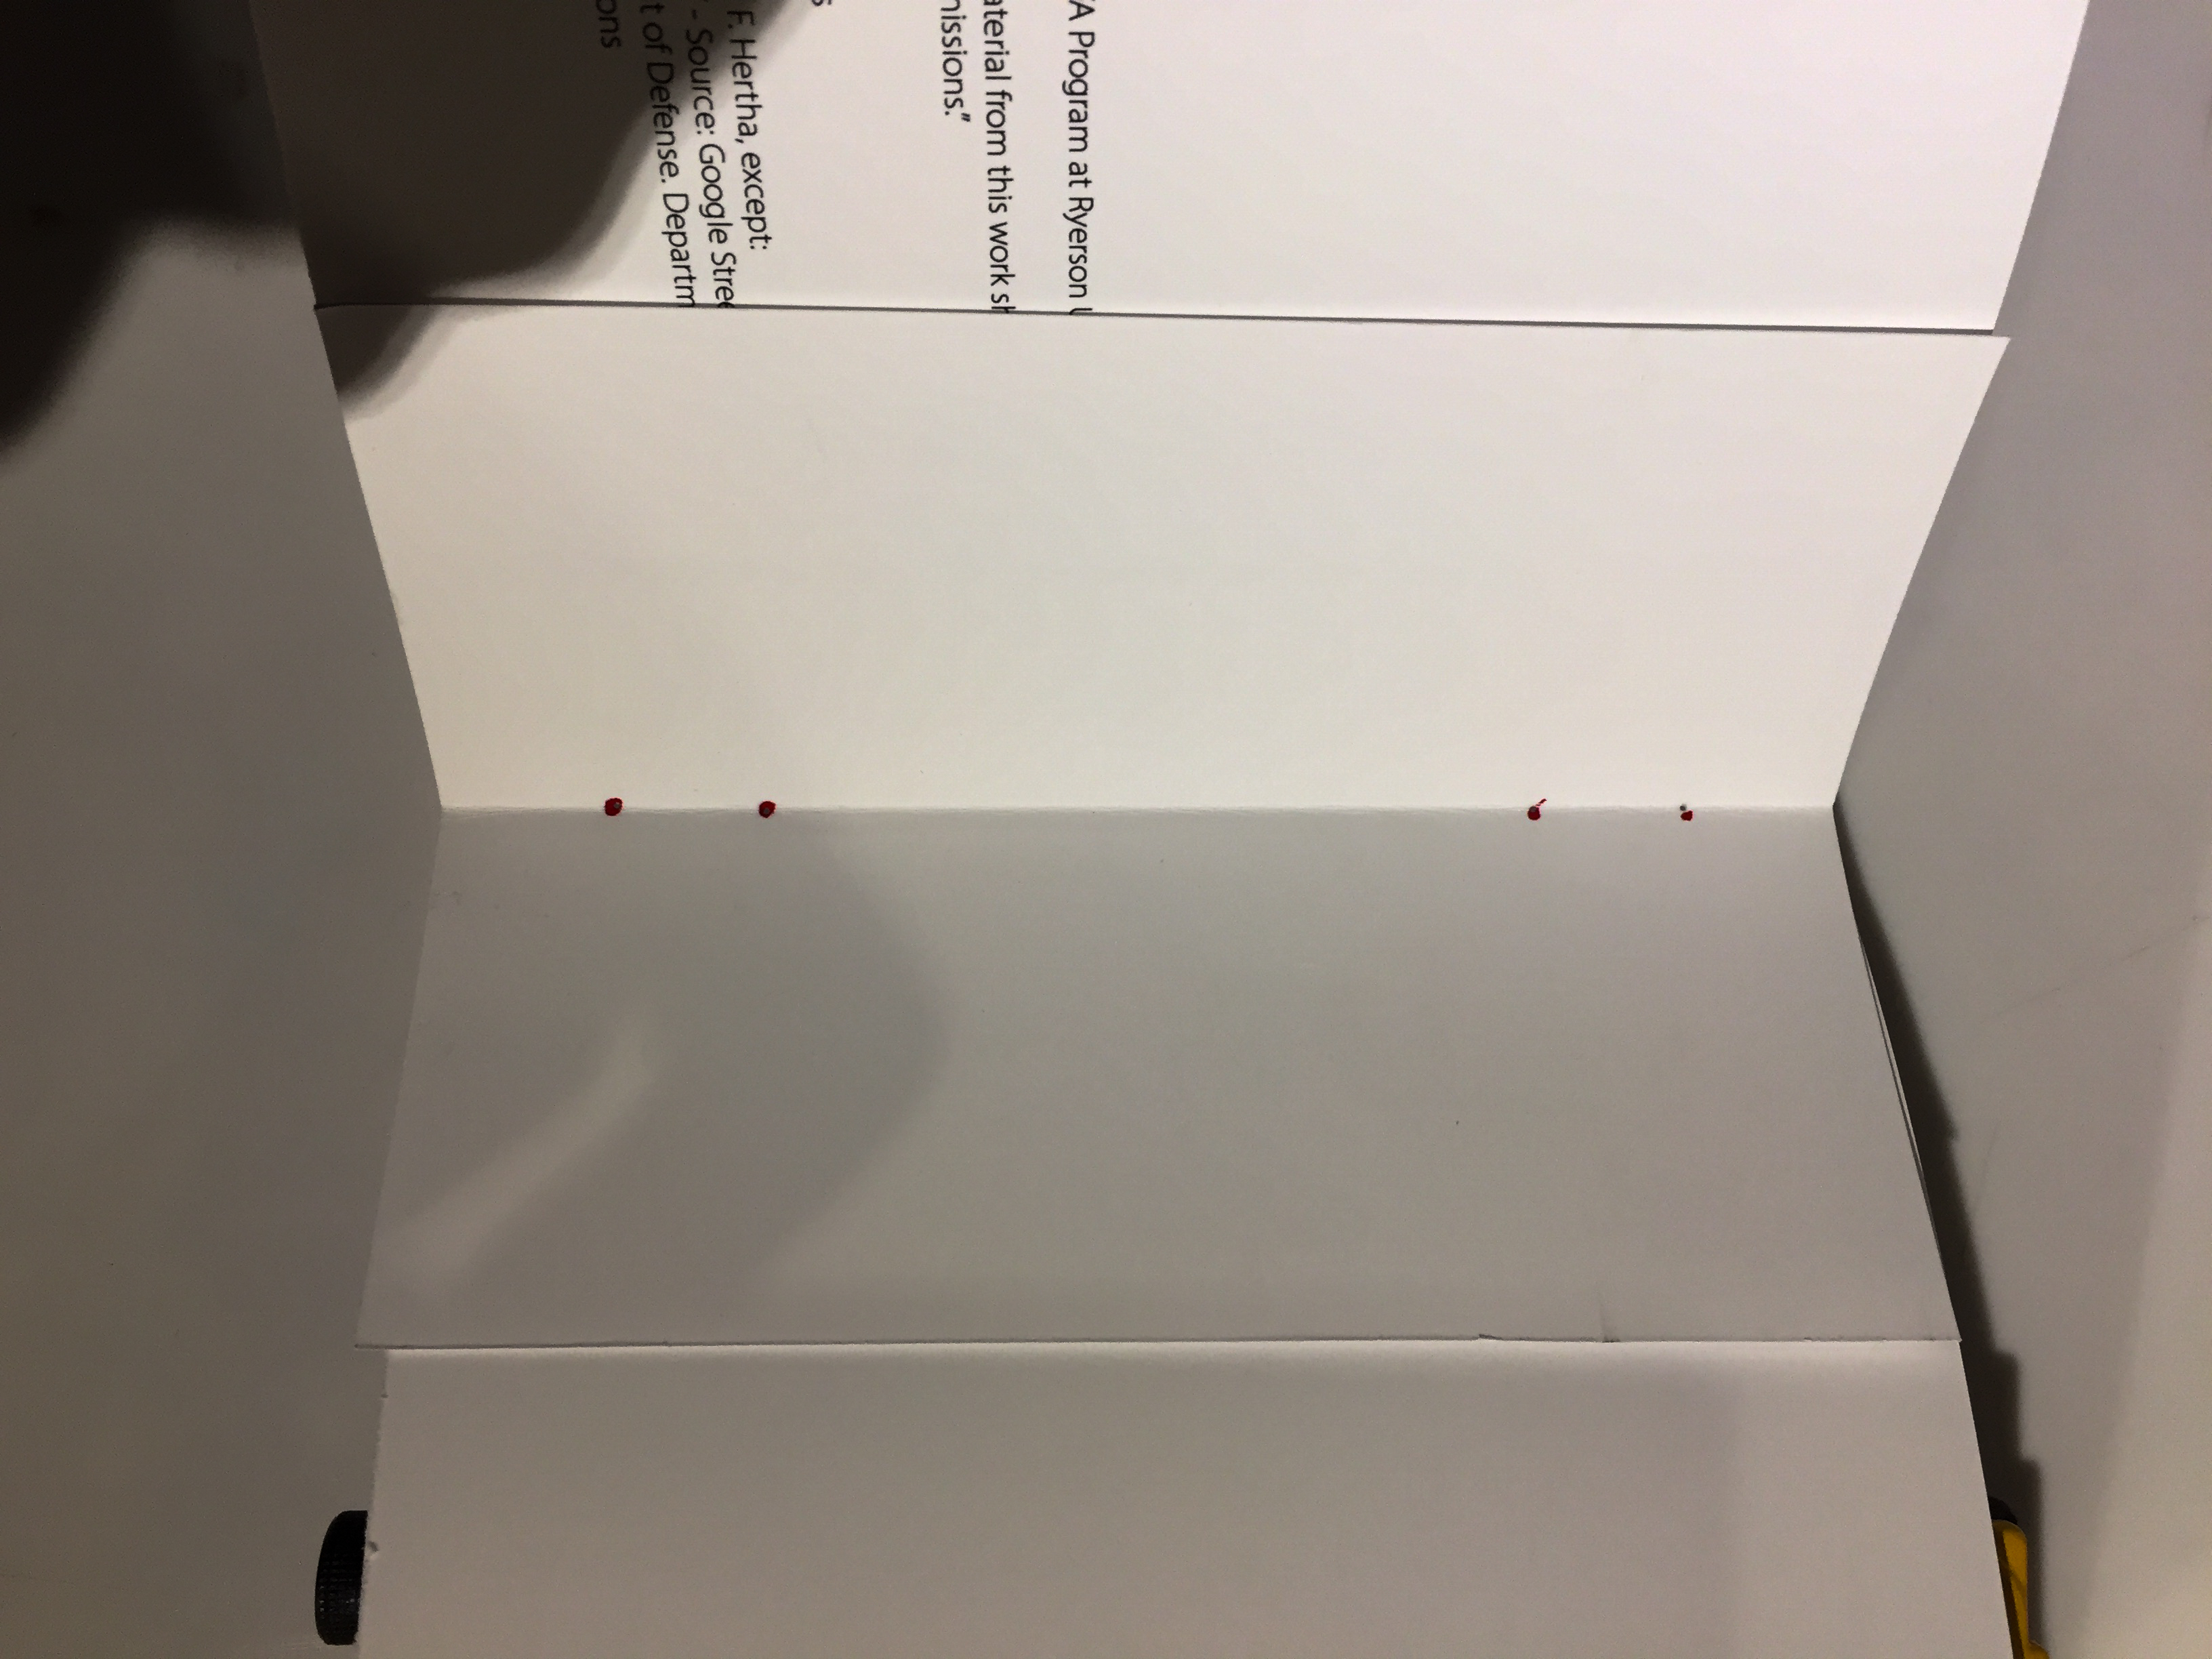
Pre-punching holes for Sewing (binding)
Using template to pre-punch the holdes through which the thread will be drawn.
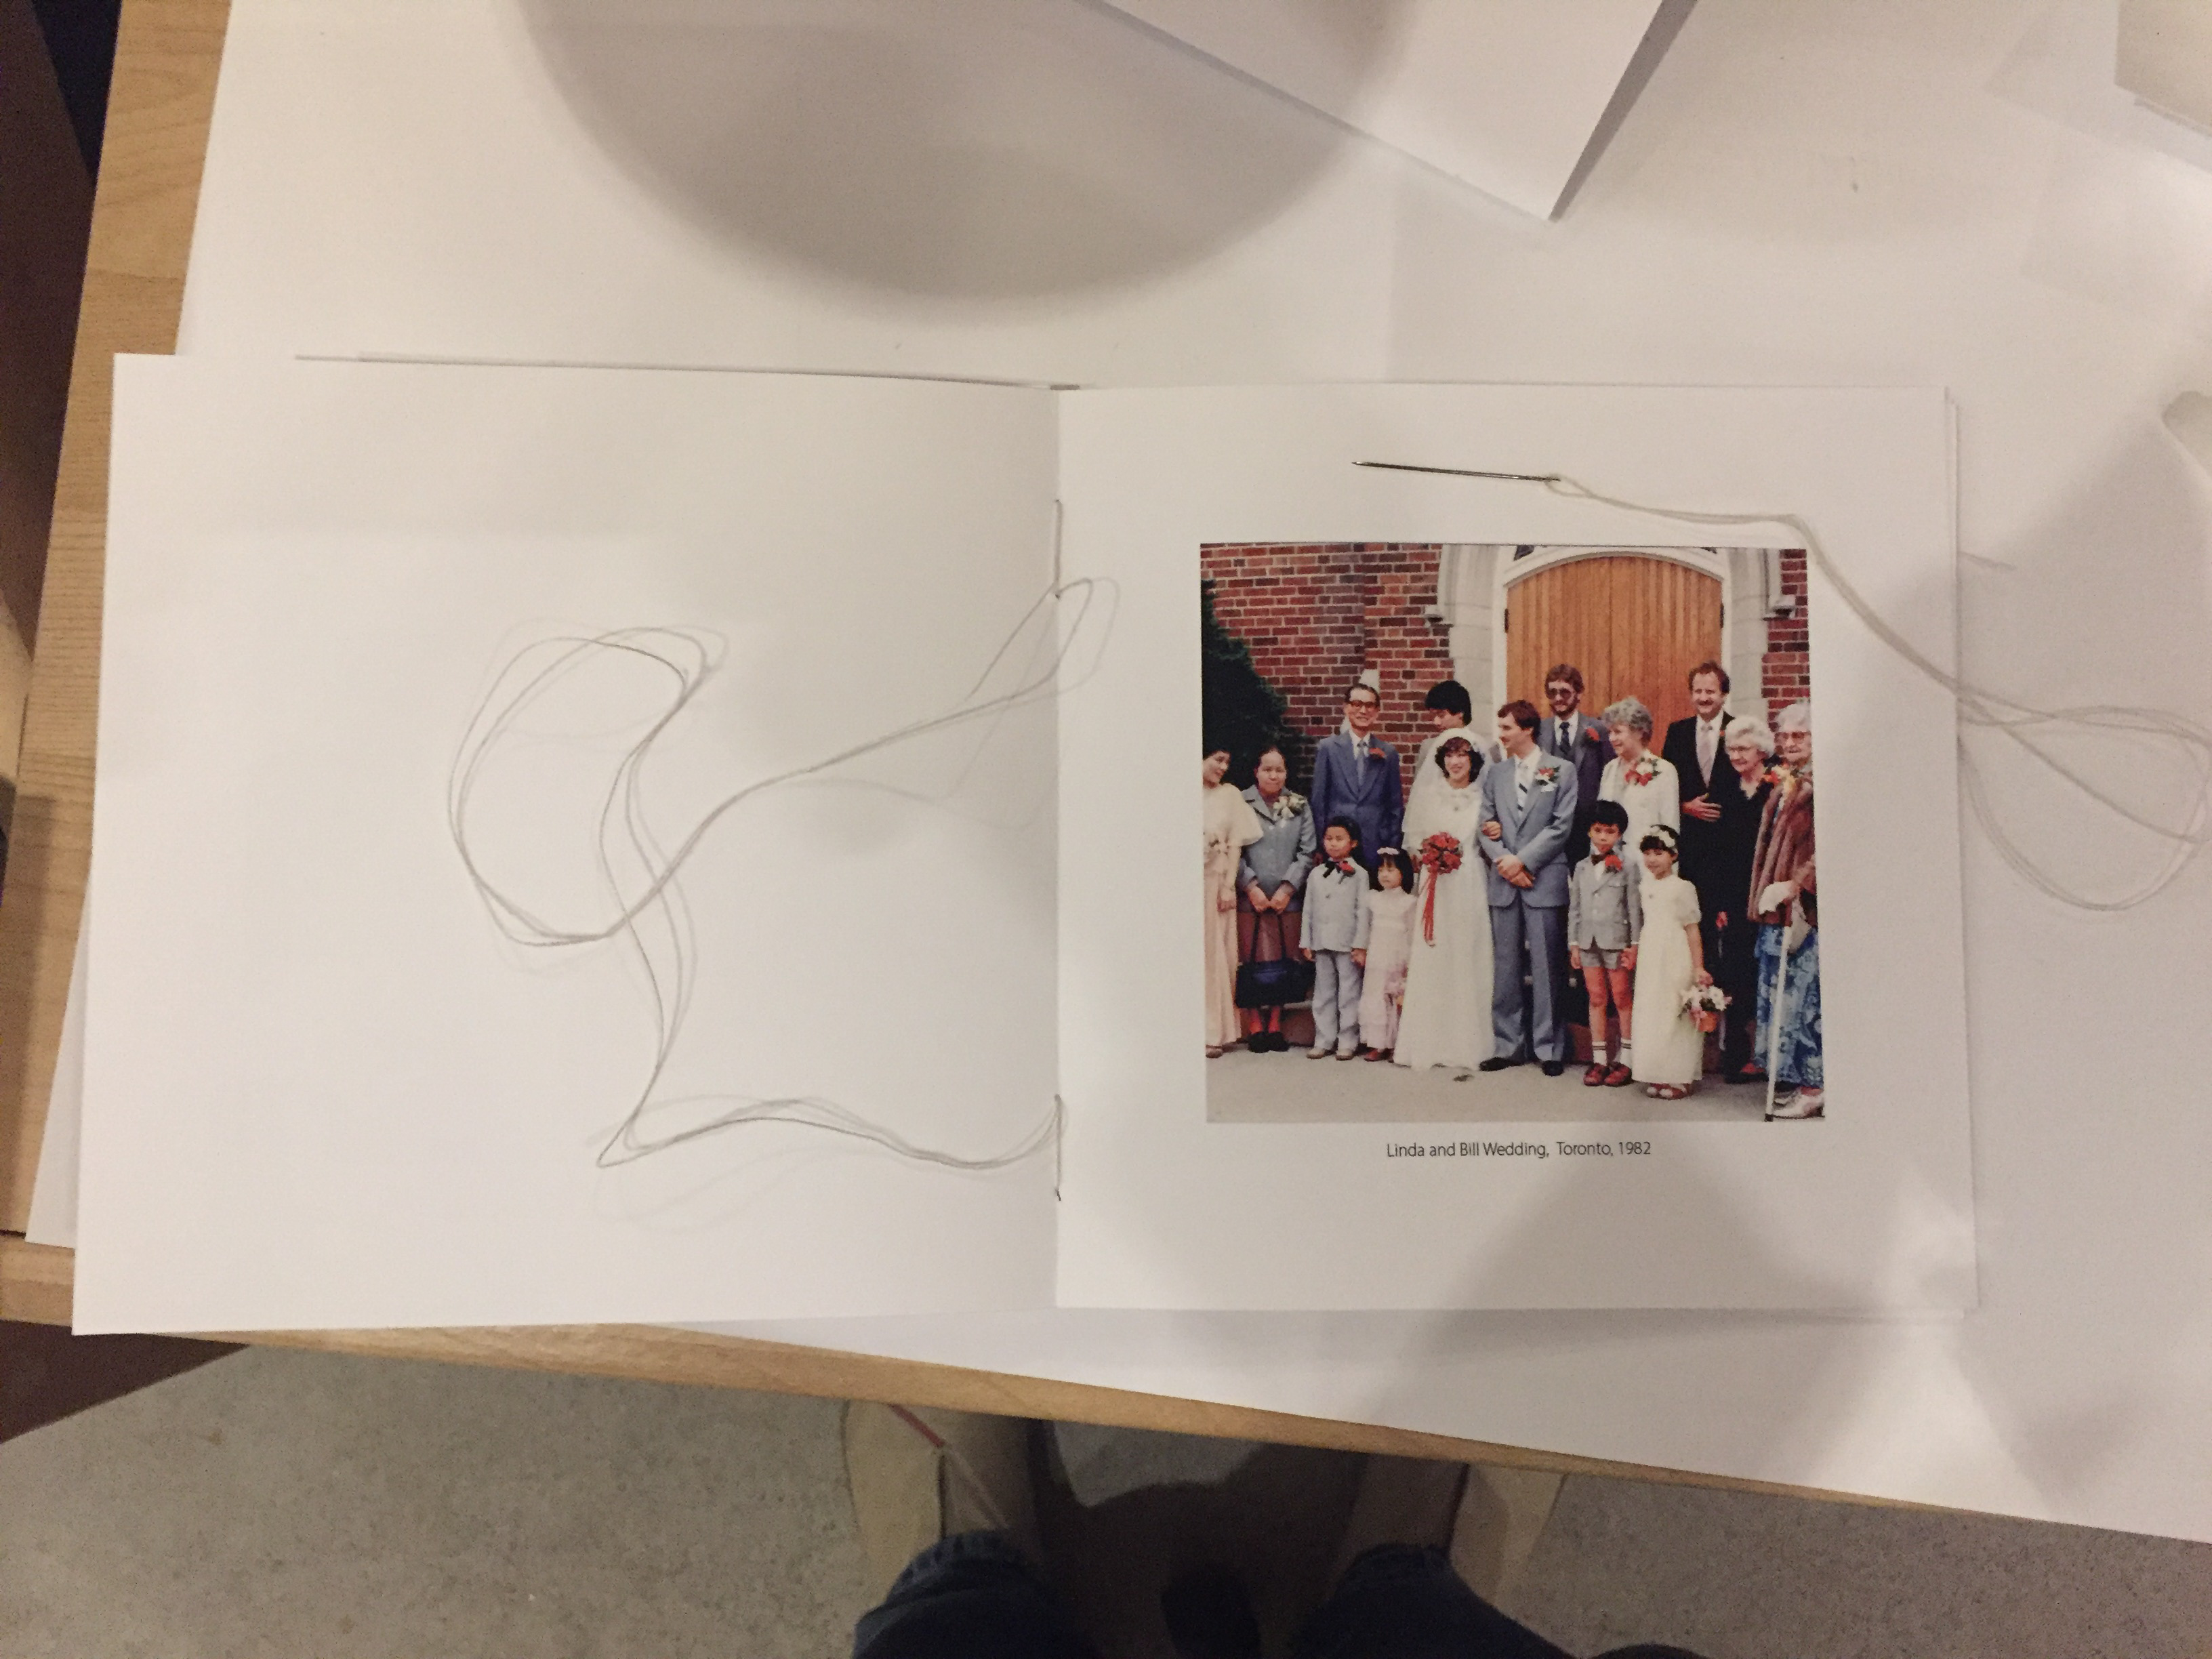
Sewing
Sewing the signatures together. Having pre-made holes makes the process simplier.
Sewing
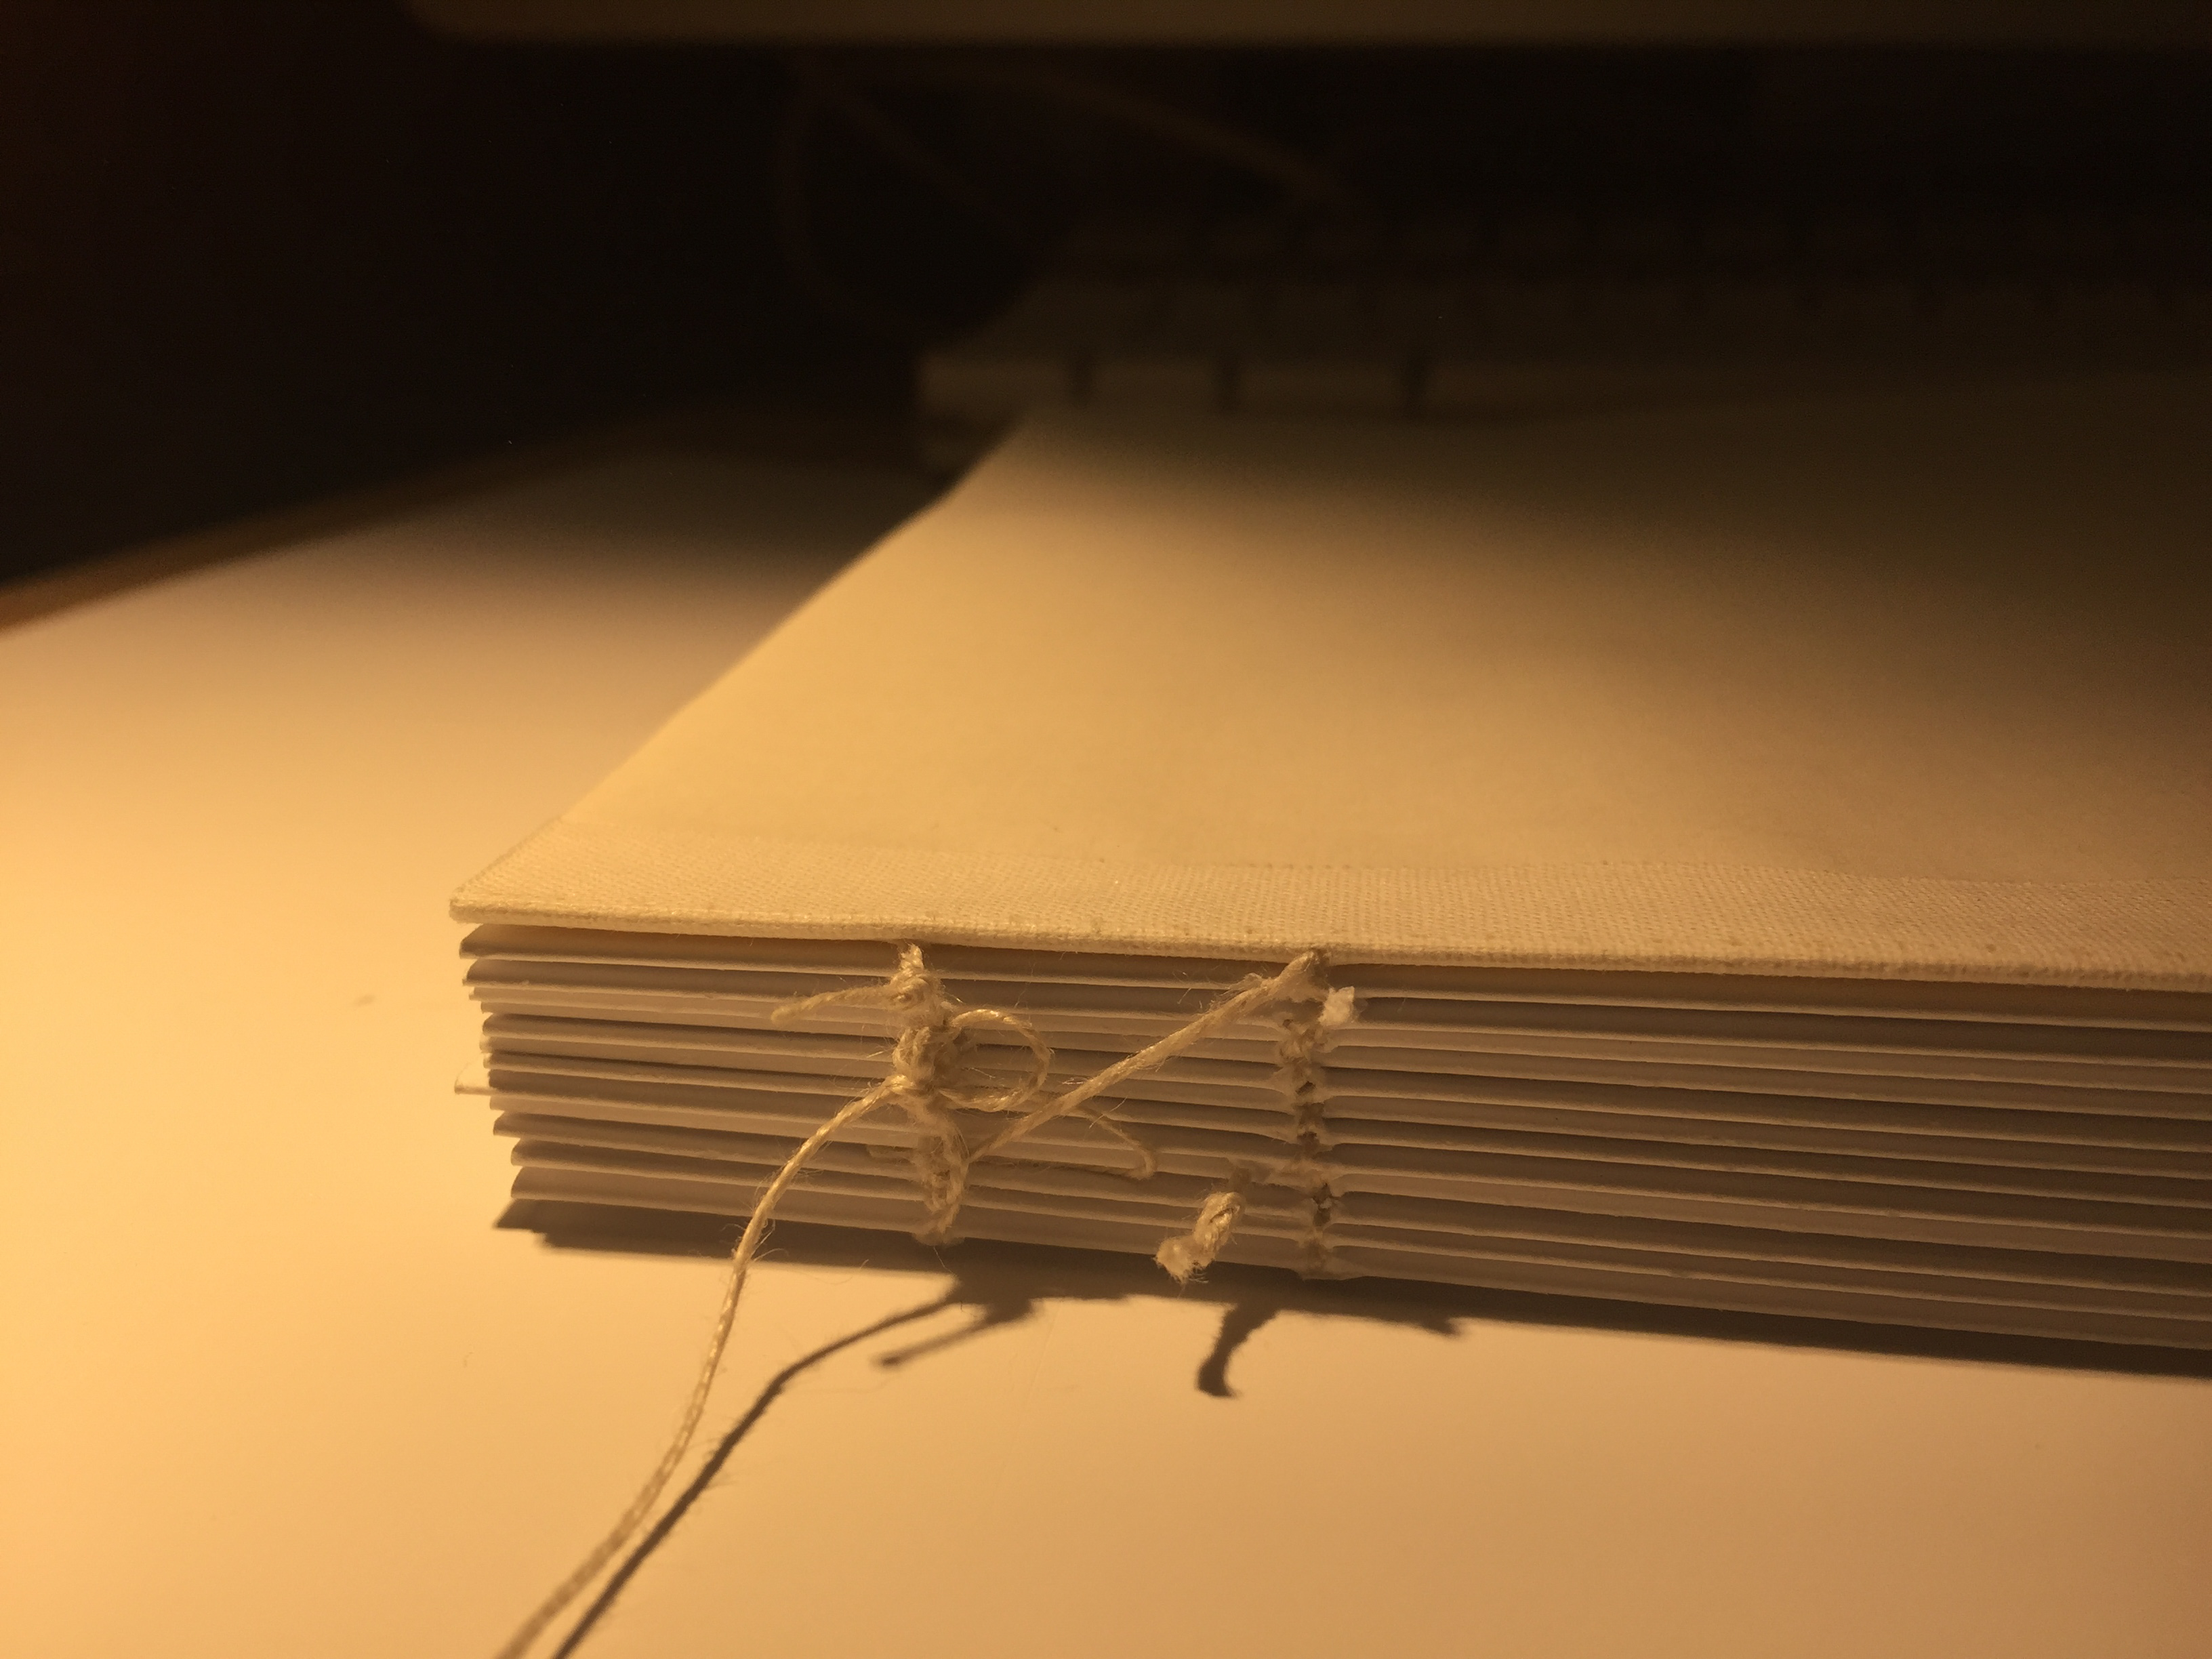
Sewing
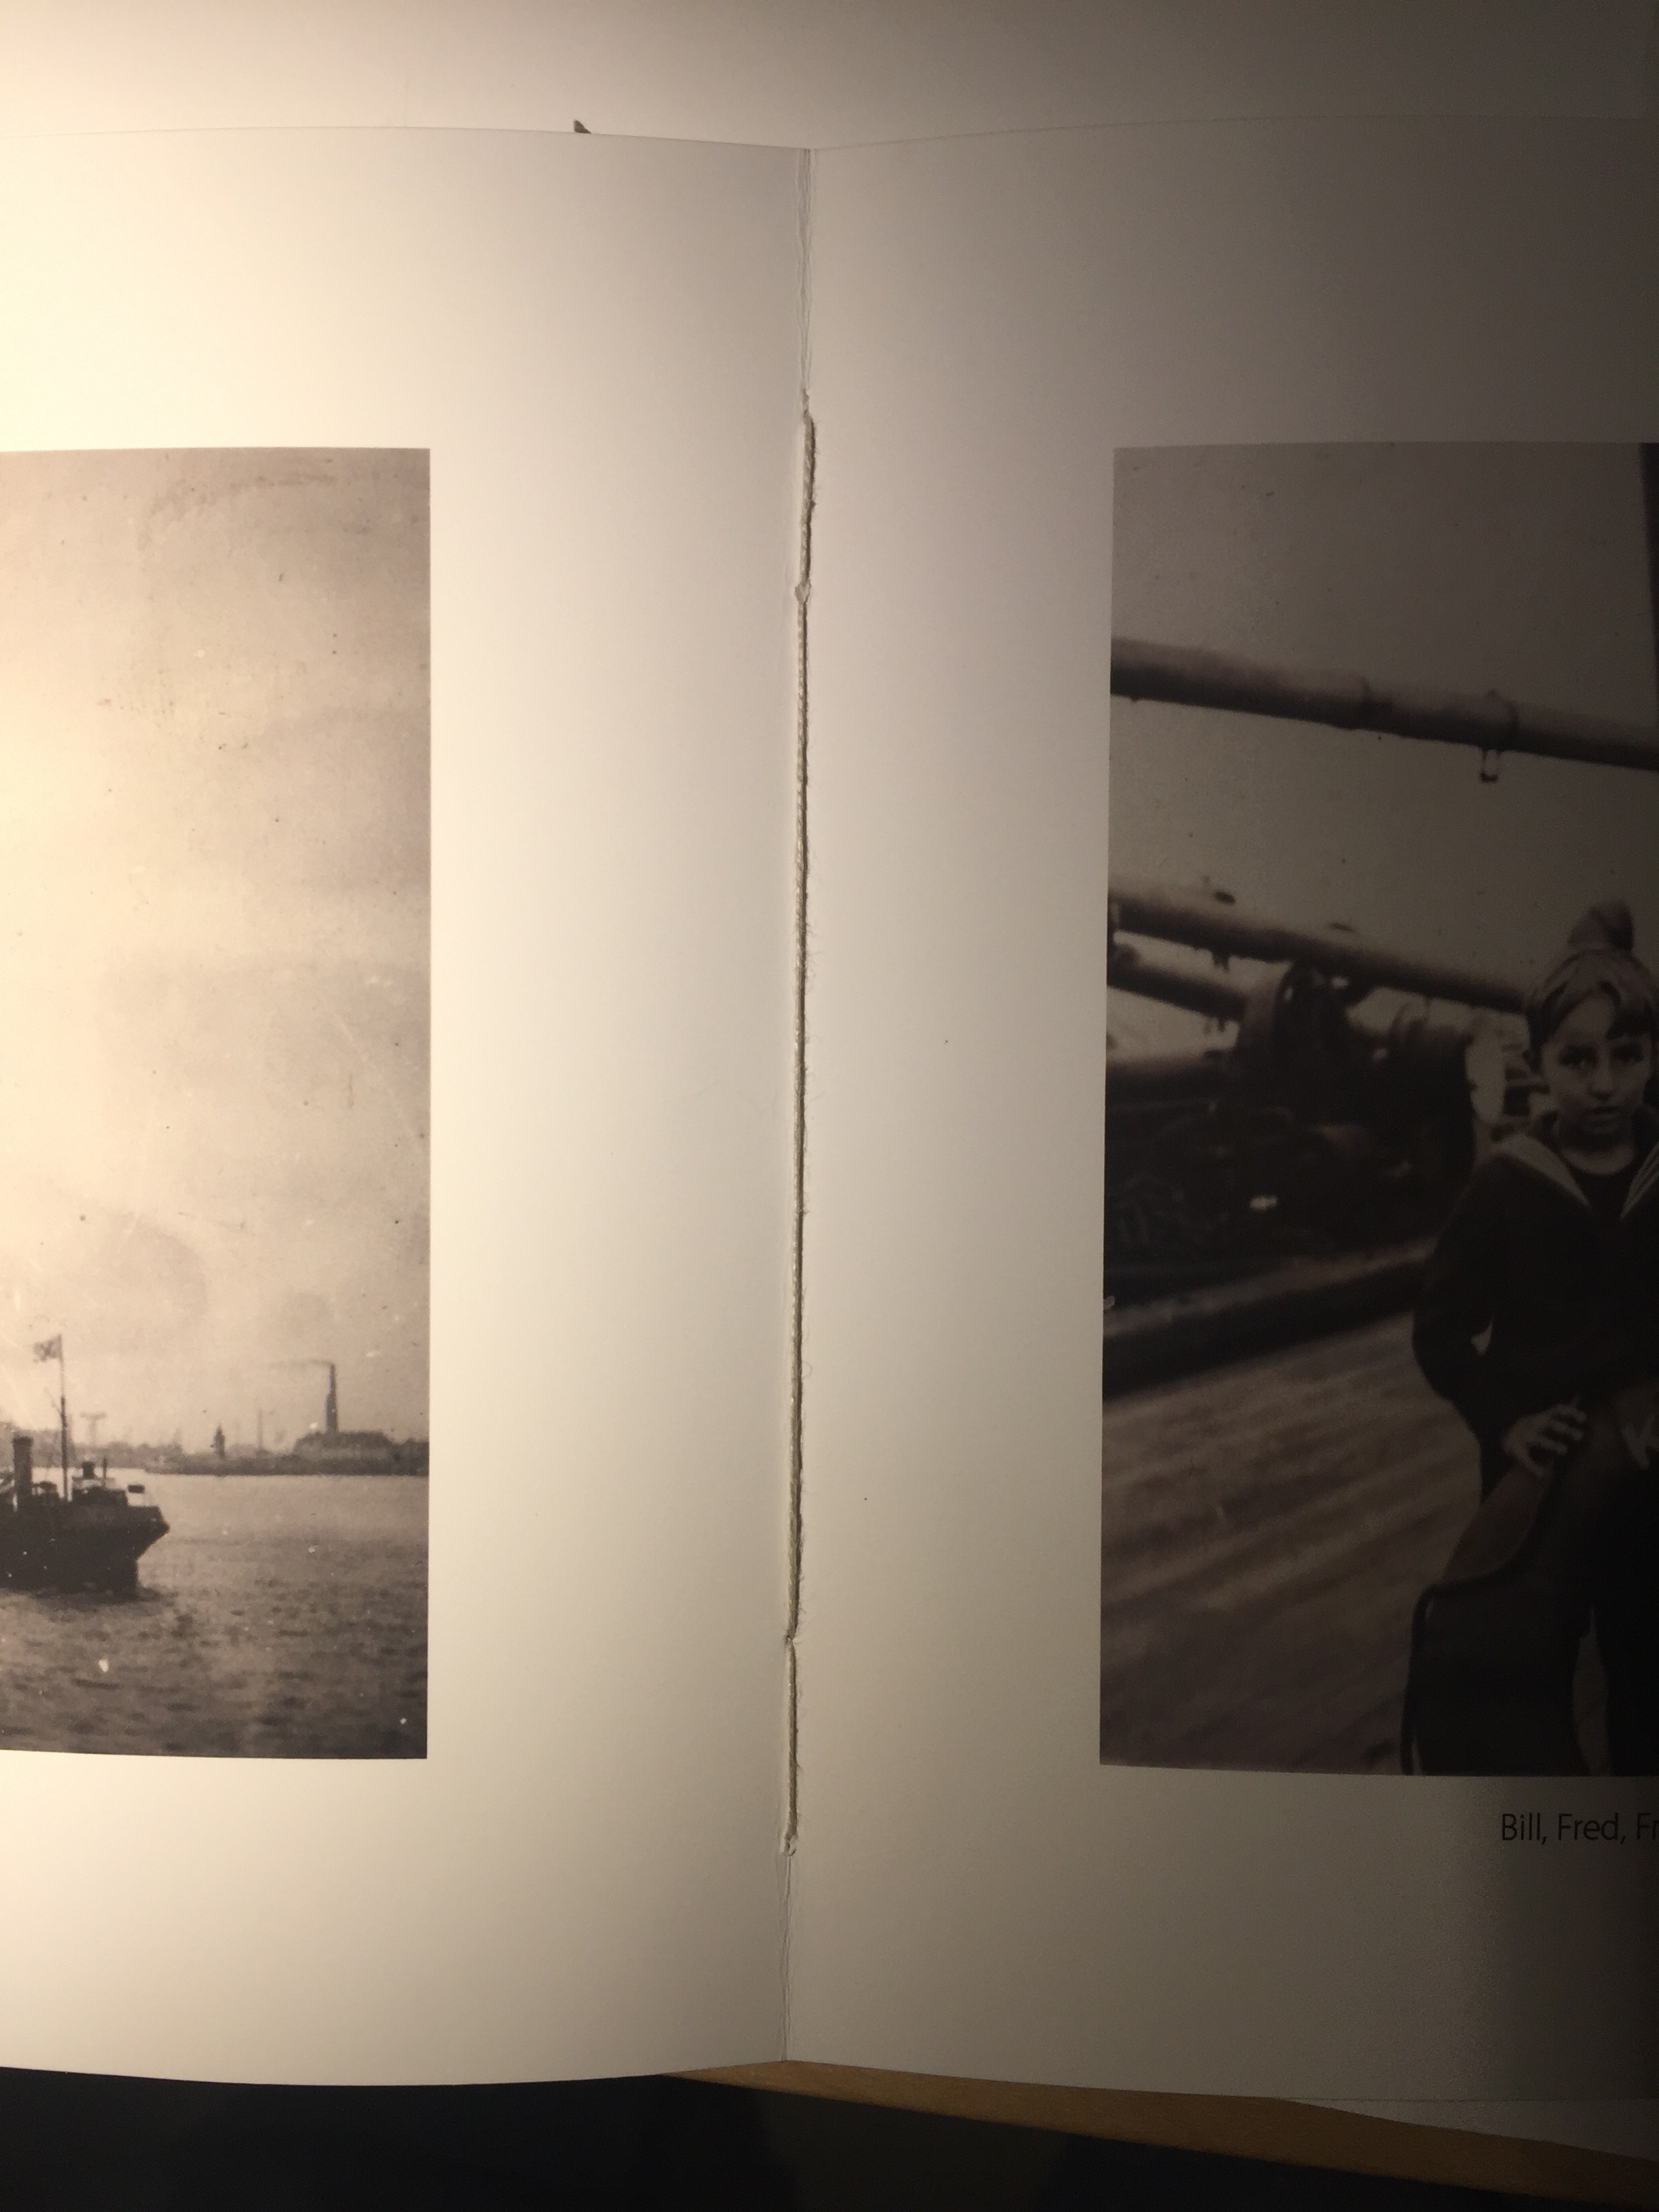
A bound stack of signatures.
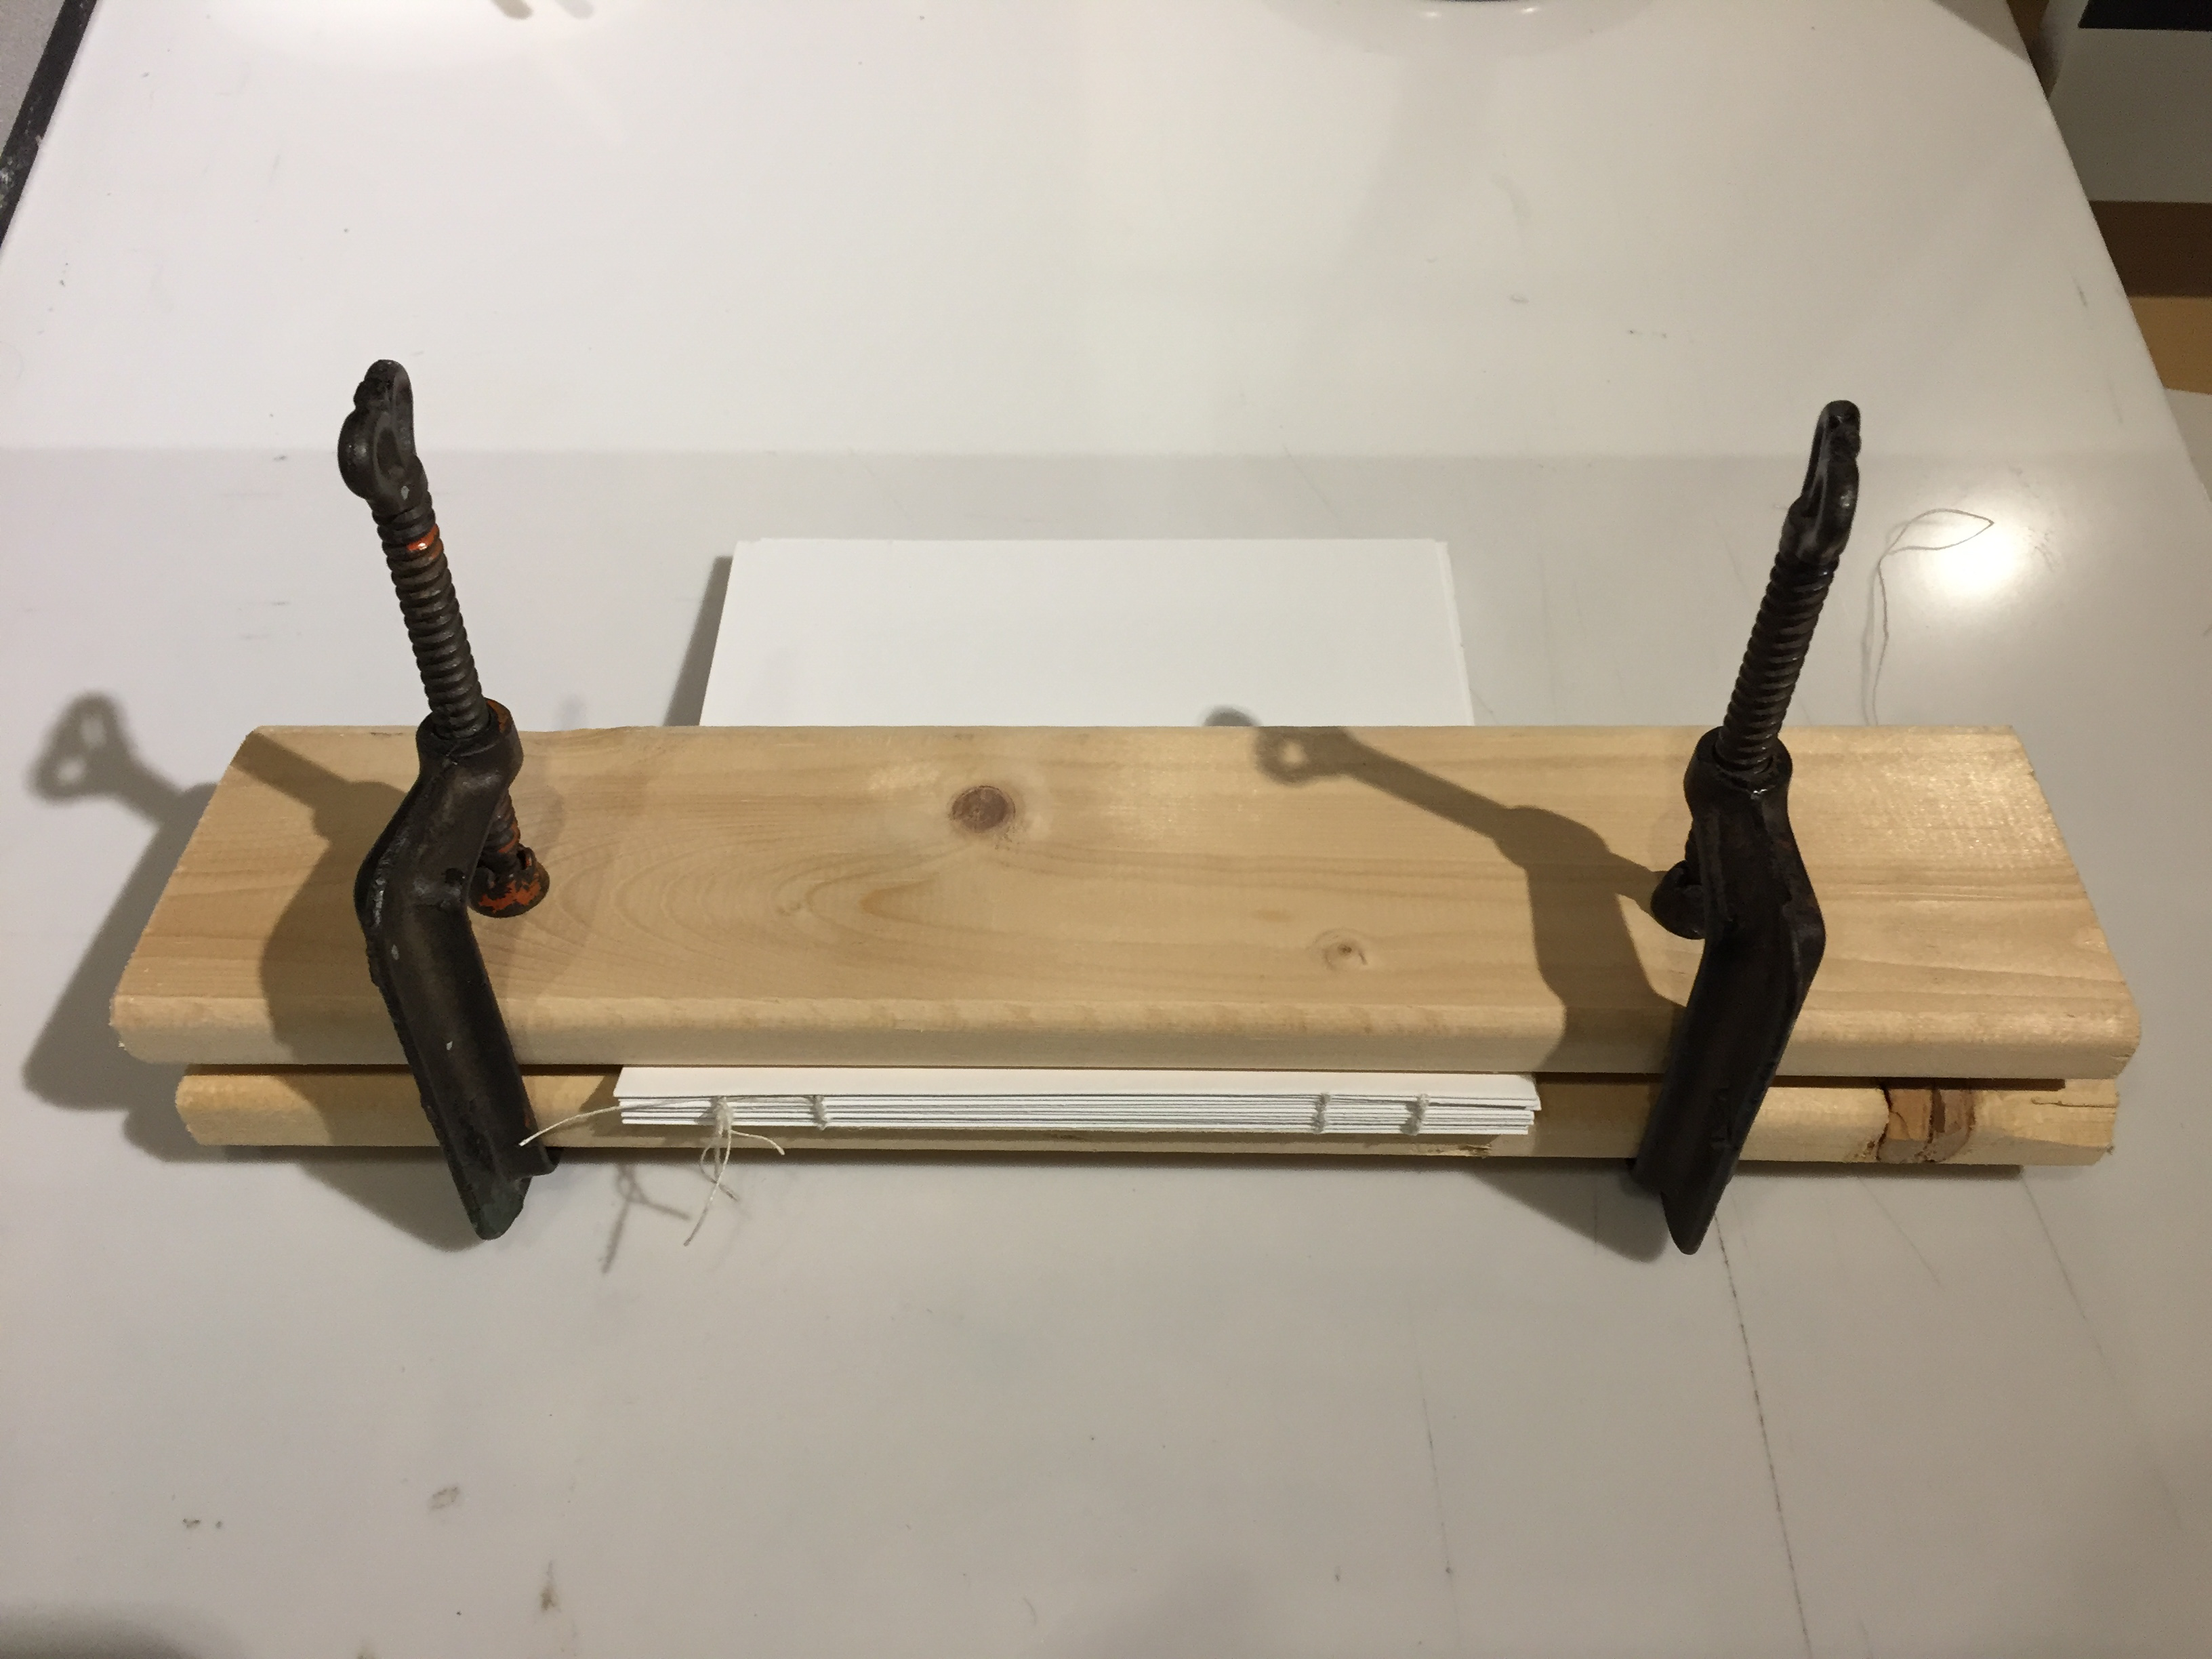
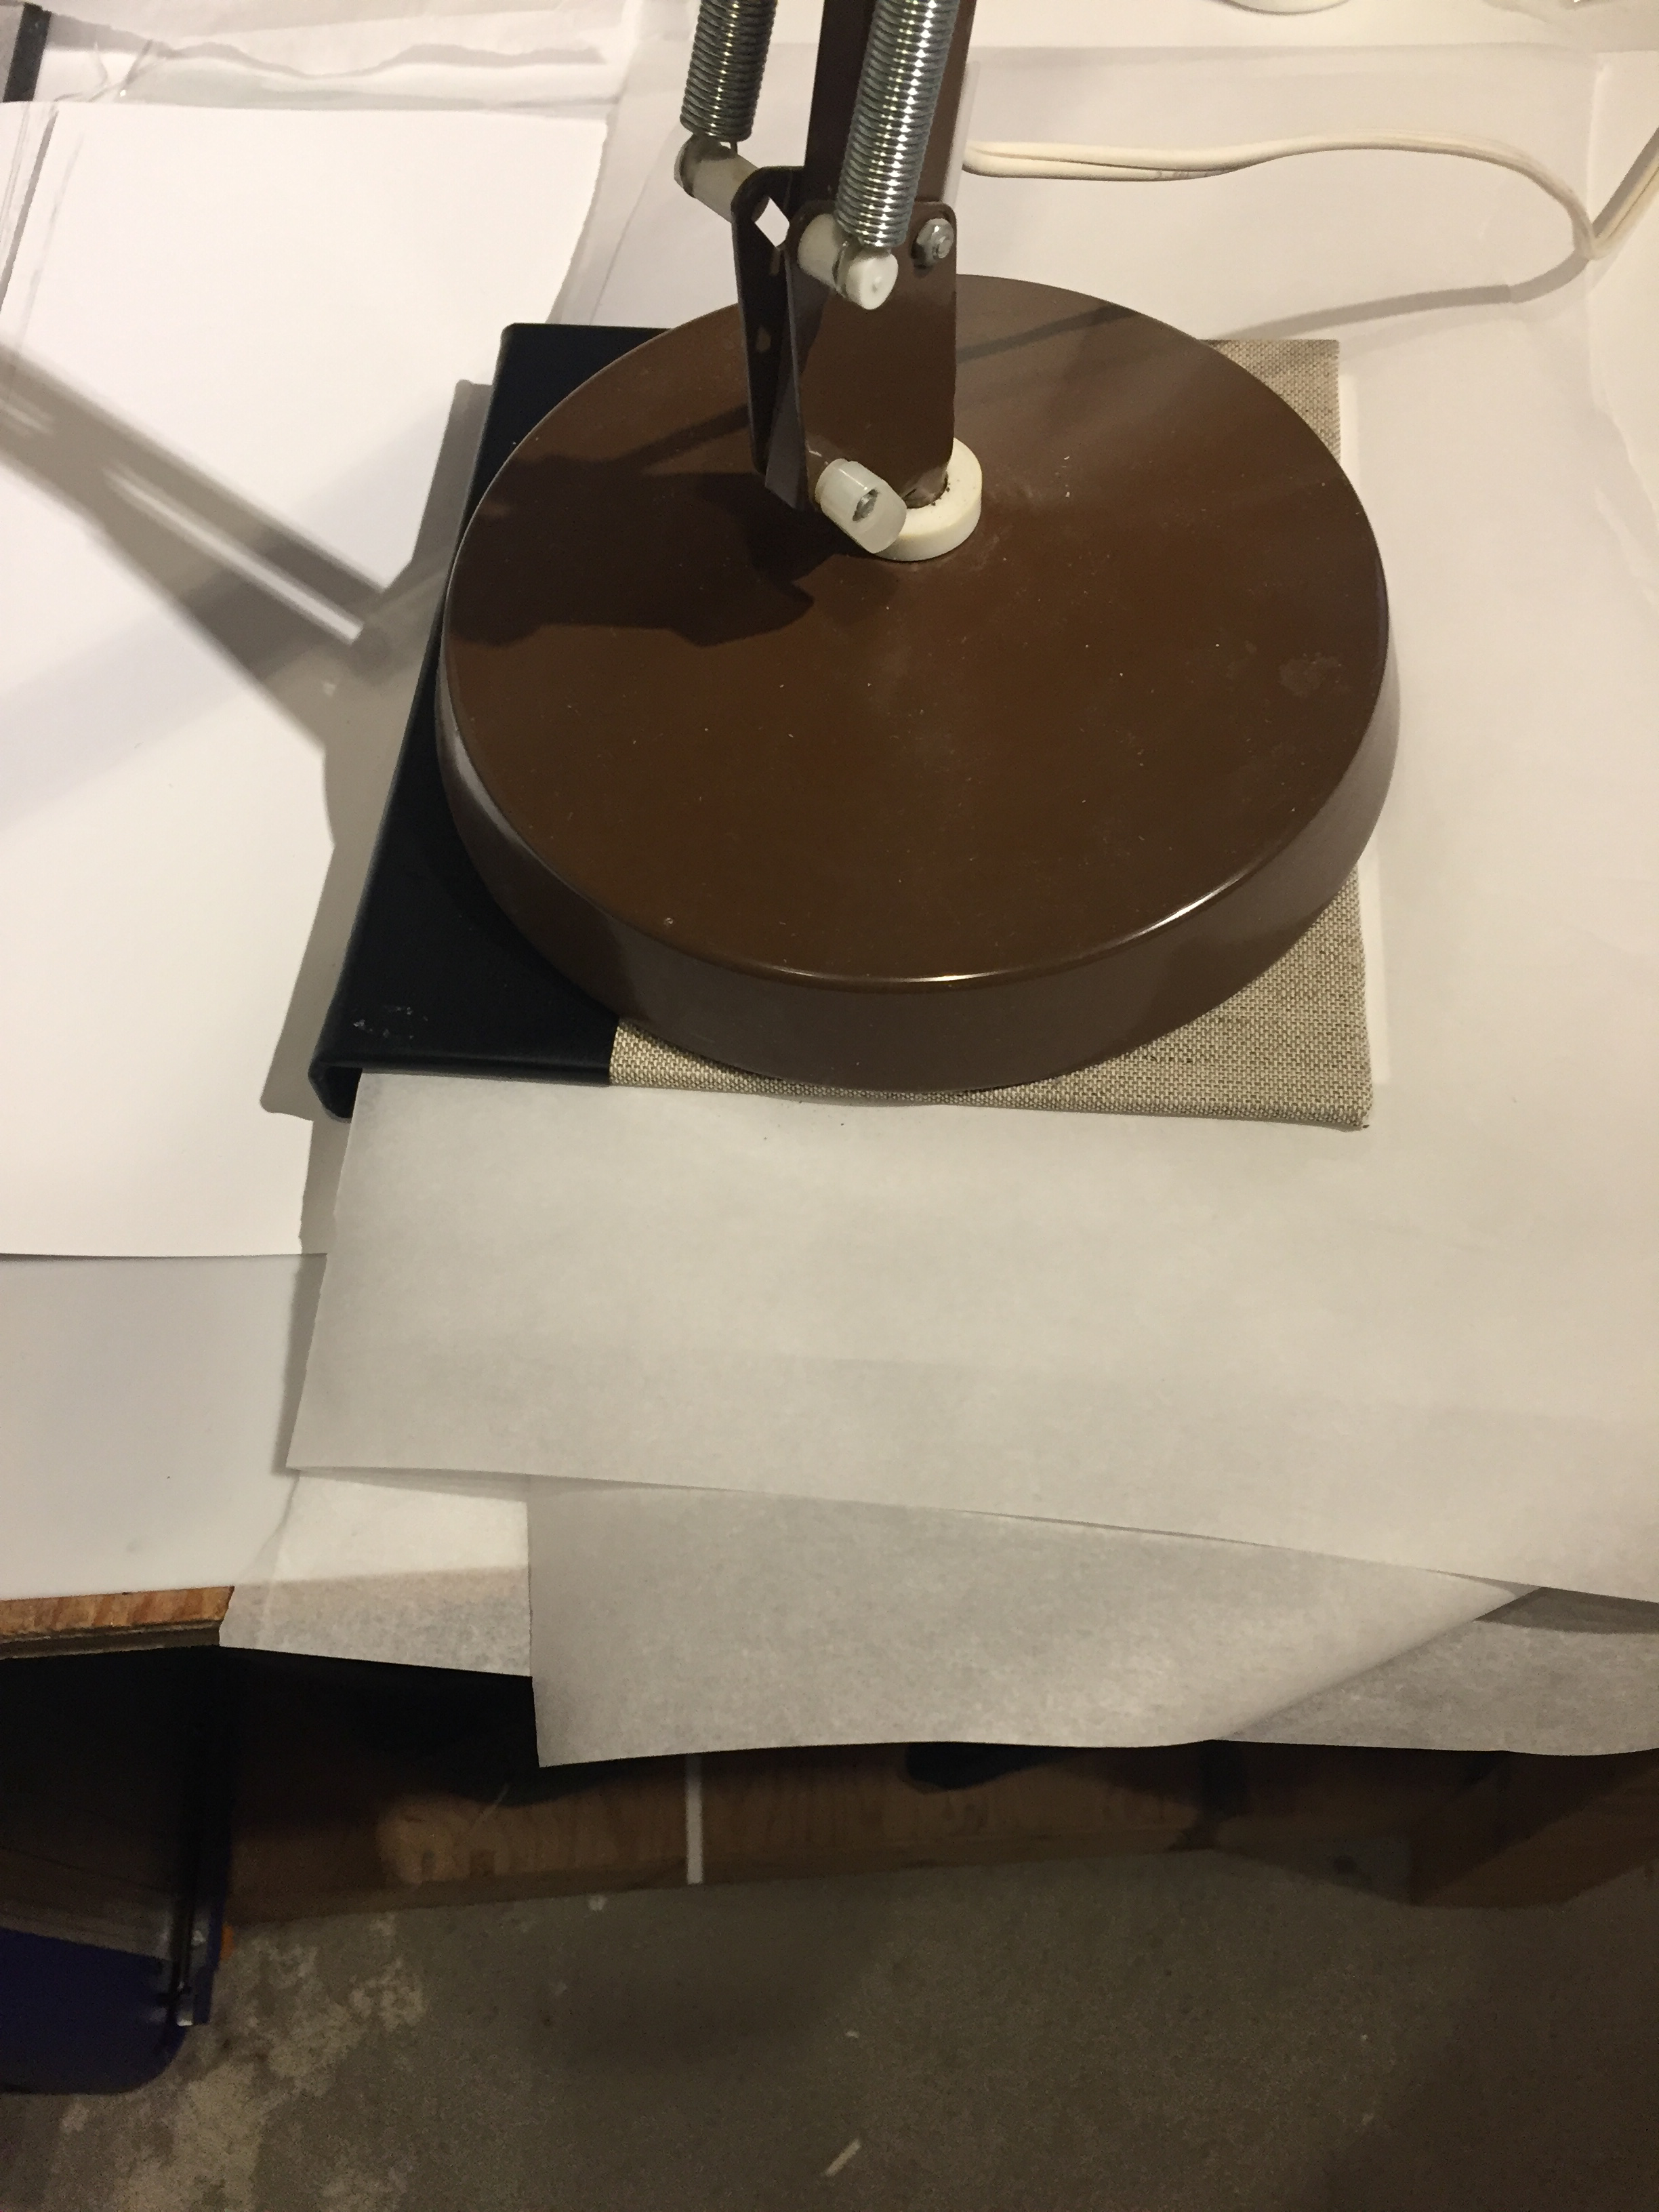
Pressing the Signatures
After binding the signatures together, I used a press to hold them tightly together in preparation for gluing.
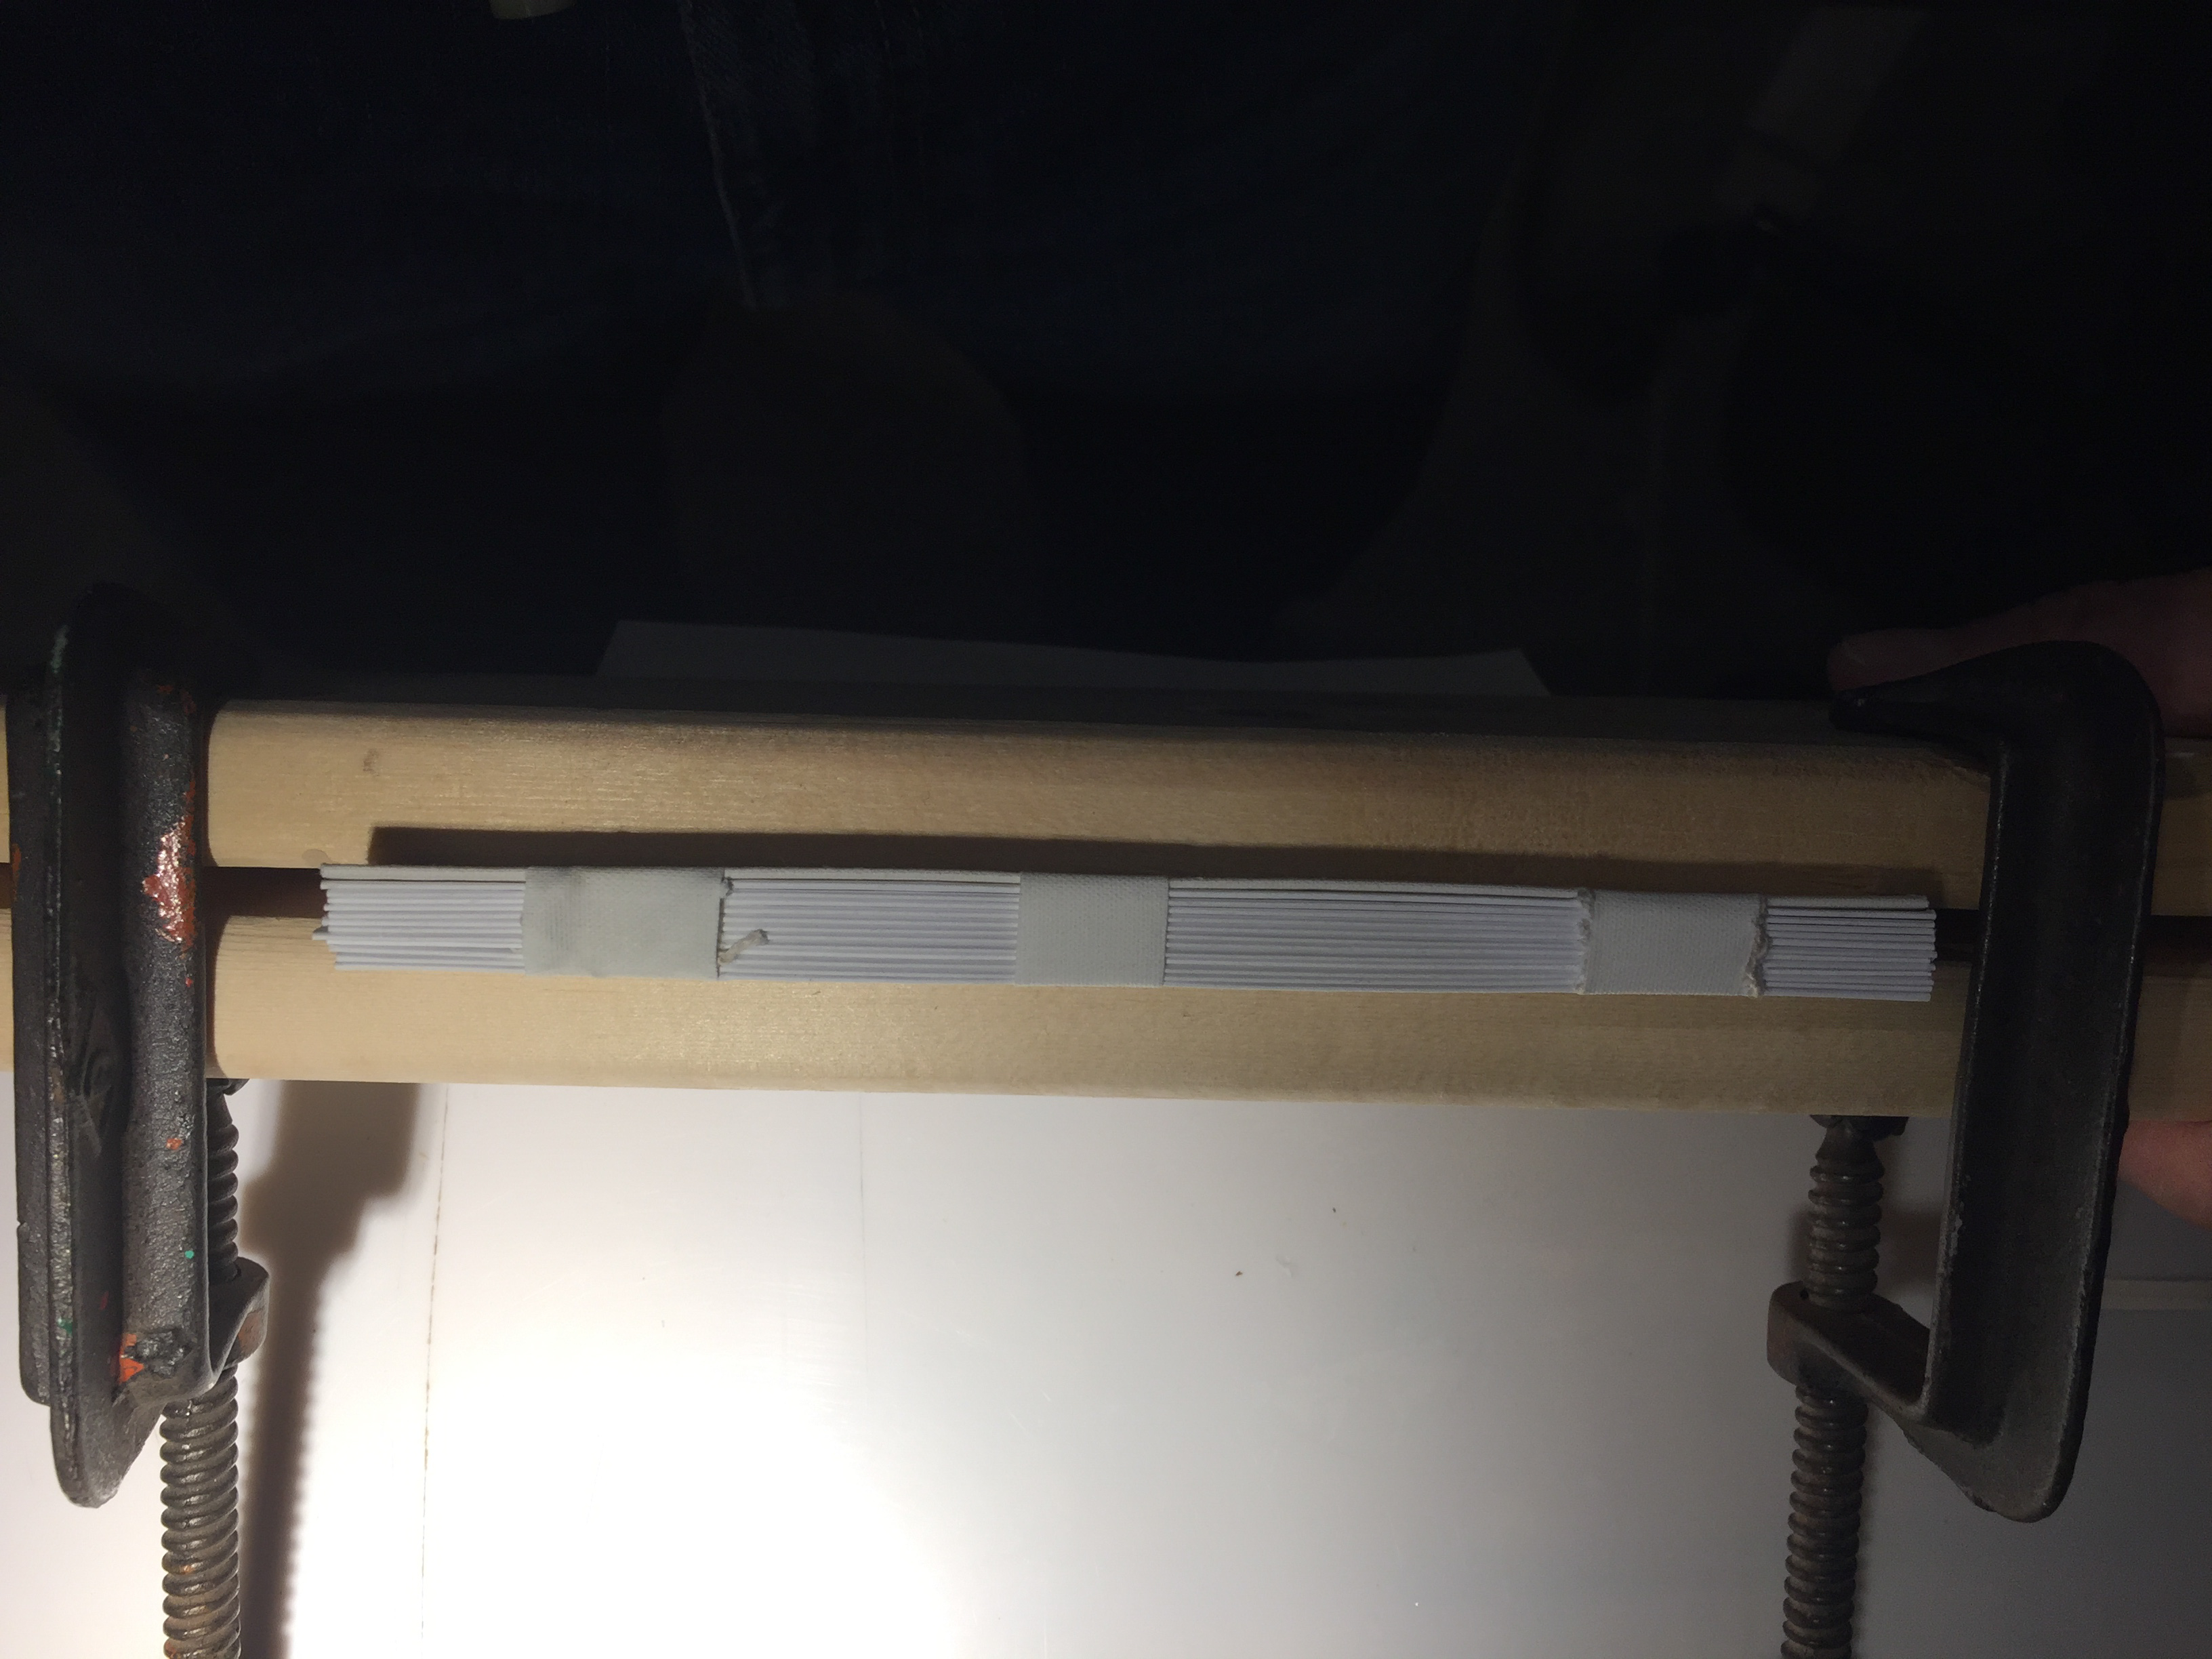
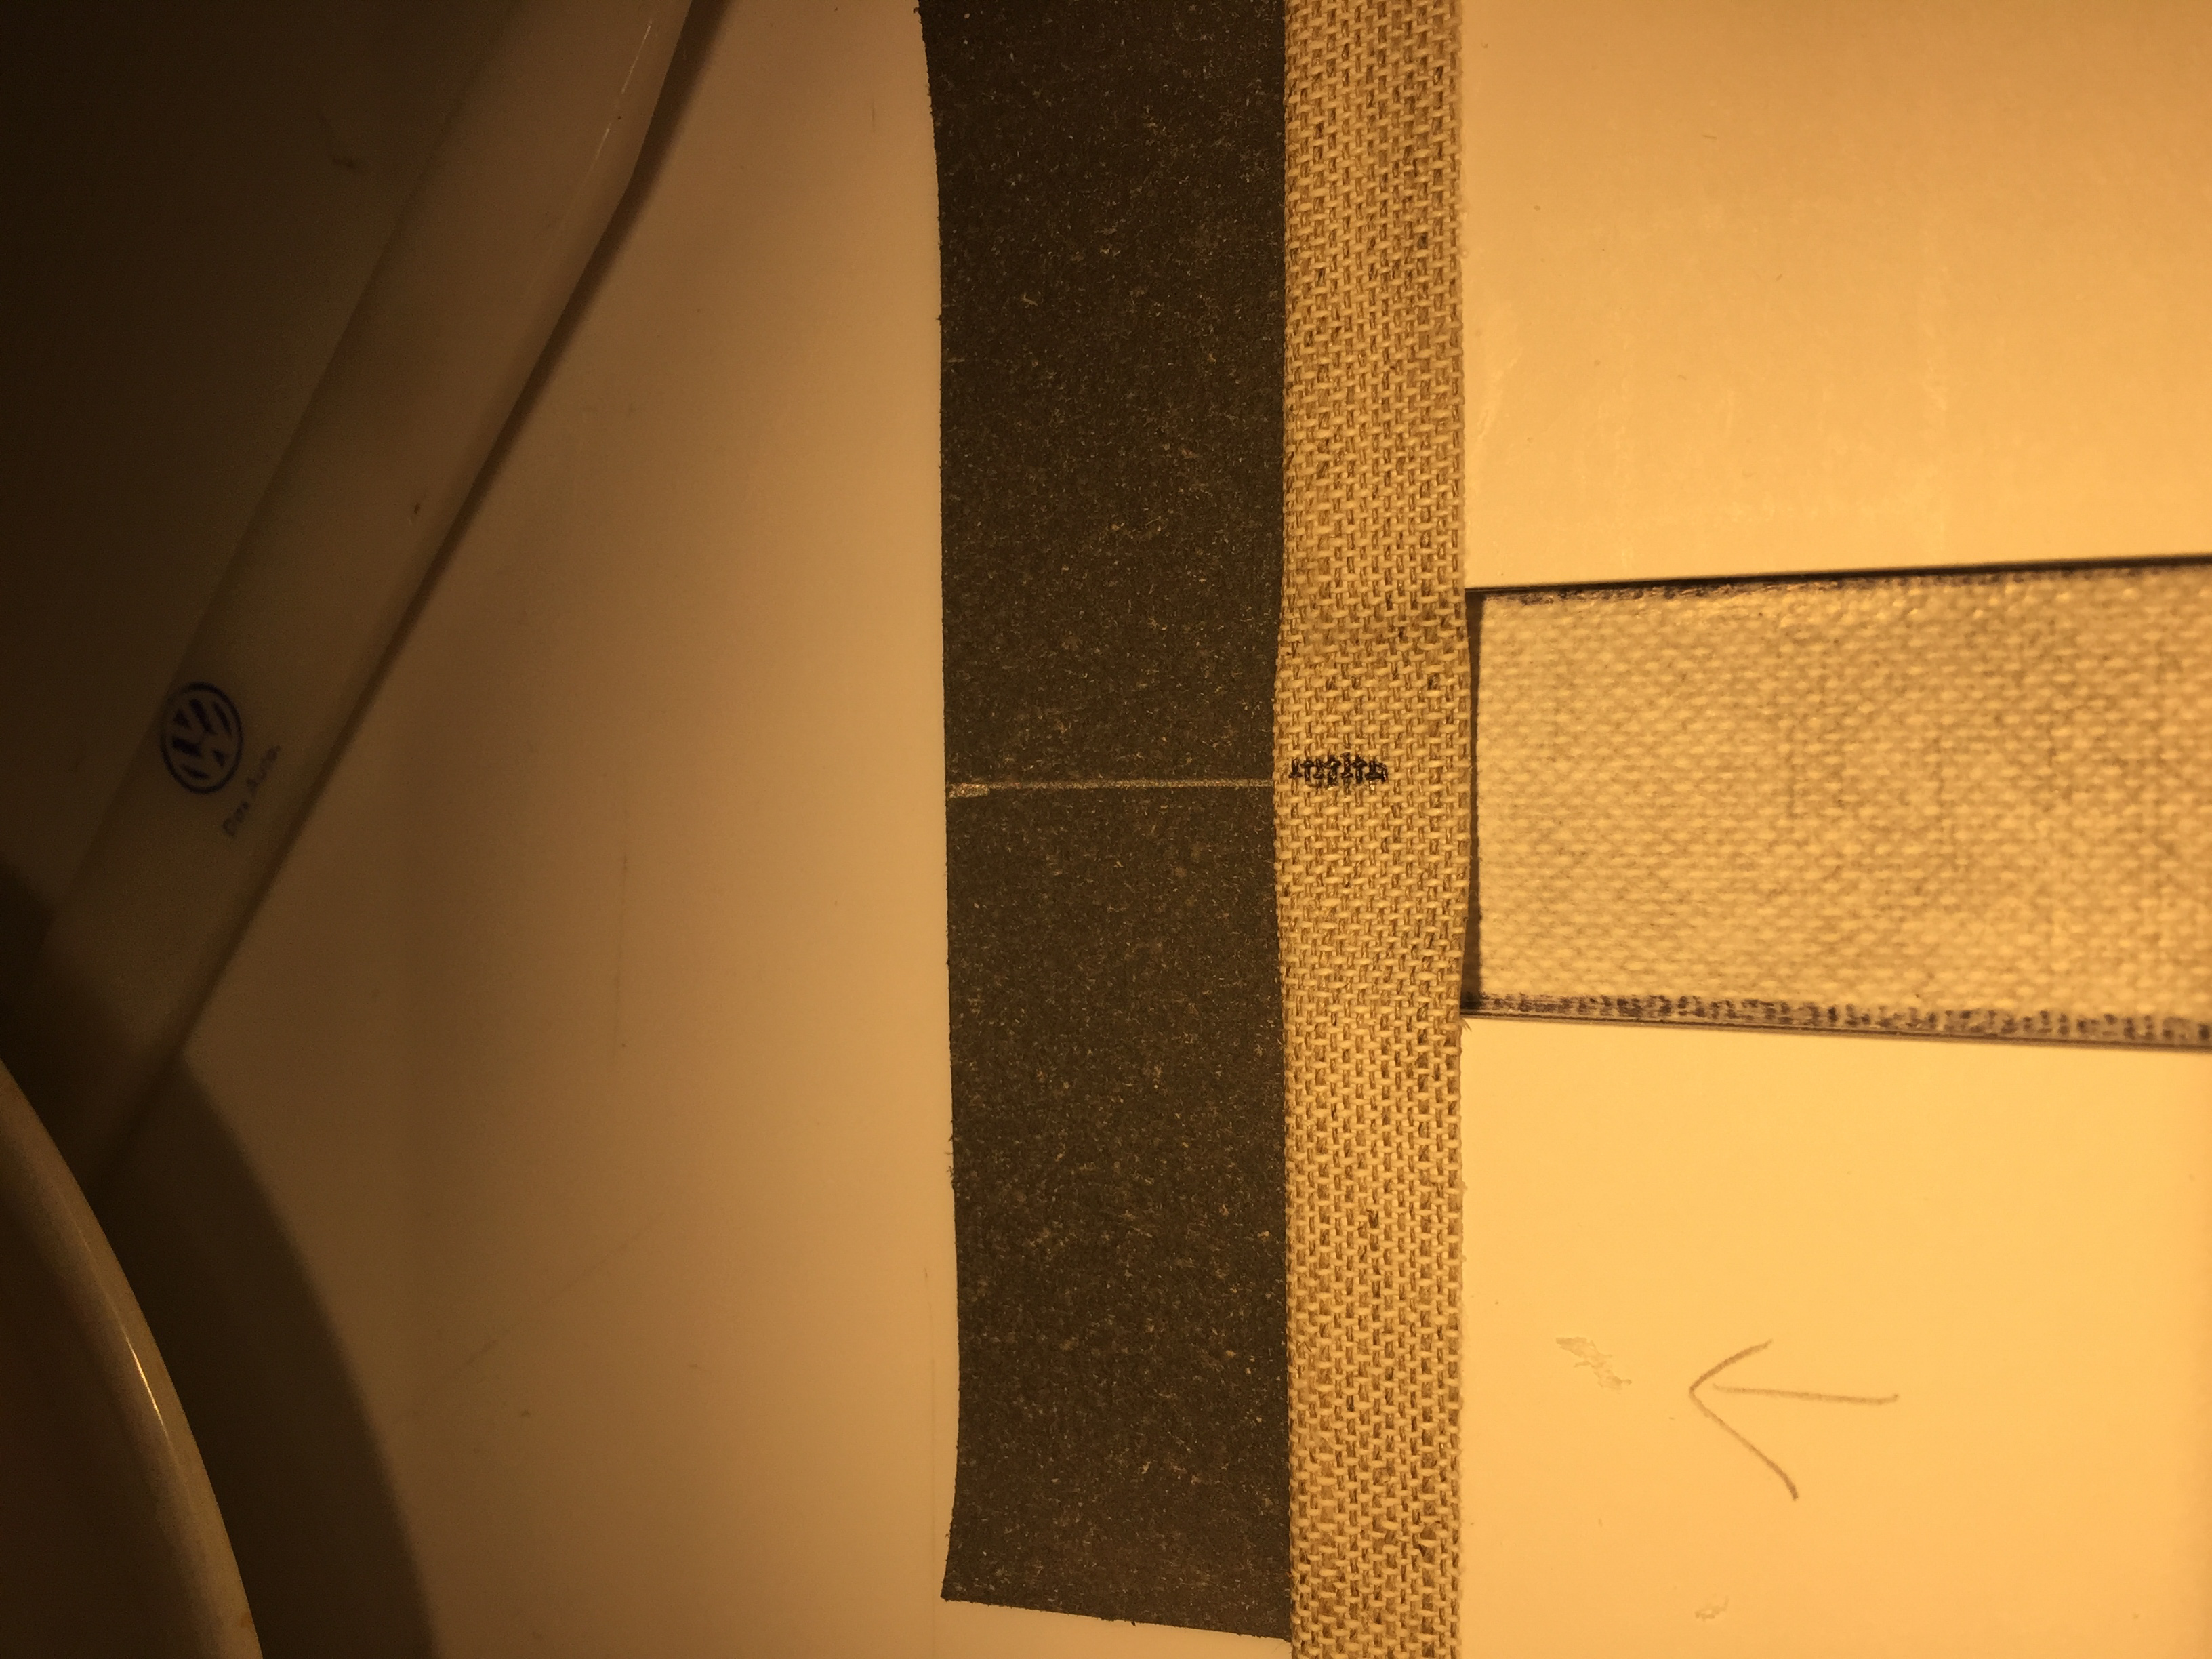
Tape
I used tape to hold the signatures together.
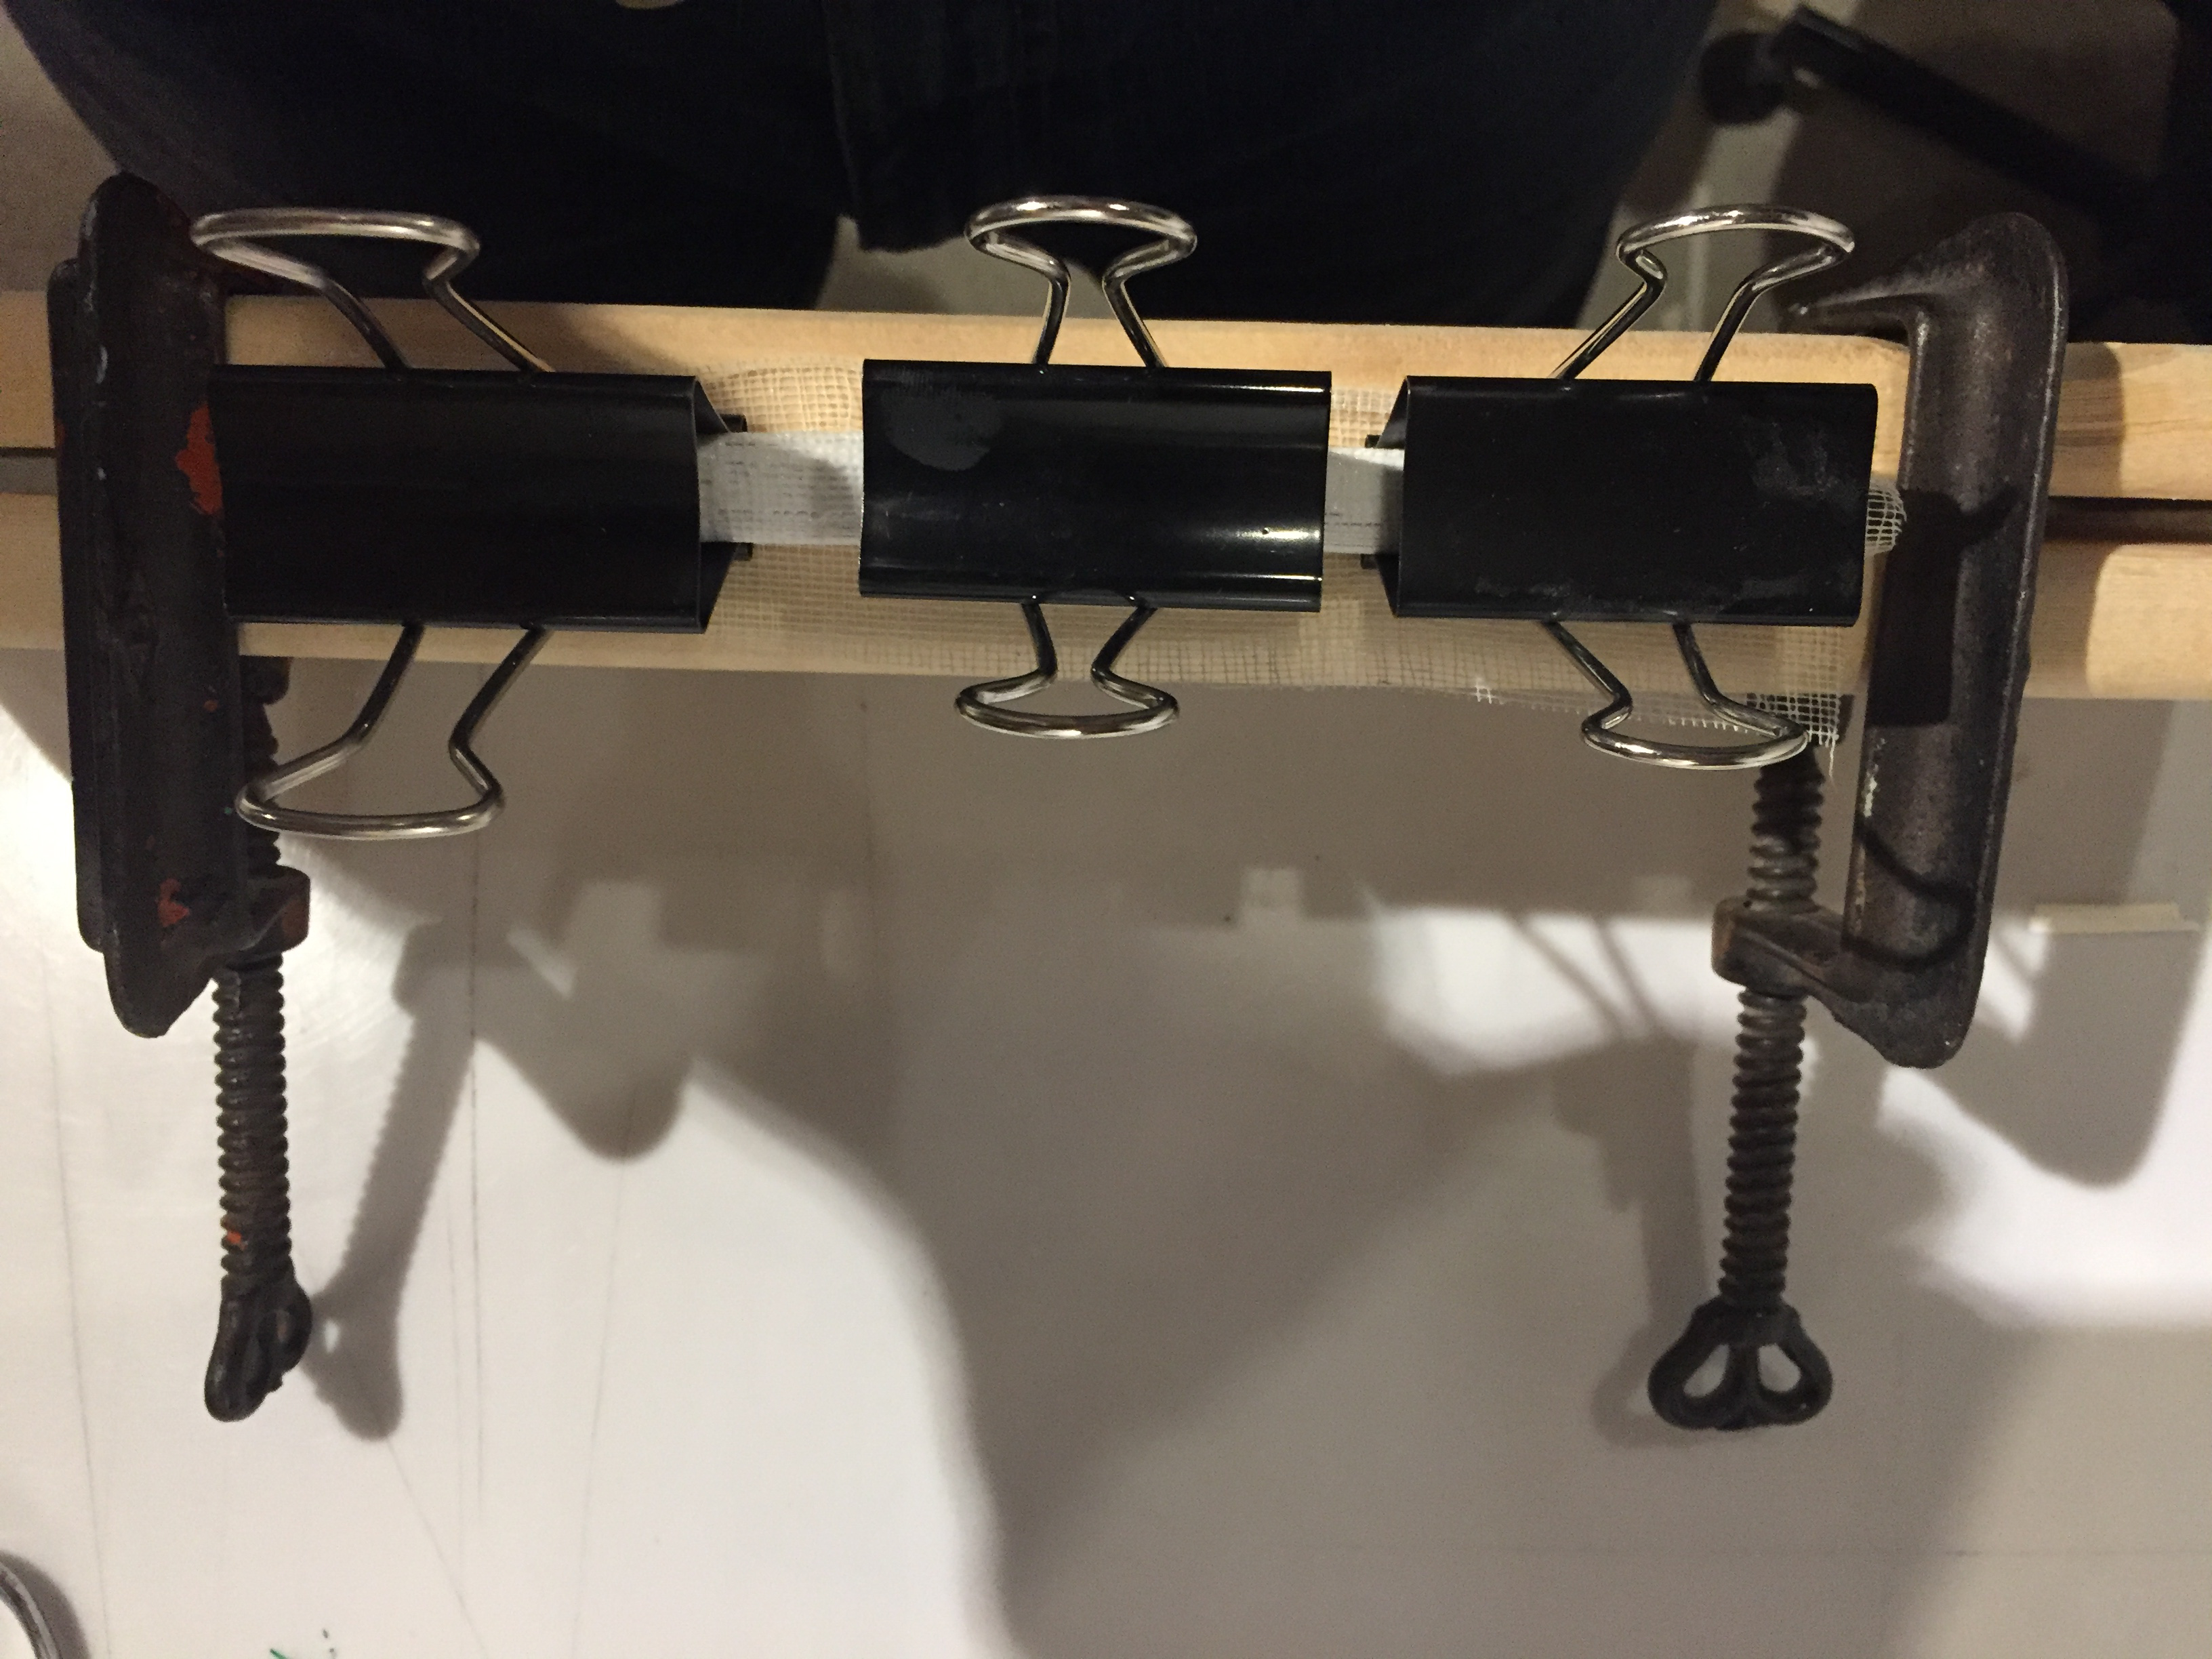
Clamps
I also used clamps to hold the mesh in place.
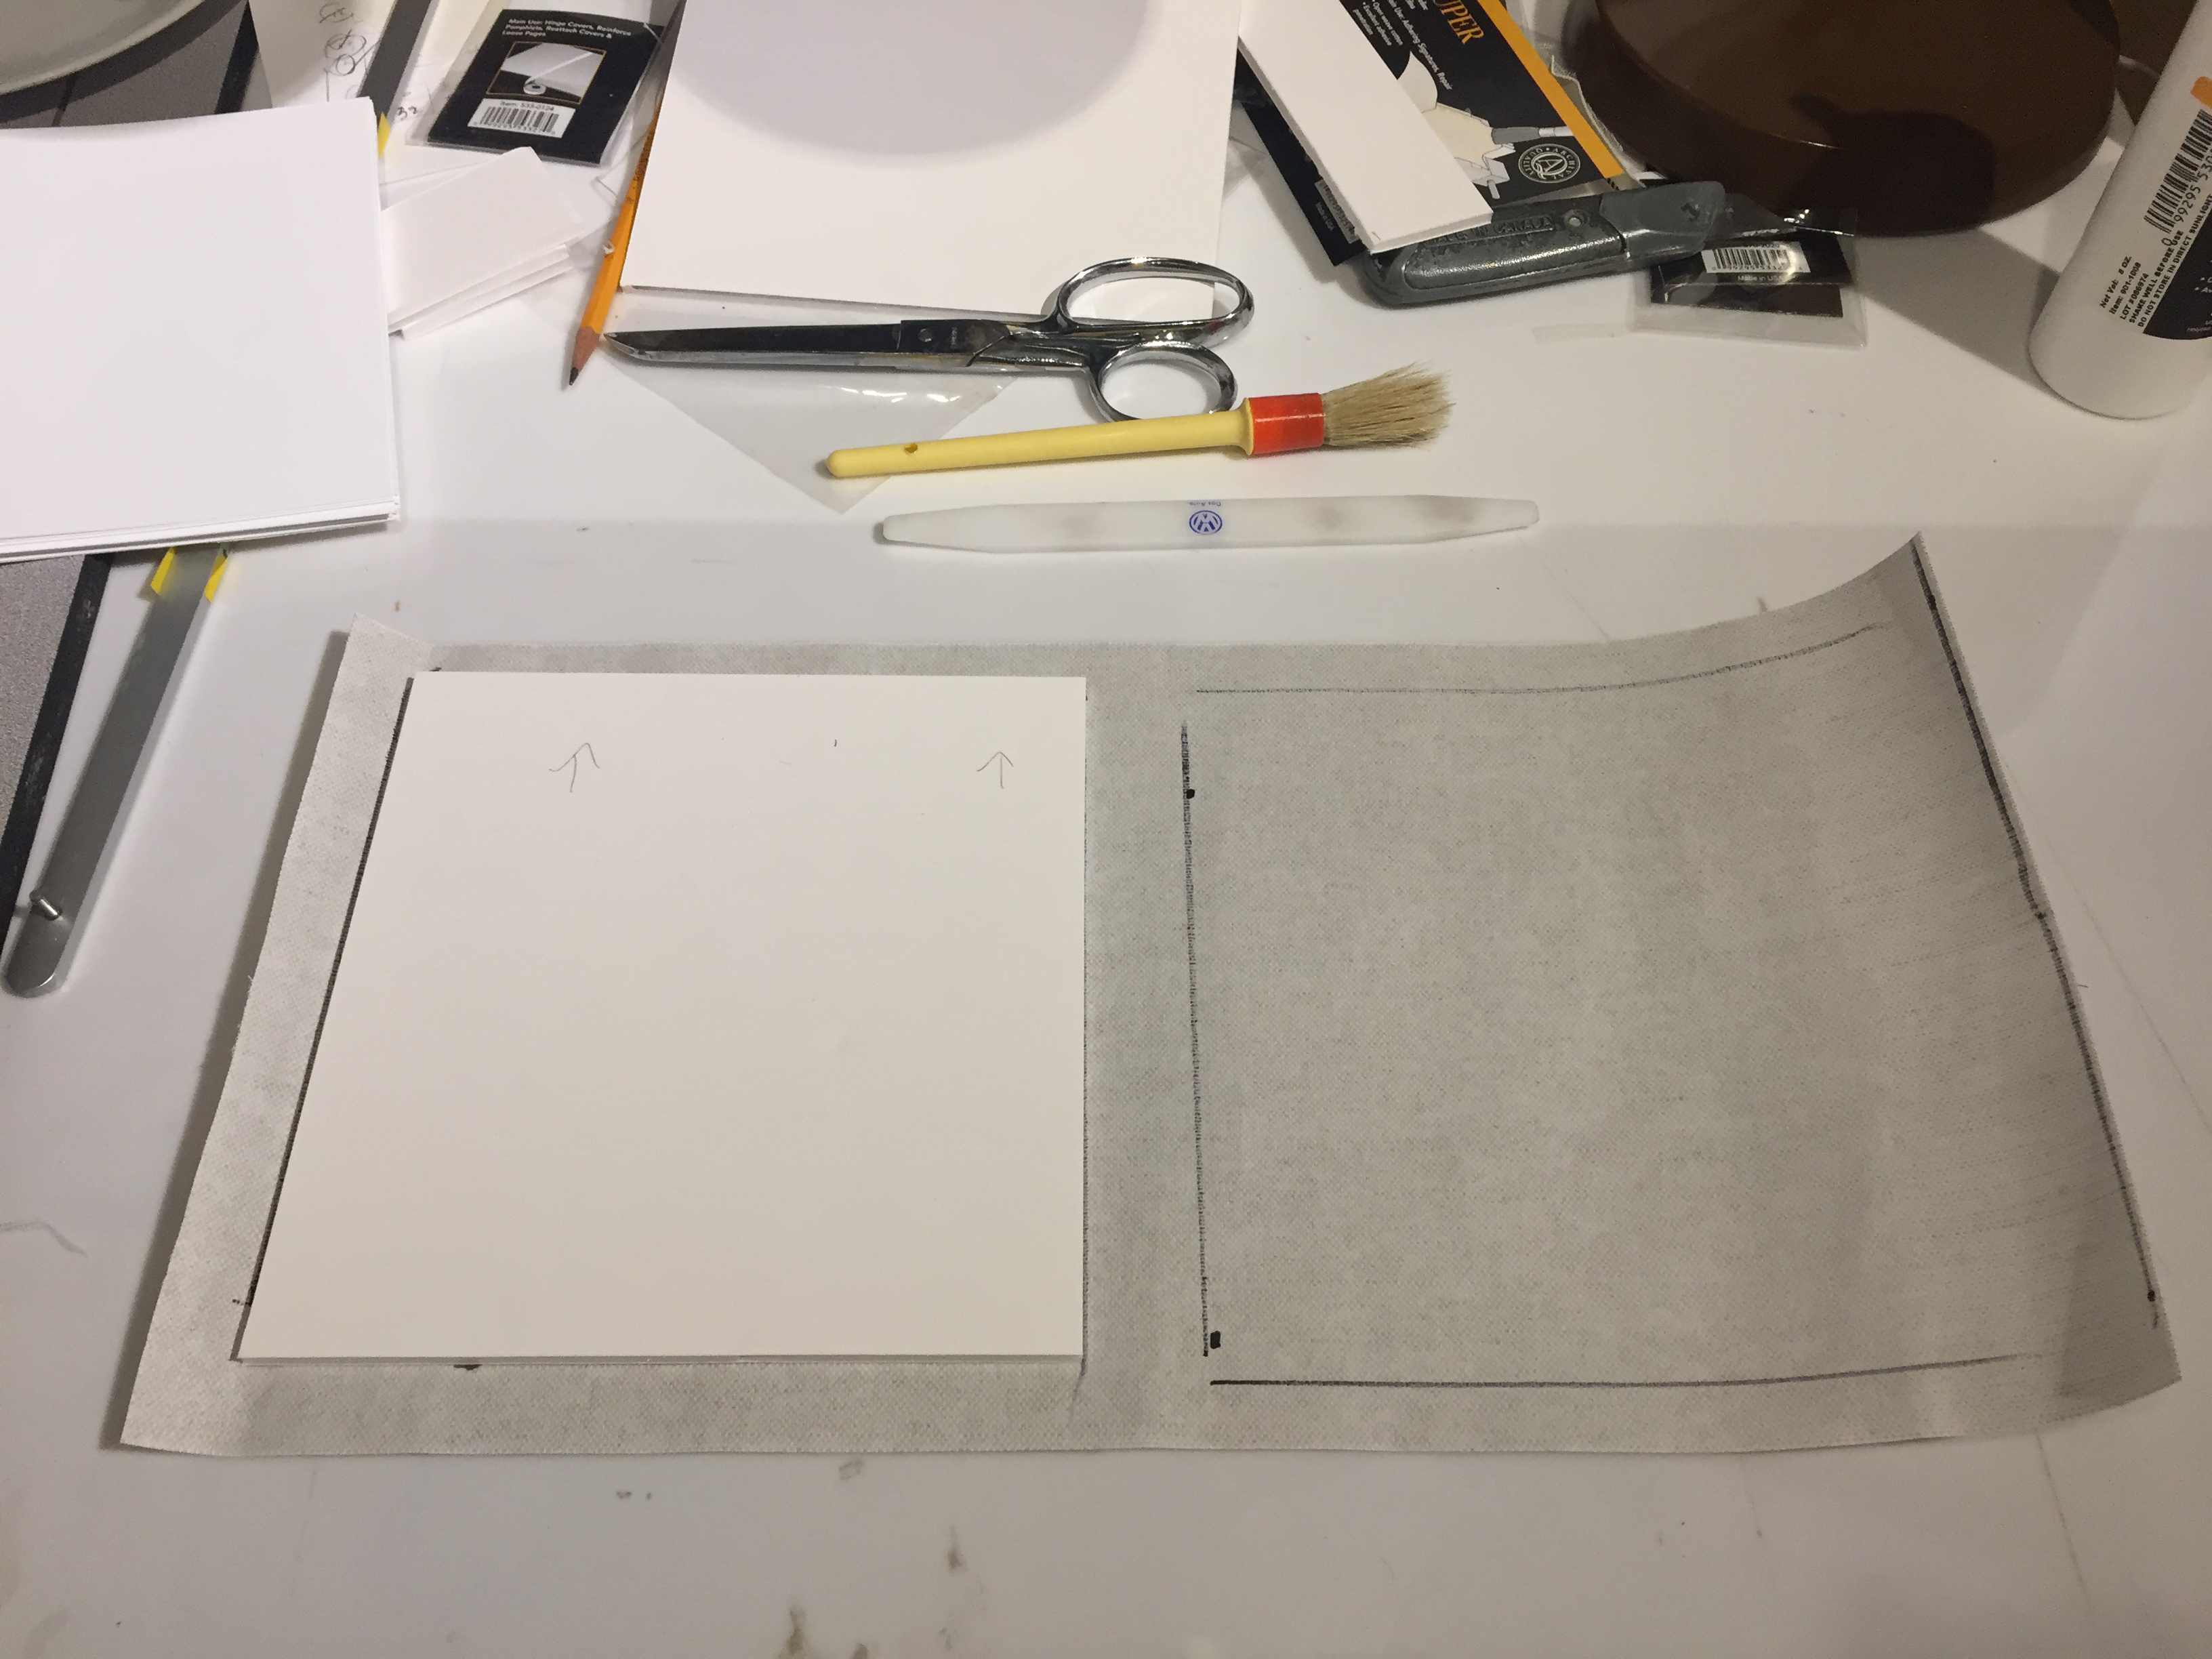
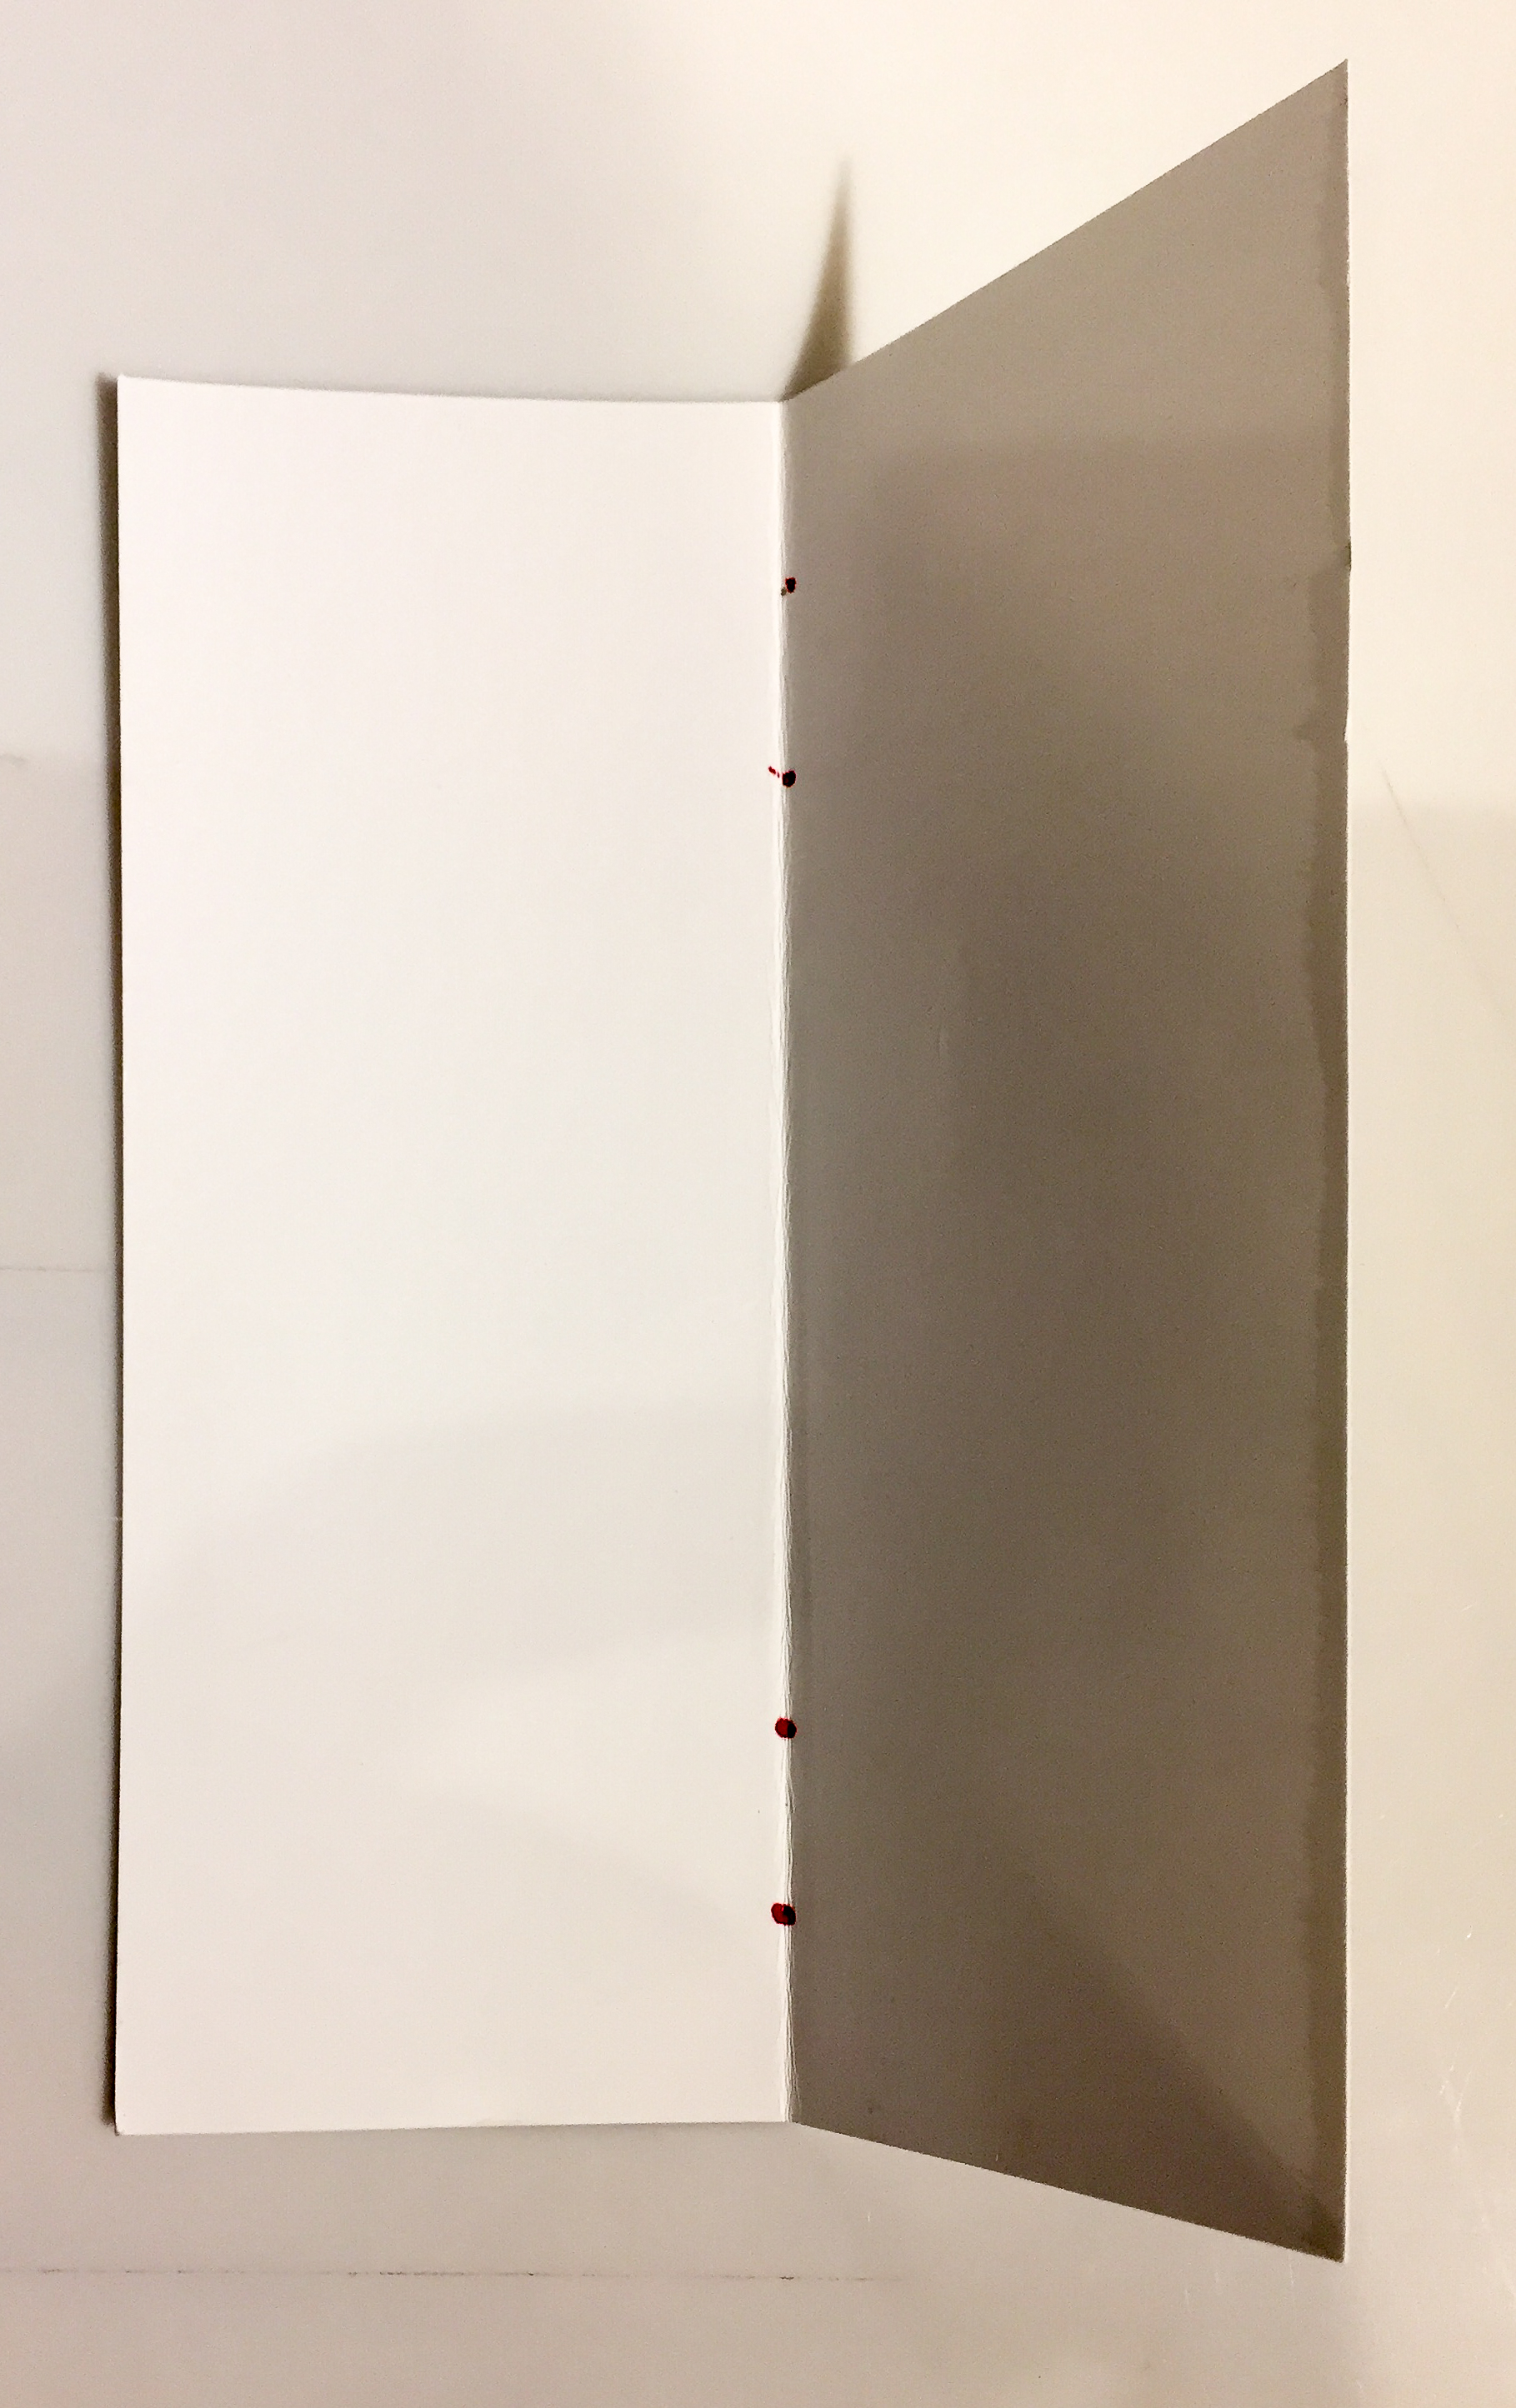
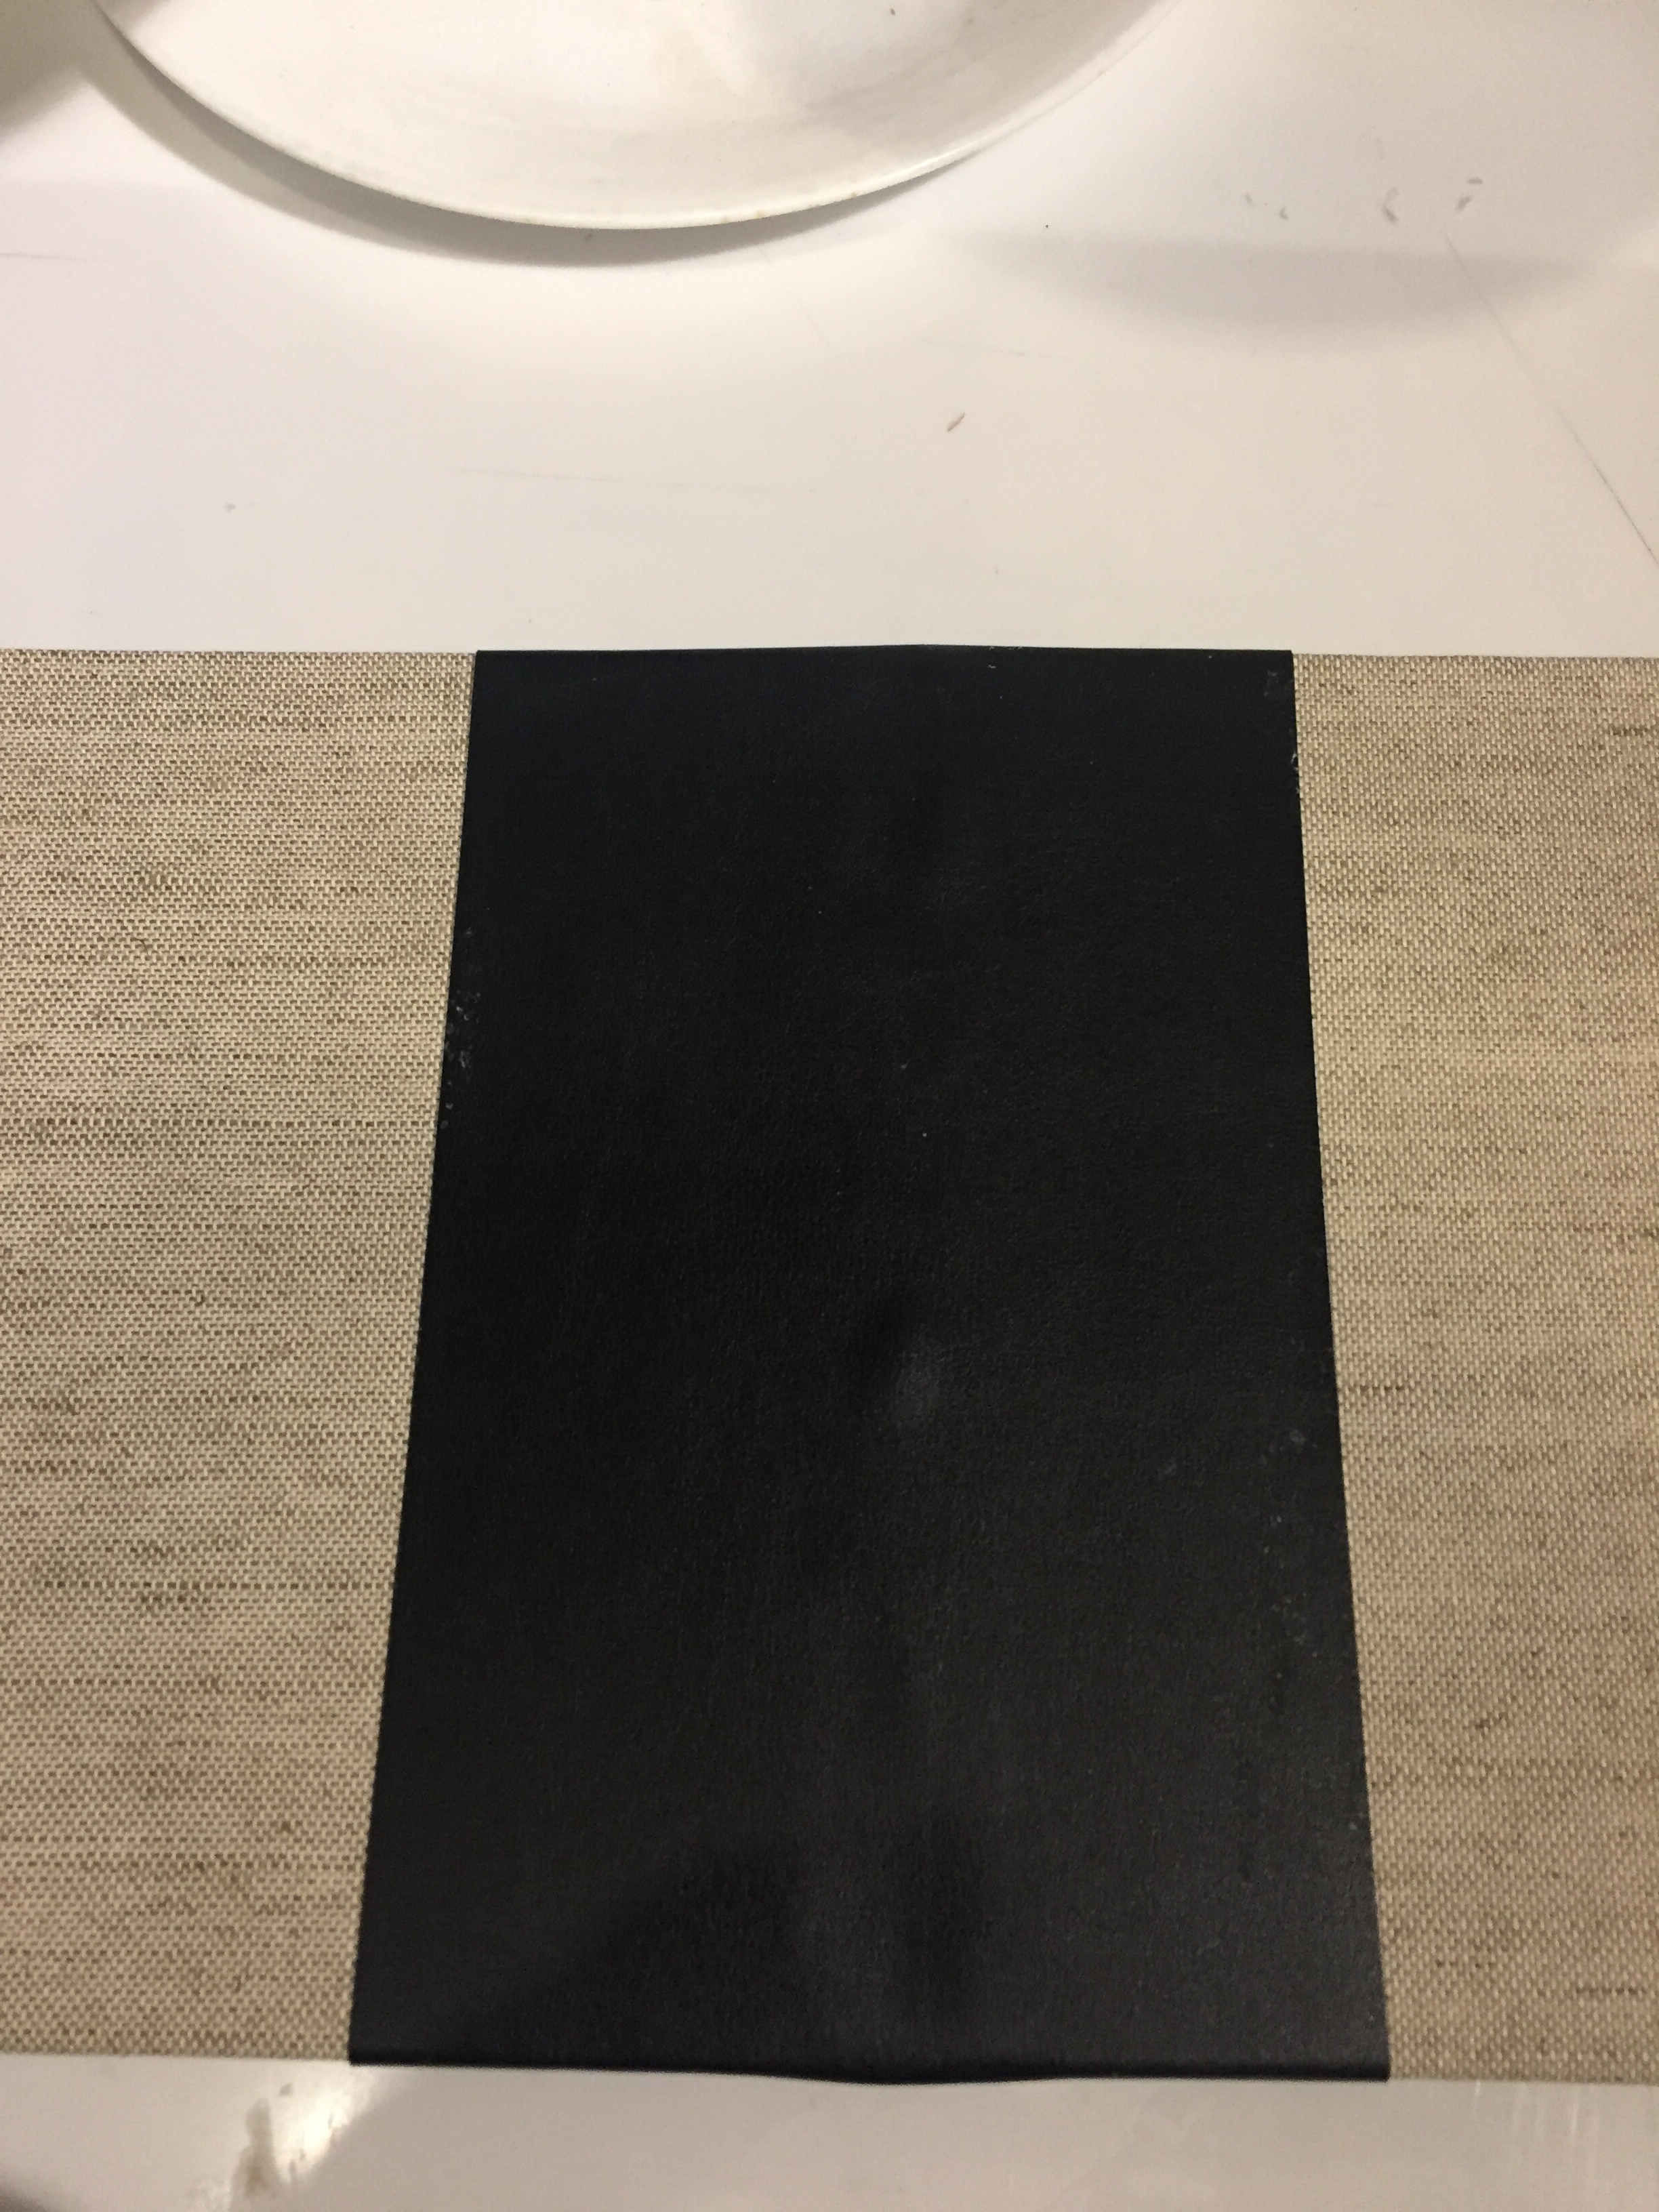
Laying out the Book Cover
The first step is to layout the bookboard to make sure there is enhough on either side to fold over and enough room for the back.
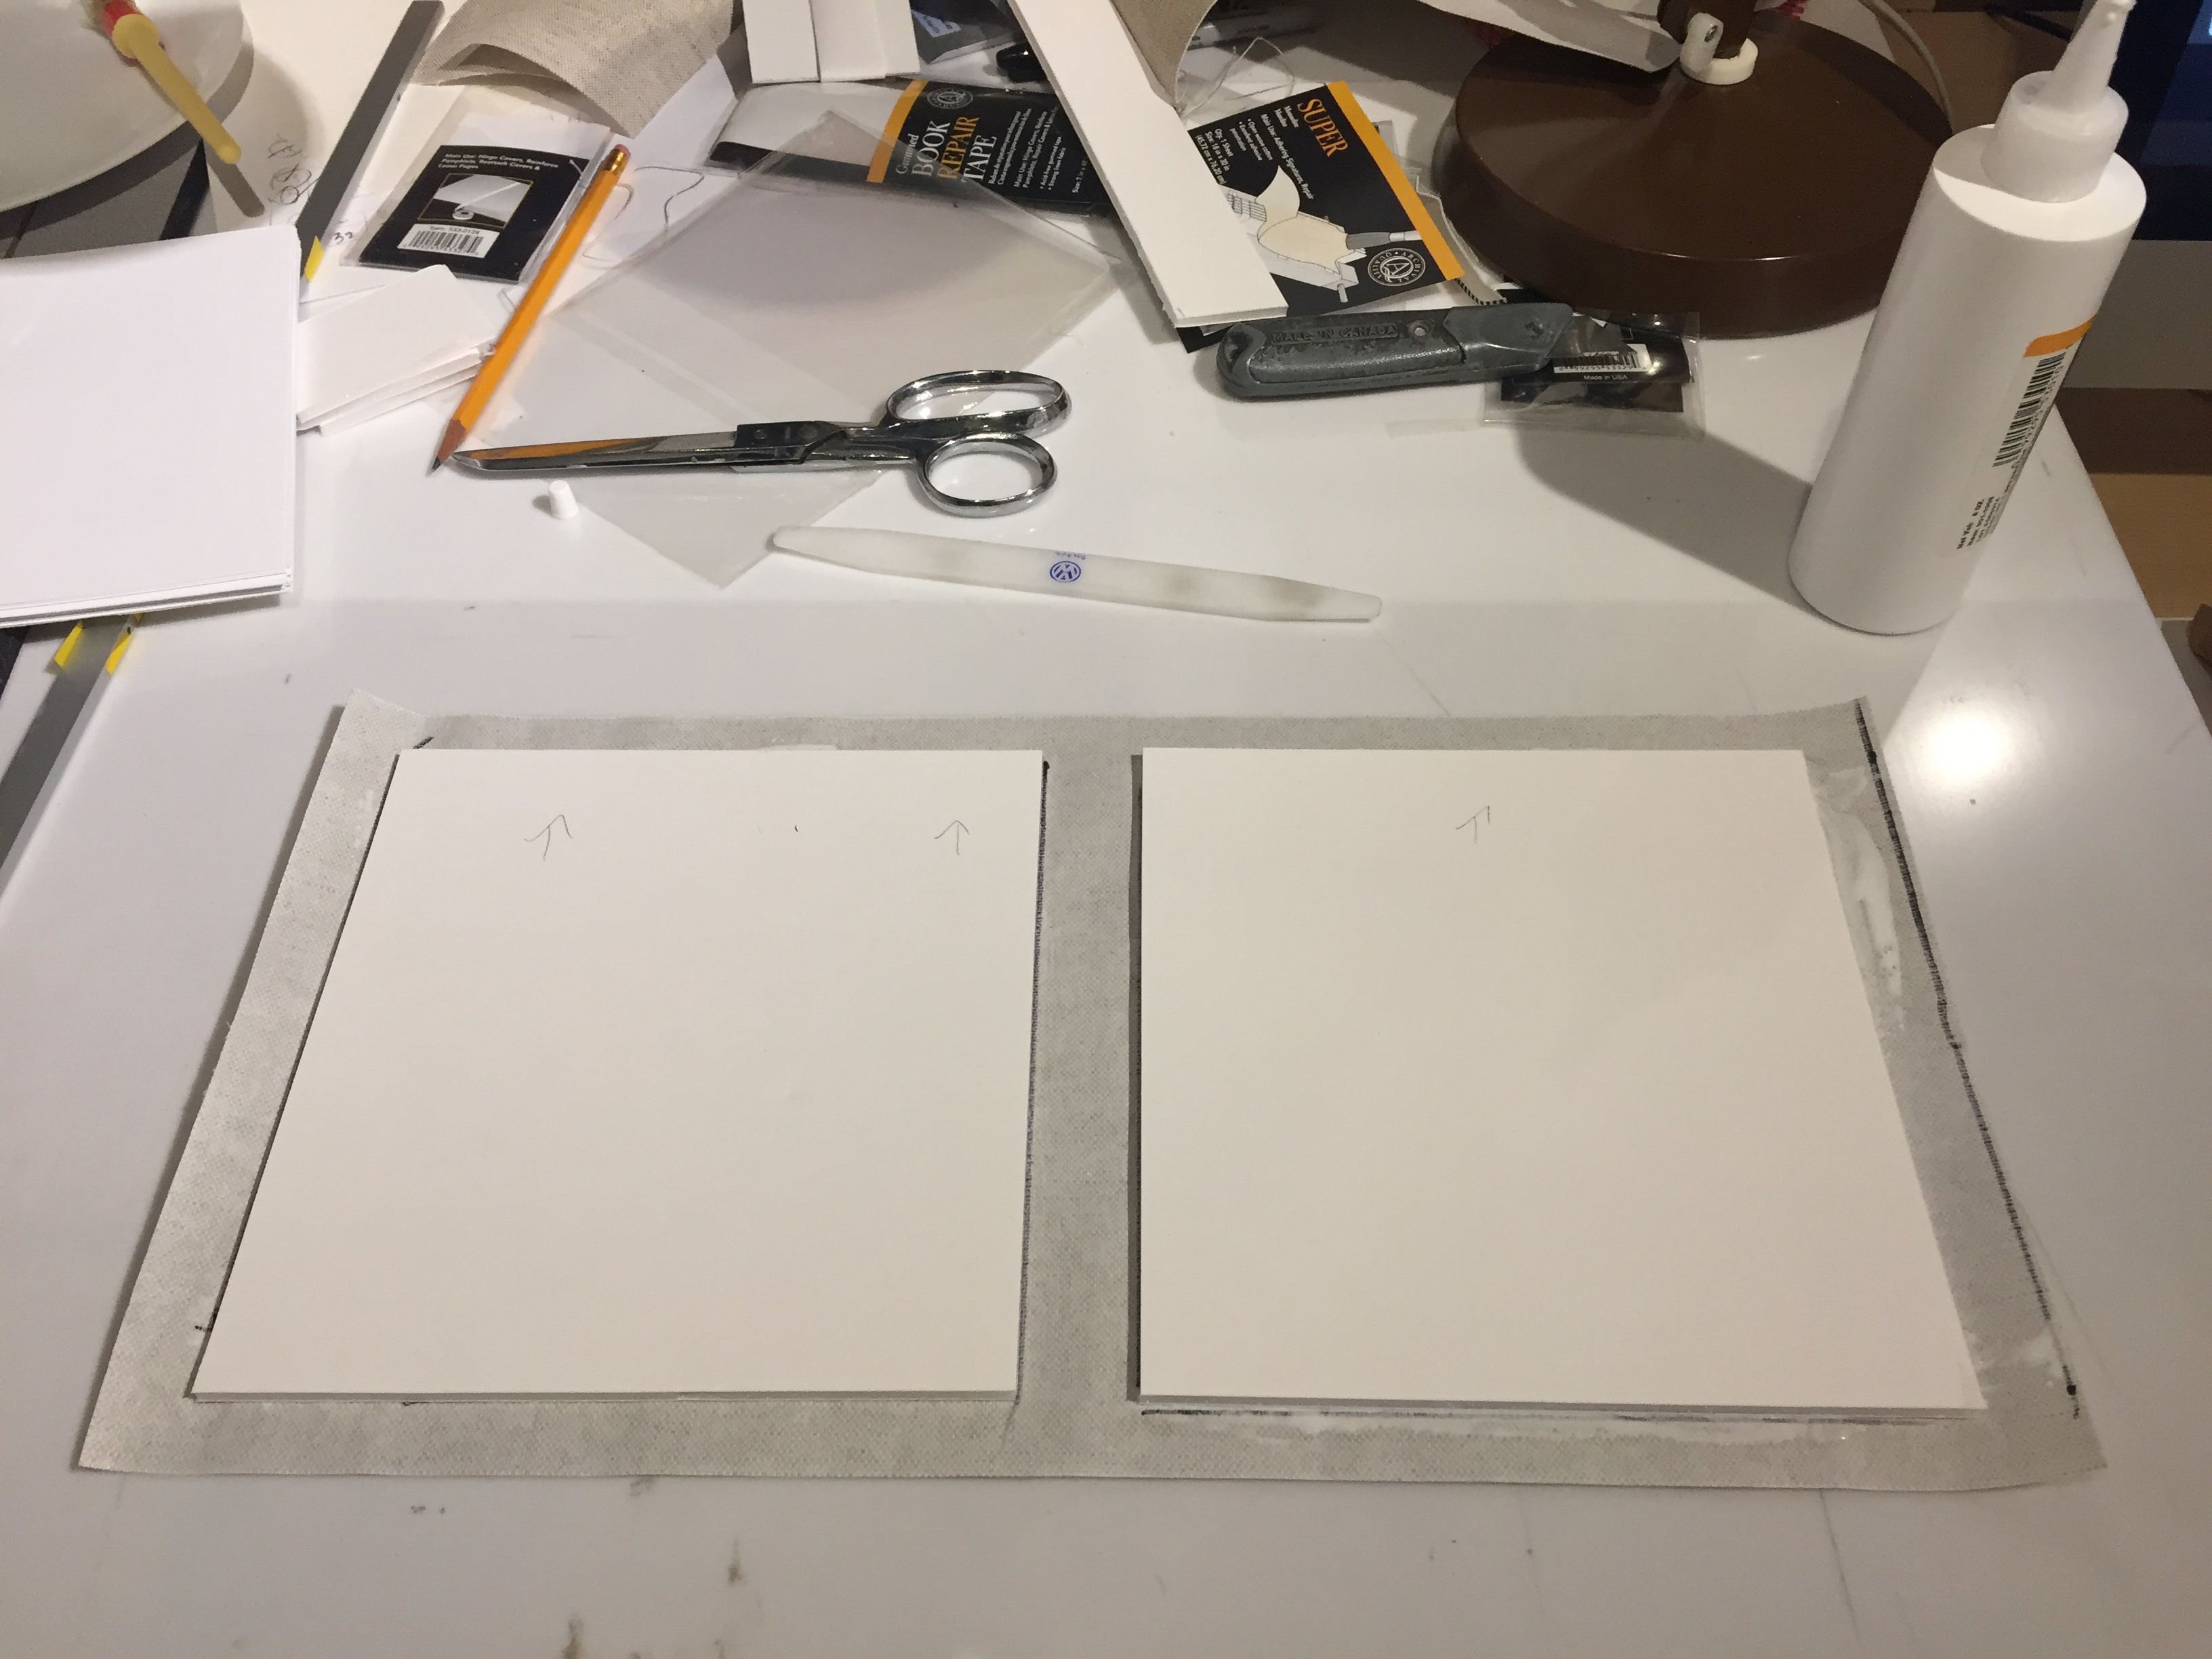
Glue the Book Board
Glue the bookboard in place
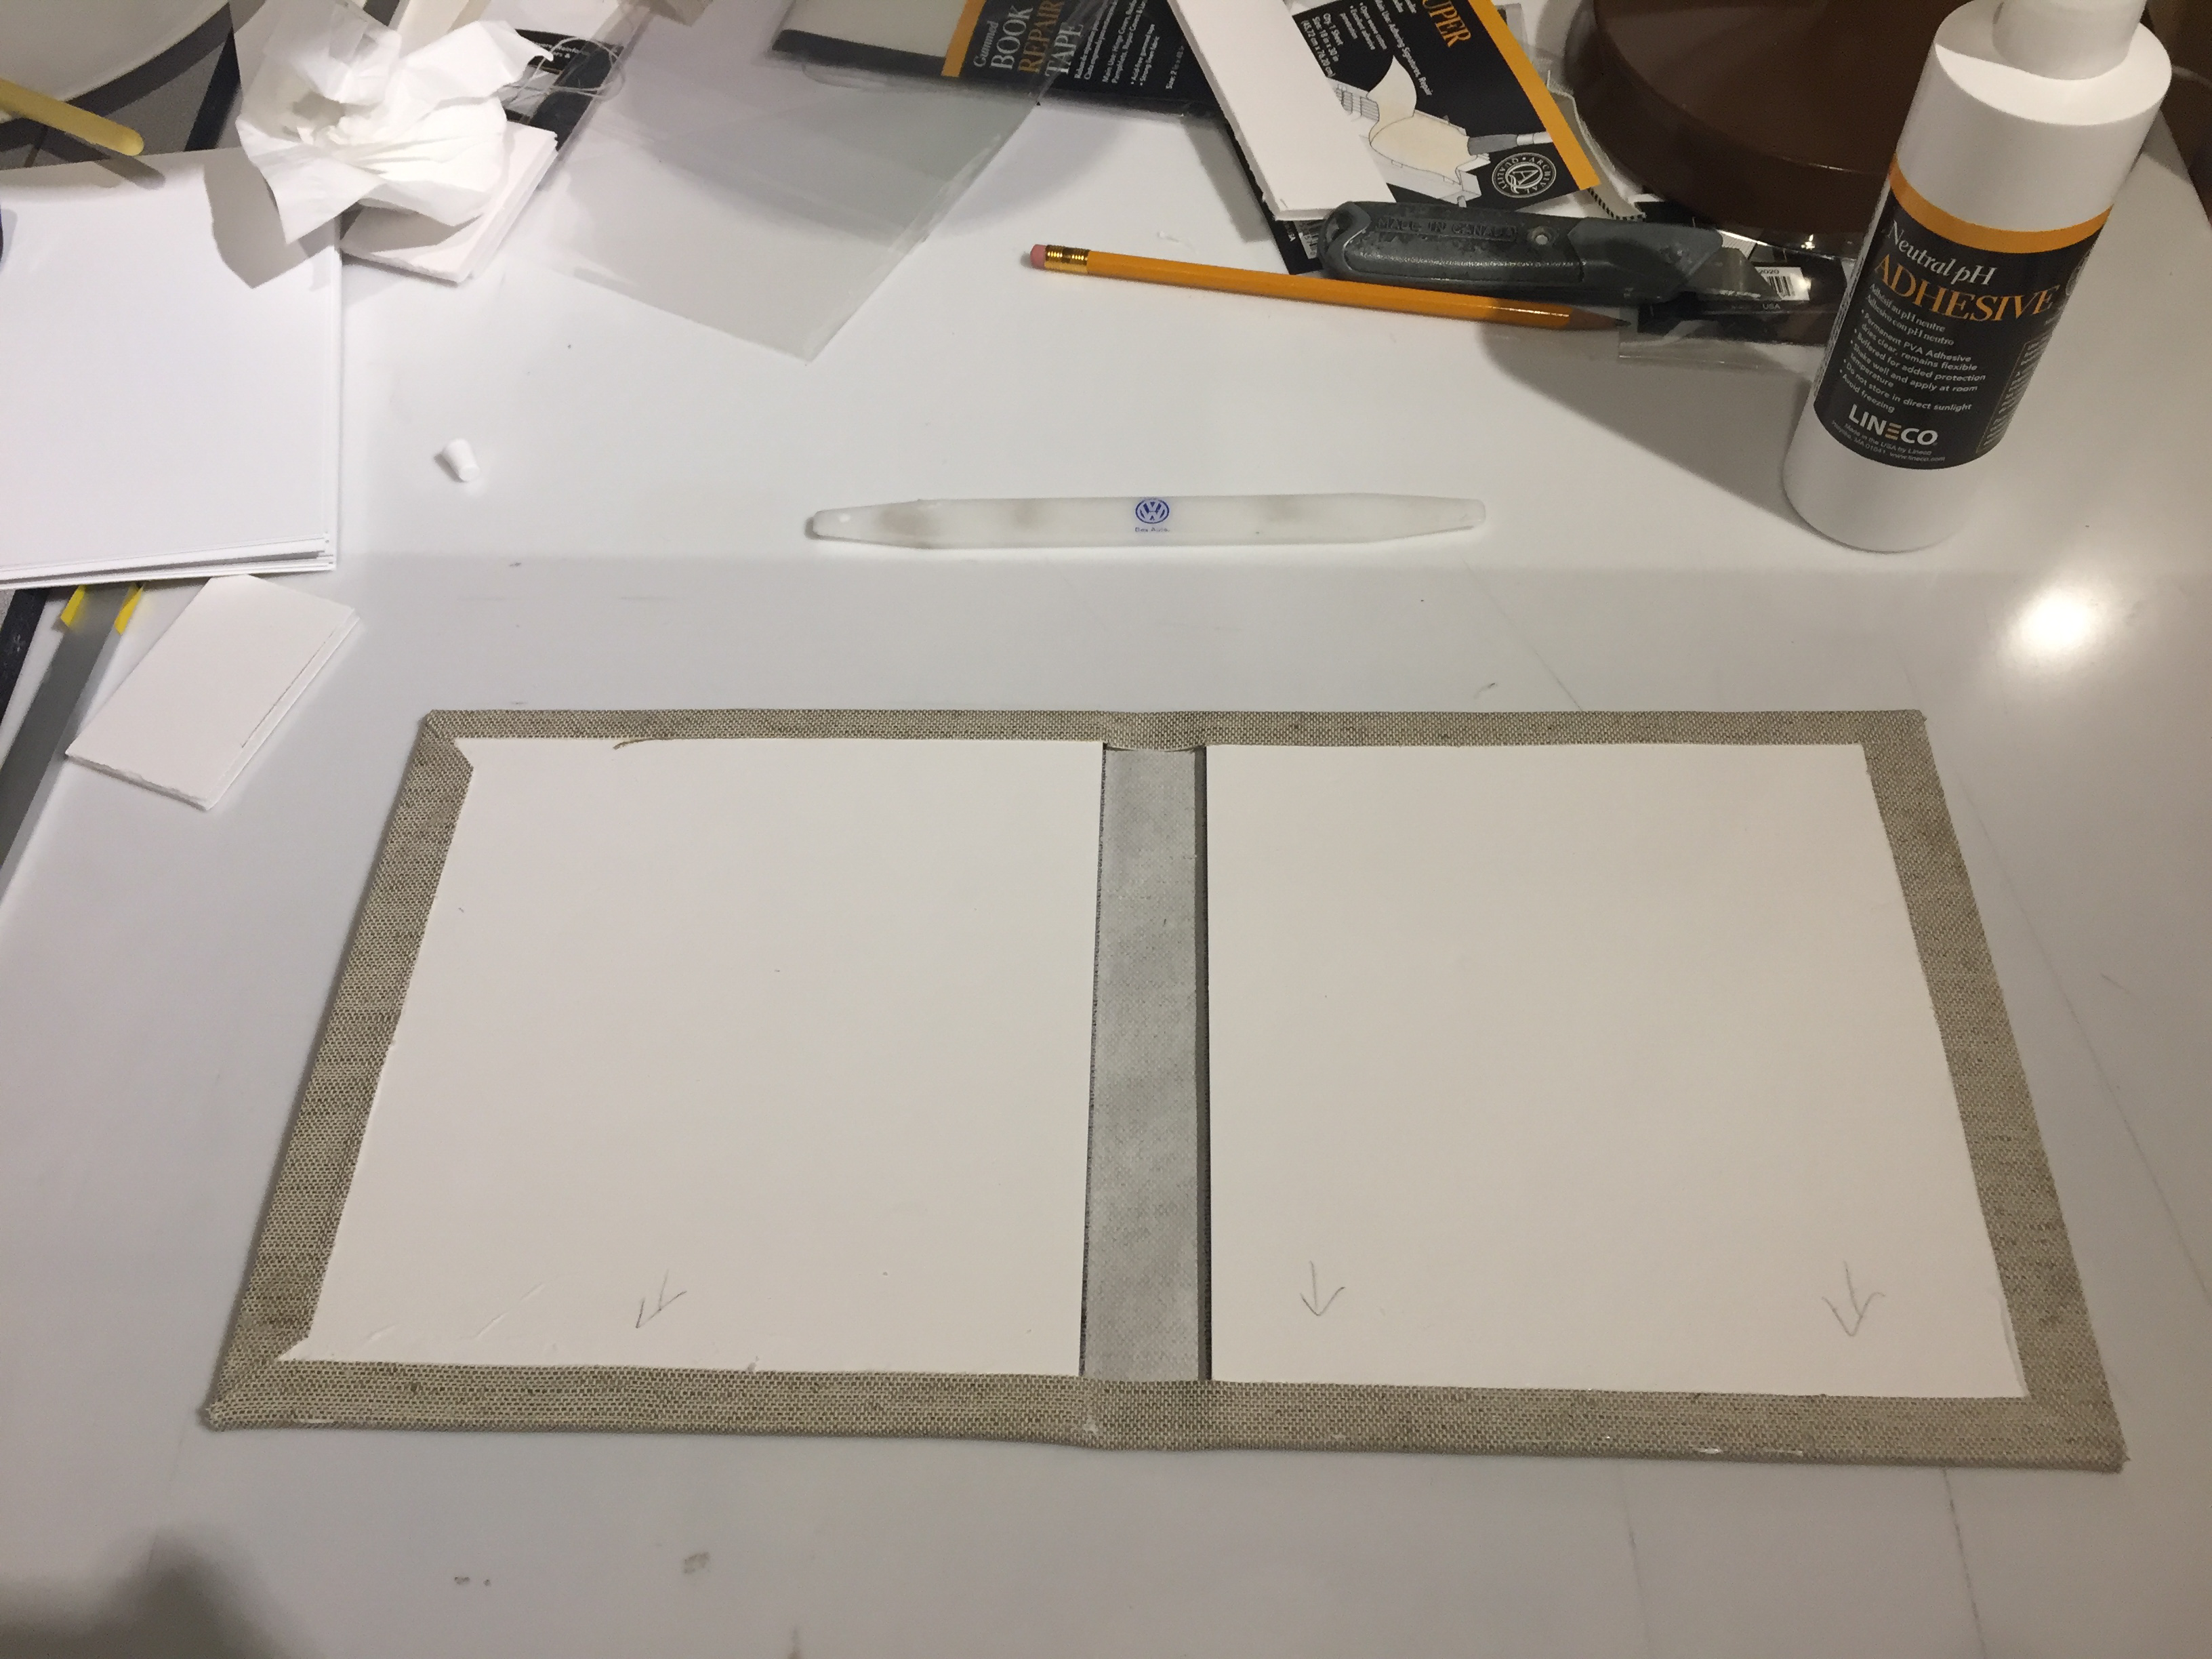
Fold the cover
Fold the cover over each edge and glue in place.
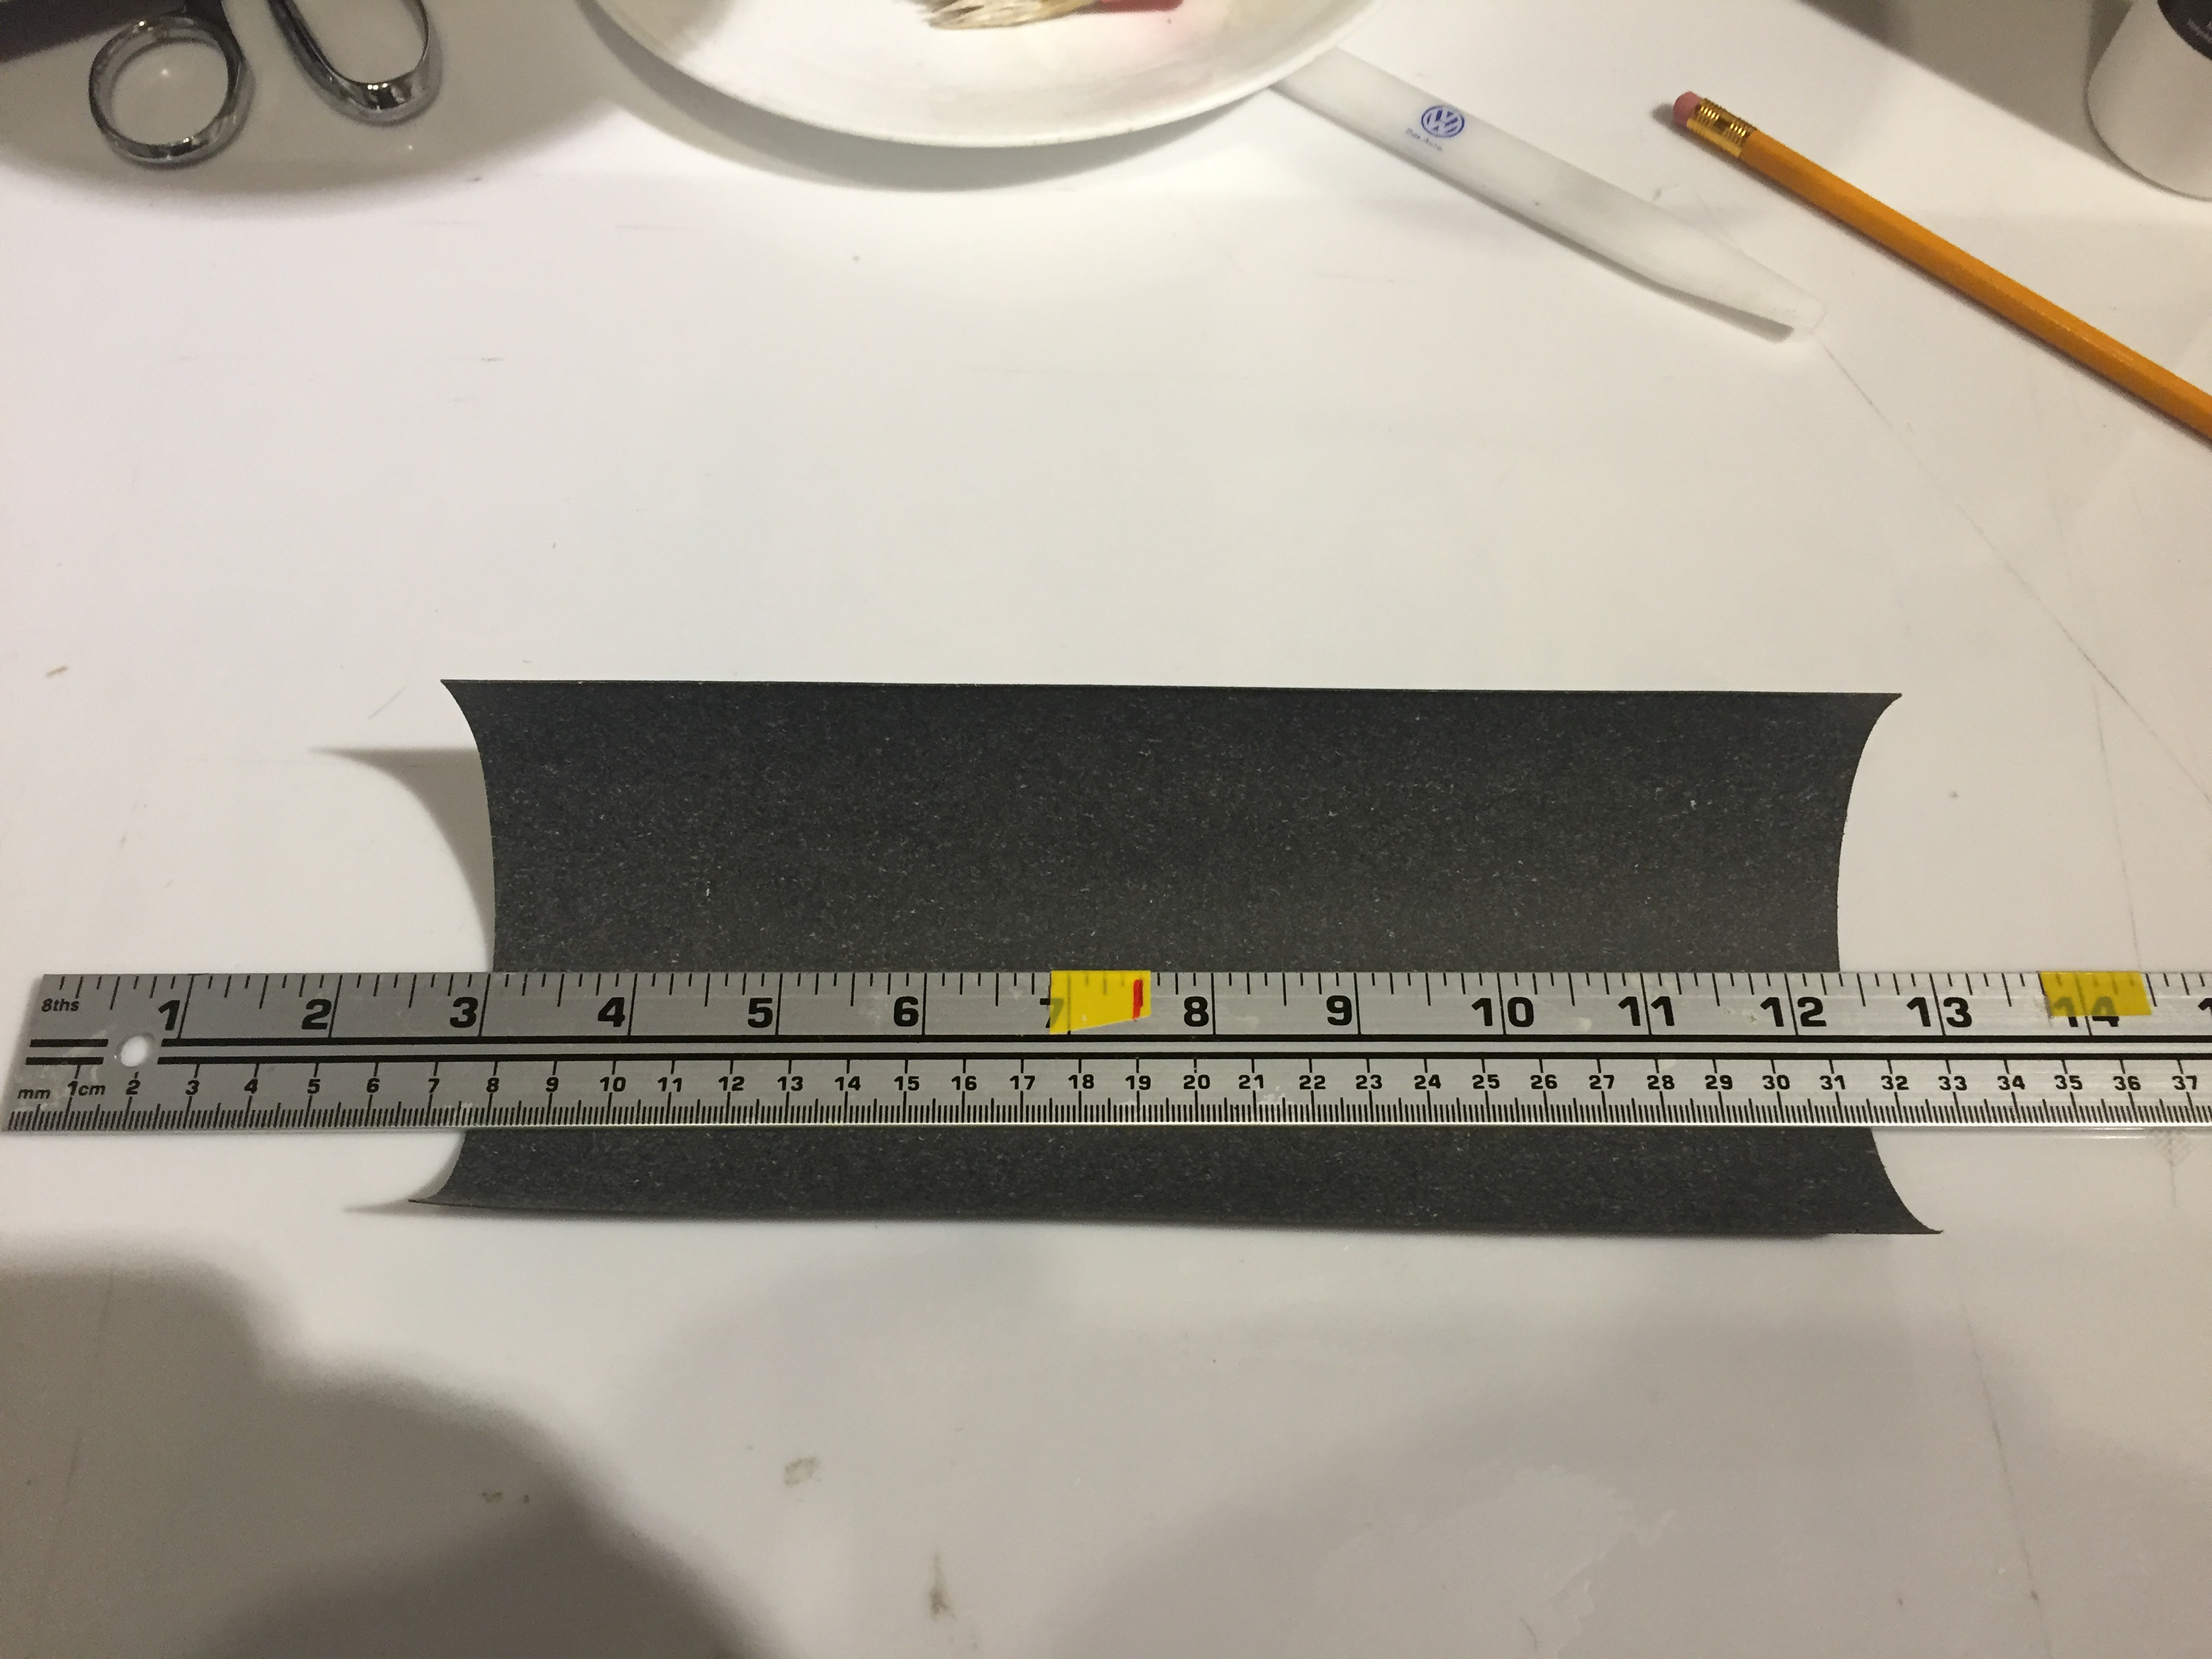
Measure length of Backing
Measure width of Backing
Mark cnetre of Backing

Glue Backing
Glue Book Signatures to Book Cover
Pressing Book
Leave a Reply